The ‘Tape Measure’ Trick for Centering a Shower Drain Perfectly
Installing a shower floor is not about the tile, it is about the structural integrity of the drainage system and the subfloor beneath it. If you miss your center by even a quarter of an inch, your entire layout fails. The ‘Tape Measure’ trick involves a specific geometric calculation from the rough framing rather than the finished wall. Most guys skip the leveling compound. They think the underlayment will hide the dip. It won’t. I spent three days grinding concrete on a job last month just so the floor wouldn’t click like a castanet. That concrete was a mess, and if I had ignored it, the shower pan would have cracked within six months. You cannot hide physics.
The math of a perfect shower slope
To center a shower drain perfectly, you must measure the distance between the primary studs and divide by two while accounting for the thickness of the backer board. A standard shower requires a 2 percent slope, which equates to a 1/4 inch drop per linear foot. This ensures that surface tension does not keep water pooled on the tile or in the grout lines. When you use your tape measure, you are not just looking for the middle of a space. You are identifying the terminal point of a three dimensional gravity system. If the drain is off center, the slope becomes asymmetrical. One side of the floor will be steeper than the other. This creates a lipage nightmare where tiles will not sit flush. You smell oak dust and WD-40 on a real job site because we are working with machines and precision.
Why your subfloor is lying to you
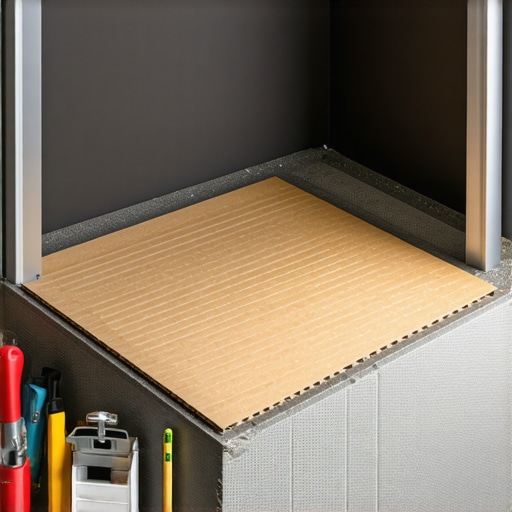
Subfloors often appear level to the naked eye but contain micro-variations that divert water away from the drain. You need a six foot level and a canister of floor patch before you even think about the plumbing. I have seen fifteen thousand dollar wide-plank walnut floors cup like potato chips because the installer ignored the crawlspace. In a bathroom, the stakes are higher. You are dealing with liquid.
“A floor is only as good as the subfloor beneath it; deflection is the enemy of every joint.” – Master Flooring Axiom
Moisture in a concrete slab must be under three pounds per one thousand square feet over twenty-four hours. If you ignore this, your thin-set will not bond. The chemistry of the bond is everything. Modern modified thin-sets use liquid latex polymers to create a bridge between the substrate and the tile.
The physics of the 1/4 inch per foot rule
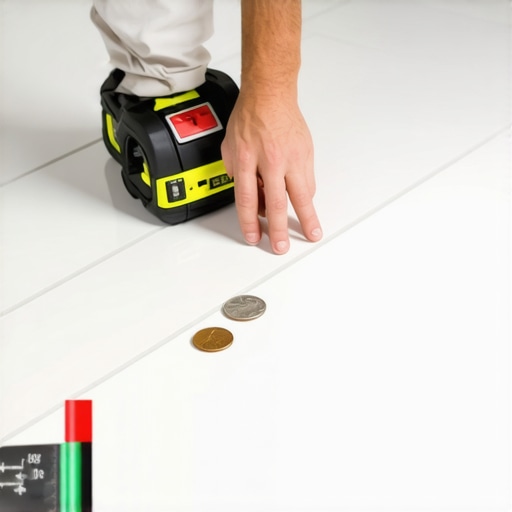
Gravity dictates that water requires a minimum 2 percent grade to overcome the friction of grout and tile surfaces. If you decrease this angle, you get standing water. If you increase it too much, the tile becomes a slip hazard. Use your tape measure to mark the center point on the subfloor. Then, measure out to each wall. These numbers must be identical after you subtract the thickness of your waterproofing membrane and thin-set.
Measuring twice and cutting once for plumbing
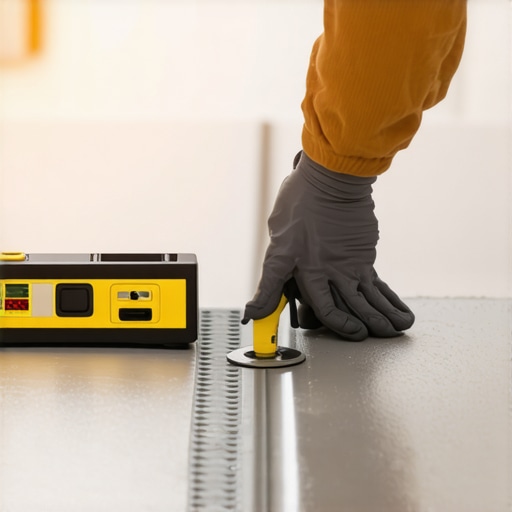
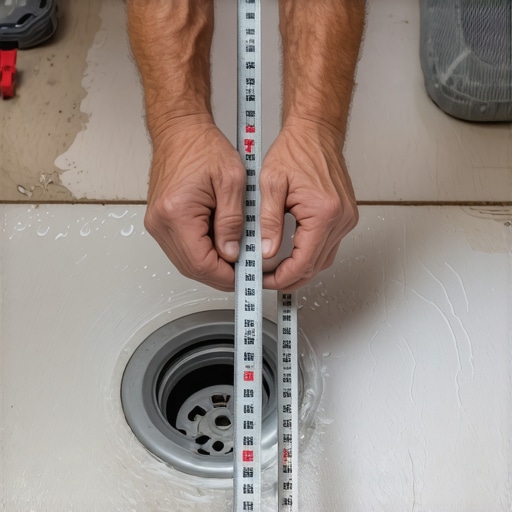
Centering the drain requires you to pull your tape measure from the face of the wood studs, not the drywall. If you measure from the drywall, you are off by a half inch. That half inch will haunt you when you try to center a decorative grate. I prefer a square drain assembly because it allows for easier tile cuts. Round drains require nippers and a steady hand, which most rookies lack.
| Material | Durability Rating | Expansion Rate | |
|---|---|---|---|
| PVC Drain | High | 0.003 in/ft | Low |
| ABS Drain | Medium | 0.004 in/ft | Moderate |
| Cast Iron | Extreme | 0.001 in/ft | Minimal |
The chemistry of the waterproof bond
Adhesion in wet environments depends on the mechanical interlock between the mortar and the fleece of the waterproofing membrane. You need to know your ANSI standards. A118.11 is for exterior grade plywood. A118.4 is for modified mortar. If you mix these up, the floor will fail. It is not a matter of if, but when. Capillary action will pull water into the subfloor. Once the wood saturates, it expands. The tile does not expand. Something has to give. Usually, the grout cracks first. Then the tile pops.
The nightmare of the off center drain
An off-center drain creates irregular triangular cuts in the tile that highlight poor craftsmanship. When the drain is dead center, your tile layout radiates outward in a symmetrical pattern. This is not just for looks. Symmetrical layouts distribute weight more evenly across the mortar bed.
- Check the subfloor for deflection.
- Verify the drain rough-in is at the correct height.
- Apply a moisture barrier to the entire footprint.
- Calculate the slope from the furthest corner.
- Dry fit the tile before applying thin-set.
The ghost in the expansion gap
Every floor needs room to breathe, even a tiled shower floor which requires a perimeter expansion joint filled with 100 percent silicone. Never use grout where the floor meets the wall. The wall and the floor move independently. If you grout that joint, it will crack within a month. Use your tape measure to ensure a consistent 1/8 inch gap around the perimeter. This is the ‘ghost’ gap that saves the installation.
“Failure to provide adequate expansion joints is the primary cause of tile tenting in residential applications.” – TCNA Handbook
How the tape measure trick saves your tile layout
By finding the exact center and marking perpendicular lines, you create a grid that dictates every move for the rest of the job. Snap a chalk line. It is the most honest tool in your bag. A tape measure can lie if the hook is bent. A chalk line never lies about a straight path.
The 1/8 inch that ruins everything
A tiny deviation in the height of the drain flange can cause a backup of water behind the tile. The flange must be flush with the secondary slope, not the final tile height. If the flange is too high, the ‘weep holes’ in the drain assembly get clogged. When weep holes clog, the mortar bed stays saturated. This leads to a persistent swampy smell in the bathroom. It is a sign of a failed architect.
Why your leveling compound is the real hero
Self-leveling underlayment creates a perfectly flat plane that allows the 2 percent slope to be calculated with mathematical certainty. Without a flat start, your slope is just a guess. And guessing leads to callbacks. I don’t do callbacks. I do it right the first time. The cementitious bond of a high-quality leveler is stronger than the concrete itself. It fills the voids. It creates the foundation.