How to Repair Scratches in Pre-Finished Hardwood Without Sanding
The smell of oak dust and WD-40 is etched into my skin. I have spent twenty-five years on my knees with a moisture meter and a level, watching the flooring industry shift from solid site-finished wood to the chemical fortress known as pre-finished hardwood. I once walked into a house where a $15,000 wide-plank walnut floor was cupping so bad it looked like a potato chip because the installer didn’t check the crawlspace humidity. The homeowners were devastated. They thought the floor was ruined. Most people think that a scratch on a factory-finished floor means the end of the world or a full-blown sanding project. They are wrong. Pre-finished wood is a different beast entirely, coated in layers of aluminum oxide that are harder than the steel in your hammer. Repairing these surfaces requires an understanding of physics and chemistry, not just a bucket of wood putty. You are dealing with a microscopic layer of ceramic particles suspended in a UV-cured urethane matrix. If you treat it like raw wood, you will fail. If you treat it like an engineered performance surface, you can make those scratches disappear without ever touching a drum sander.
The physics of the aluminum oxide barrier
Repairing scratches in pre-finished hardwood involves matching the refractive index of the factory coating while filling the physical void in the wood fibers. Because these floors use UV-cured aluminum oxide, traditional sanding is often impossible without removing the entire wear layer. Spot repairs focus on chemical bonding and acrylic resins. This factory finish is applied in a controlled environment, often consisting of seven to nine separate coats. Each layer is blasted with ultraviolet light to create a cross-linked molecular structure. When a chair leg or a pebble under a shoe drags across this surface, it creates a white line. That white line is not necessarily a scratch in the wood; it is often a fracture in the brittle urethane coating. The light hits these fractured edges and scatters, creating the visible mark. To fix it, you have to penetrate that fracture and seal the edges back together. If you skip the cleaning phase or use the wrong solvent, the repair material will simply sit on top of the scratch like oil on water. It will eventually peel off, leaving a ugly gray mark that looks worse than the original damage.
“A floor is only as good as the subfloor beneath it; deflection is the enemy of every joint.” – Master Flooring Axiom
The ghost in the expansion gap
Environmental stability and moisture content are the primary drivers of finish failure and scratch visibility in engineered or solid pre-finished flooring. When the subfloor moisture levels fluctuate, the wood cells expand and contract, causing the brittle factory finish to crack or flake at the scratch site. If you are working in a climate like Houston, the swampy humidity means solid wood is a death wish; you need engineered cores. In the dry heat of Phoenix, the wood will shrink until your baseboards show a massive gap. This movement is what turns a minor surface abrasion into a structural failure. If your floor is clicking like a castanet when you walk across it, you have a subfloor levelness problem that no scratch kit will fix. I have spent days grinding concrete just so the floor wouldn’t move. If the floor moves, the repair moves. If the repair moves, it breaks. You must ensure the planks are stable before attempting to fill a gouge with a hard wax or resin. The interaction between the wood lignin and the atmospheric moisture dictates whether your repair will last five days or five years.
Chemical etching and the resin approach
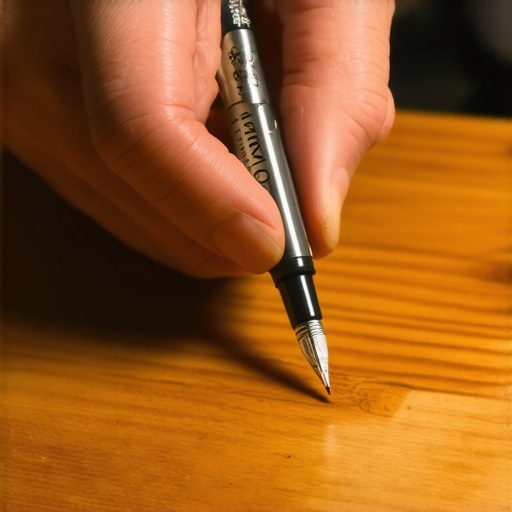
Fixing deep scratches without sanding requires the use of specialized fillers such as hard wax sticks or high-performance acrylic touch-up pens. These materials must be harder than the surrounding wood to prevent future wear while remaining flexible enough to handle the natural expansion of the timber planks. Most guys skip the prep. They think the underlayment will hide the dip, or they think the wax will stick to a dirty floor. It won’t. You need to clean the scratch with a specialized hardwood cleaner or a light touch of mineral spirits to remove any wax or oil-based residues. If the scratch has reached the raw wood, you must first stain the fiber back to the original color. Use a pigment-based marker, not a dye-based one. Pigments stay near the surface, while dyes can bleed into the surrounding wood cells, creating a dark halo that screams amateur hour. Once the color is matched, you fill the void. For deep gouges, a burn-in stick is the only professional answer. This involves melting a hard resin into the hole and leveling it with a hot knife. It requires a steady hand and an understanding of thermal expansion. If you overheat the surrounding finish, you will cause it to delaminate from the wood substrate, turning a small repair into a nightmare.
| Repair Method | Scratch Depth | Chemical Base | Acclimation Time |
|---|---|---|---|
| Touch-up Marker | Surface Only | Solvent/Pigment | 15 Minutes |
| Hard Wax Stick | Medium Gouge | Paraffin/Resin | 1 Hour |
| Burn-in Resin | Deep Void | Thermoplastic | 24 Hours |
| Screen and Recoat | Widespread Wear | Waterborne Poly | 48 Hours |
Why your subfloor is lying to you
The integrity of a hardwood repair is directly linked to the flatness of the subfloor and the presence of a proper moisture barrier. Even in rooms far from showers, vapor pressure from a concrete slab can migrate through the wood and push the repair material out of the scratch. If you didn’t do proper floor leveling before the install, the planks will deflect. This deflection creates mechanical stress on the scratch edges. While most people want the thickest underlayment, too much cushion actually causes the locking mechanisms on LVP or engineered wood to snap under pressure. The same logic applies to wood repairs. If the plank is flexing, a hard resin filler will eventually pop out like a dry scab. You have to account for the mil-thickness of the wear layer. A 20-mil wear layer on a vinyl plank is one thing, but a 3/4 inch solid oak board is an organic organism. It breathes. It moves. It reacts to the humidity of the crawlspace. If you are doing a carpet install nearby, keep the dust away. The silica in carpet backing is like sandpaper to a fresh repair. One grain of sand in your finishing cloth will ruin the entire project.
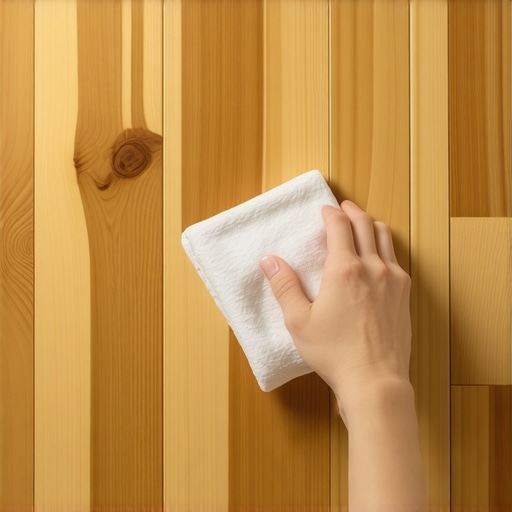
- Clean the scratch with a microfiber cloth and specialized hardwood cleaner.
- Select a color-matched pigment marker that is one shade lighter than the wood.
- Fill deep gouges with a high-melting-point hard wax or resin.
- Level the filler using a plastic scraper to avoid scratching the adjacent finish.
- Buff the area with a white non-abrasive pad to match the sheen level.
- Allow the repair to cure for 24 hours before allowing heavy foot traffic.
The 1/8 inch that ruins everything
Achieving a professional finish match depends on understanding the gloss level and the specific gravity of the wood species being repaired. A repair that looks perfect at noon might look like a smudge at sunset if the sheen does not match the factory-applied UV coating. If you are working with a species like Brazilian Cherry, which has a high Janka hardness rating, the wood will not absorb the filler as easily as a soft pine. The density of the wood cells prevents the resin from biting into the grain. In these cases, you must slightly abrade the interior of the scratch to create a mechanical bond. This is precision work. It is the difference between a floor that looks new and one that looks like it was patched by a landlord in a hurry. Do not use generic wood putty. It shrinks. It dries out. It looks like chalk. Use materials designed for pre-finished surfaces. The chemical bond of a modified thin-set in a bathroom is a different world than the adhesive chemistry of a wood repair, but the principles of substrate preparation remain the same. You must respect the material.
“A floor is only as good as the subfloor beneath it; deflection is the enemy of every joint.” – Master Flooring Axiom
The myth of the waterproof solution
Waterproof claims in the flooring industry often mislead homeowners into neglecting the basic physics of wood and water vapor. No wood floor is truly waterproof, and scratches provide a direct path for liquids to bypass the factory finish and reach the core. Even if you have the best laminate or the most expensive engineered wood, a scratch is an open wound. If you mop that floor with too much water, the moisture will enter the scratch and cause the wood fibers to swell. This is called crowning or cupping. Once the fibers swell, the finish on the edges of the scratch will begin to peel. Your repair must act as a seal. It is not just about aesthetics; it is about structural preservation. You are essentially performing surgery on a performance surface. The goal is to restore the hydrophobic properties of the factory finish. If you can’t drop a bead of water on the repair and have it roll off, you haven’t finished the job. It will buckle if the moisture gets in. It is that simple. Professionals don’t take shortcuts with moisture. They understand that the environment is the enemy of the installation. Keep your humidity between 30 and 50 percent, and your repairs will stand the test of time. Skip the leveling, ignore the moisture, and you will be replacing the entire floor within a year.