The ‘Tape Pull’ Secret for Testing Concrete Paint Adhesion
Most guys skip the leveling compound. They think the underlayment will hide the dip. It won’t. I spent three days grinding concrete on a job last month just so the floor wouldn’t click like a castanet under the homeowner’s feet. That is the reality of professional floor work. It is not about the pretty wood you see on top. It is about the gritty, dusty, gray slab underneath that wants to ruin your reputation. I have spent 25 years on my knees with a moisture meter and a level, and I can tell you that a floor is only as good as the subfloor beneath it. If you do not respect the physics of the substrate, the floor will fail. It is a mathematical certainty, not a possibility. We are going to look at the tape pull test and why the molecular bond of your floor coating or adhesive is the only thing standing between a perfect finish and a peeling nightmare.
Why the tape pull test determines your floor success
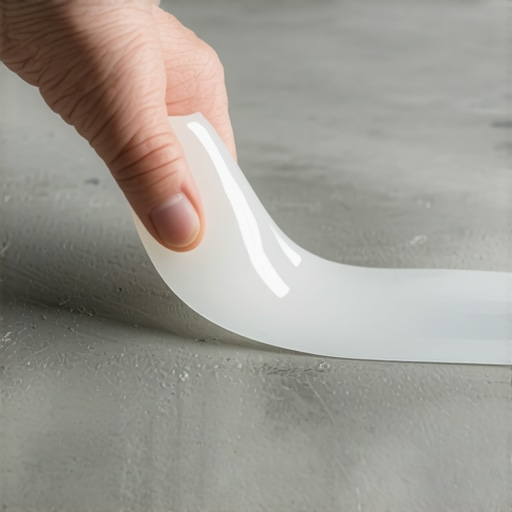
The tape pull test is a field method used to determine the surface strength and adhesion quality of a concrete subfloor before applying paint, epoxy, or adhesives. By using a cross-hatch pattern and standardized pressure sensitive tape, installers can identify if the concrete surface is too weak, contaminated, or brittle for a permanent bond. This simple mechanical test prevents catastrophic failures where the entire floor system delaminates from the slab. You cannot trust your eyes when it comes to concrete. It might look clean, but it could be covered in laitance or curing compounds that act like a lubricant for your expensive epoxy. I have seen guys lose forty thousand dollars because they were too lazy to use a piece of tape. They just started rolling paint on a slab that had a bond breaker on it. Three weeks later, the paint started coming up in sheets like a sunburned back.
“A floor is only as good as the subfloor beneath it; deflection is the enemy of every joint.” – Master Flooring Axiom
The ghost in the expansion gap
Expansion gaps are the mandatory voids left around the perimeter of a floating floor to allow for the natural movement of the material. Without these gaps, the floor will expand until it hits a wall, causing the planks to buckle, peak, or snap the locking mechanisms. This is why your floor feels like a trampoline in certain spots. When I walk into a house and see laminate flooring tight against the baseboard, I know I am looking at a disaster in progress. People think they are being clever by hiding the gap under the drywall, but if that floor cannot breathe, it will choke. Laminate and LVP are dynamic systems. They grow and shrink with the humidity. If you lock them in place with a heavy kitchen island or a lack of perimeter spacing, you are asking for the joints to separate. The floor needs to move as one giant raft. If one part of that raft is anchored, the rest of the planks will fight each other until the weakest point gives way.
The 1/8 inch that ruins everything
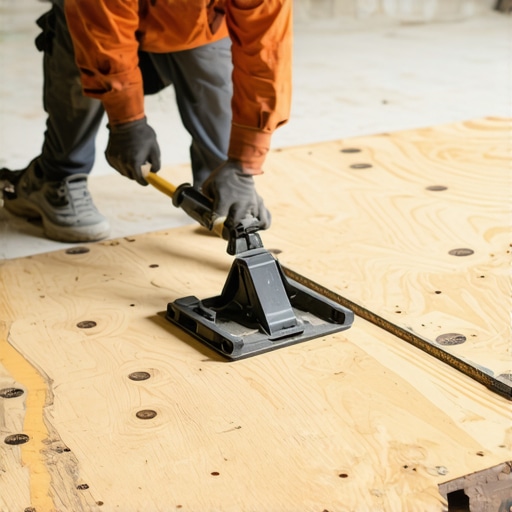
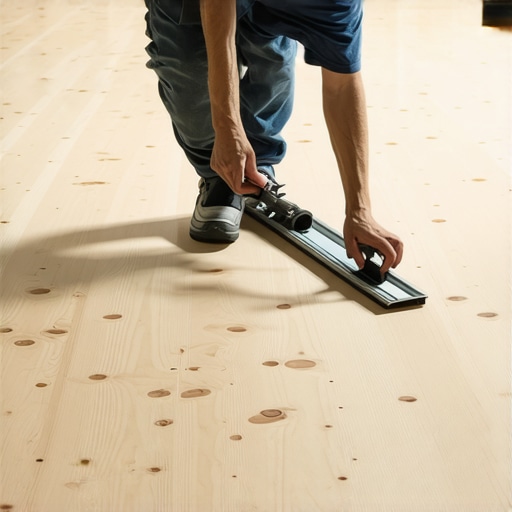
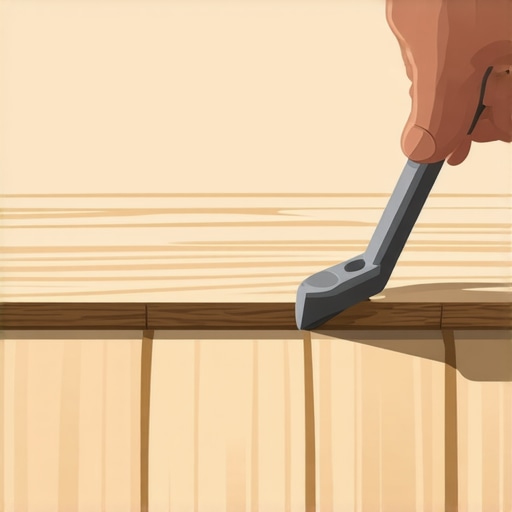
Floor leveling requires a tolerance of no more than one eighth of an inch over a ten foot radius to prevent structural failure of the locking joints. When a subfloor has a dip or a hump, the planks are forced to bridge that gap, creating a hollow space that stresses the tongue and groove every time someone walks over it. Over time, that repetitive stress causes the thin plastic or HDF core to fatigue and crack. I have spent countless hours with a straightedge and a bag of self-leveler because I refuse to install a floor that will fail in six months. Most DIYers think the underlayment is a magic carpet that hides bumps. It is not. It is a moisture barrier and a sound dampener. It has zero structural capacity. If the concrete is not flat, the floor will not stay together. You have to grind the high spots and fill the low spots. There is no shortcut that works.
The hidden physics of floor leveling
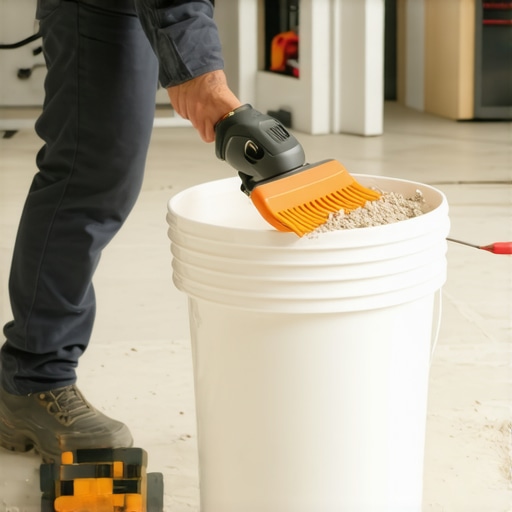
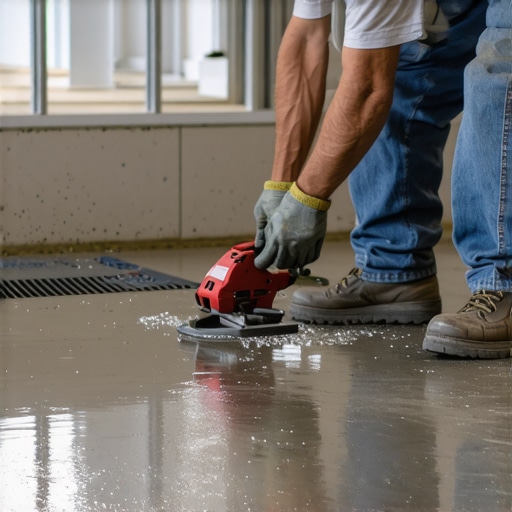
Self leveling underlayment is a high flow cementitious product designed to create a flat and level surface over irregular subfloors. It is not a liquid that you just pour and walk away from; it requires precise water ratios and mechanical agitation to achieve the correct compressive strength. If you add too much water, the minerals will settle at the bottom and the top will be a chalky mess that will never hold an adhesive. You need to understand the chemistry of the primer too. Concrete is like a sponge. If you do not prime it first, the slab will suck the water out of the leveler before it has a chance to flow. This results in a lumpy, cracked surface that is worse than what you started with. I always use a spiked roller to get the air bubbles out. If you leave those bubbles, you end up with pinholes that weaken the entire structure of the leveler.
| Substrate Requirement | Tolerance (10 ft) | Moisture Limit (RH) | Prep Method |
|---|---|---|---|
| Laminate Flooring | 1/8 inch | 75 percent | Leveling Compound |
| Glue Down Hardwood | 3/16 inch | 65 percent | Grinding/Priming |
| Ceramic Tile | 1/4 inch | 80 percent | Anti-Fracture Membrane |
| Commercial Carpet | 1/4 inch | 85 percent | Scraping/Sealing |
Technical requirements for modern substrates
Substrate preparation is the process of cleaning, flattening, and stabilizing a floor surface to meet the specific requirements of the finished flooring material. Different materials have different tolerances for moisture and movement, which is why a one size fits all approach never works in this industry. For example, a shower install requires a completely different mindset than a carpet install. In a shower, you are dealing with hydrostatic pressure and capillary action. You need a pre-slope and a waterproof membrane that complies with TCNA standards. If your subfloor in a shower is not perfectly rigid, the grout will crack and water will find its way into your framing. I have seen joists rotted out because someone thought they could skip the backer board and just glue tile to greenboard. It is gross, and it is expensive to fix.
Shower pans and the reality of water management
A shower pan must be constructed with a consistent slope of one quarter inch per foot toward the drain to ensure proper water evacuation and prevent mold growth. This is where most installers fail because they do not understand the physics of water. Water does not just flow on top of the tile; it gets behind it. That is why the secondary drainage at the weep holes of the drain assembly is so important. If you clog those holes with thin-set, the water sits in the mortar bed and turns into a petri dish. I always tell people that a shower is a system, not just a surface. You need the right liner, the right mud bed, and the right thin-set. If any part of that chain is weak, the whole thing will leak. It is about managing the water, not just trying to block it.
“Cementitious backer units must be installed with a gap at the floor and wall intersections to allow for structural movement without cracking the tile.” – TCNA Handbook
The mechanical bond vs the chemical bond
A mechanical bond occurs when an adhesive physically interlocks with the pores of the substrate, while a chemical bond involves a molecular reaction between the adhesive and the surface. When you are testing concrete with the tape pull secret, you are checking if the surface is open enough for a mechanical bond. If the concrete is power troweled to a mirror finish, the pores are closed. No paint or glue will stick to that. You have to open the pores by acid etching or diamond grinding. Think of it like Velcro. If one side is smooth, it will not stick. You need the concrete to have a profile, usually resembling the texture of fine sandpaper. This is why I always carry a spray bottle of water. If I spray it on the slab and it beads up, I know I have a problem. That water needs to soak in immediately. If it does not soak in, your glue will not soak in either.
Laminate failures and the click lock myth
Laminate flooring fails most often at the joints due to subfloor deflection or improper acclimation to the local environment. The industry pushes the idea that these floors are easy to install, but they are actually very sensitive to the conditions of the room. If you take laminate from a cold warehouse and install it immediately in a humid house, it will expand after you click it together. This leads to peaking, where the edges of the planks push against each other and rise up. I always leave the boxes in the room for at least 48 hours. I also check the moisture of the subfloor. If you are installing over a crawlspace, you need a 6 mil poly vapor barrier. Without it, the moisture from the earth will rise up through the concrete and swell the HDF core of your laminate. The floor will literally rot from the bottom up while the top looks perfect.
Checklist for professional concrete preparation
- Perform a calcium chloride test to measure moisture vapor emission rates.
- Execute the ASTM D3359 tape pull test to check for surface contamination.
- Grind down high spots and ridges using a 20 grit diamond blade.
- Vacuum the entire surface with a HEPA filter to remove micro-dust.
- Apply a high-quality acrylic primer to seal the pores of the concrete.
- Mix self-leveling compound with a high-shear mixer to ensure consistency.
- Verify the floor flatness with a 10 foot straightedge before laying planks.
The molecular reality of floor coatings
When we talk about the tape pull secret, we are really talking about the integrity of the concrete surface. Concrete is a living, breathing material. It is a mix of aggregates and paste. Over time, as concrete cures, it pushes water to the surface. This water carries minerals that form a weak, dusty layer called laitance. If you paint over laitance, you are painting over dust. The tape pull test reveals this. You stick the tape down, rip it off, and look at the back. If the tape is covered in gray powder, your floor will fail. You have to remove that layer. I have seen guys try to wash it away, but that just moves the dust around. You need mechanical abrasion. You need to get down to the real meat of the concrete. Only then will your coating have a chance to survive the traffic and the years. If you do not have a solid foundation, the most expensive paint in the world is just a temporary decoration.