How to Level a Floor That Slopes Toward Your Exterior Walls
The smell of oak dust and the sharp bite of WD-40 usually tell me I am on a site where things went wrong. I have spent 25 years on my knees with a moisture meter and a 6-foot level, and I can tell you that a floor is not a decoration. It is a structural performance surface. Most homeowners think they can just throw a rug over a dip and call it a day. They are wrong. I spent three days grinding concrete on a job last month just so the floor would not click like a castanet. Most guys skip the leveling compound. They think the underlayment will hide the dip. It won’t. If your floor is diving toward the exterior walls, you are looking at a battle against gravity, moisture, and the structural integrity of your home.
The physics of the perimeter dip
A floor that slopes toward an exterior wall usually indicates foundation settlement or joist compression at the rim joist. To level this, you must identify if the issue is structural or cosmetic before applying any cementitious underlayment or sistering new lumber to existing framing members. When the perimeter of a room drops, it is often because the load-bearing walls have settled more than the interior supports. This creates a parabolic curve in the subfloor. If you are planning a carpet install, you might get away with a minor slope, but if you are looking at laminate or tile, that slope is a death sentence for your joints. The expansion and contraction of the house will eventually cause the locking mechanisms of a floating floor to snap under the stress of the incline.
Why your subfloor is lying to you
Subfloor flatness is different from subfloor levelness. A floor can be perfectly flat but still sit at a three-degree angle toward the backyard. Installing laminate or rigid core vinyl on a slope creates massive tension in the click-lock joints, leading to eventual floor failure. I have seen people try to fix a 2-inch drop with nothing but a thick underlayment. While most people want the thickest underlayment, too much cushion actually causes the locking mechanisms on LVP to snap under pressure. You need a solid base. If you are working in showers or wet areas, the slope is even more dangerous because it directs water toward the wall plate rather than the drain. This leads to rot in the sill plate and eventually, a much more expensive bill than just some leveling compound.
“A floor is only as good as the subfloor beneath it; deflection is the enemy of every joint.” – Master Flooring Axiom
The chemistry of the bond
Self-leveling underlayment relies on high-flow polymers to maintain a low viscosity while achieving high compressive strength. Without the correct acrylic primer, the porous subfloor will suck the moisture out of the wet leveler, causing it to crack and delaminate from the surface below. You have to understand the molecular level of this stuff. Concrete is a sponge. If you pour a bag of leveler on dry concrete, the concrete drinks the water from the mix before the cement crystals can properly form. This results in a chalky, brittle mess. You need a primer that seals the pores and creates a chemical bridge between the old substrate and the new leveling layer. For floor leveling on wood, you also need a lath to give the cement something to grip so it does not crack when the wood moves with the seasons.
| Floor Type | Max Slope Tolerance | Material Requirement |
|---|---|---|
| Laminate | 1/8 inch over 6 feet | High-density foam |
| Ceramic Tile | 1/16 inch over 10 feet | Modified thin-set |
| Solid Oak | 1/4 inch over 10 feet | 15lb Felt paper |
| Carpet | 1/2 inch over 10 feet | 7/16 inch Pad |
The 1/8 inch that ruins everything
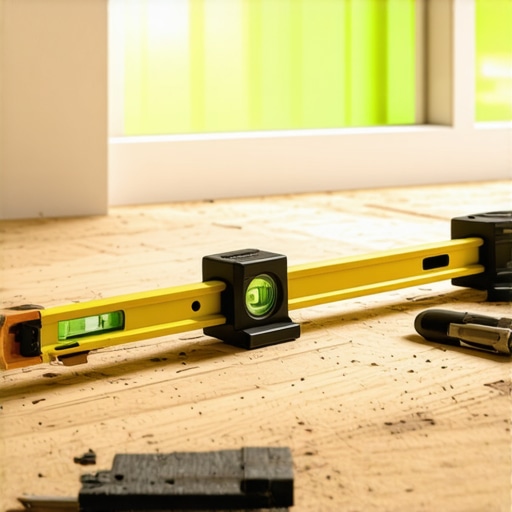
Precision measurement is the only way to ensure a successful installation on a sloped surface. Use a laser level or a long straightedge to map the high and low points across the entire room before you buy your materials. If you find that the drop is more than one inch over six feet, you are likely looking at a structural issue that leveling compound cannot fix. In these cases, you have to go into the crawlspace or basement and check the joists. Sometimes you need to sister a new 2×10 to the old one to bring the floor back to a true plane. It is grunt work. It is heavy. But it is the only way to stop the bounce. Laminate floors are particularly sensitive to this. If the subfloor has a dip, the floor will feel like a trampoline every time you walk on it.
“Total thickness of the underlayment and the finish floor must not exceed the heights of adjacent transitions to avoid trip hazards.” – NWFA Installation Guidelines
The mechanical fix for severe slopes
When the slope is too aggressive for liquid levelers, mechanical shimming or sistering joists becomes the primary method of correction. This involves attaching new framing members alongside existing ones to create a perfectly horizontal plane for the new subfloor panels. You cannot just pour four inches of concrete leveler on a wood frame house. The weight would be astronomical. A bag of leveler weighs 50 pounds and covers very little at that depth. You would collapse the floor. Instead, you rip down shims or use a power plane to level the tops of the joists. It is a slow, methodical process. You check your work every six inches. If you miss one spot, the carpet install will show a ridge, or the tile will crack the first time someone heavy walks on it.
The moisture barrier mandate
Moisture management is the final step in securing a sloped floor against future movement. A vapor barrier with a minimum 6-mil thickness must be used on concrete or over crawlspaces to prevent humidity from warping the subfloor and ruining the leveling work. In humid regions like Houston or the Florida coast, moisture is your biggest enemy. The humidity will get under your floor leveling compound and cause it to pop. It will turn your plywood into a wet noodle. Always check the moisture content with a pin meter. If it is over 12 percent, do not even think about starting. You need to dry it out first.
Leveling Checklist
- Map the entire floor using a 360-degree laser level.
- Vacuum every speck of dust, sawdust, and debris.
- Apply two coats of high-solids acrylic primer.
- Install metal or plastic lath if working over wood.
- Mix the leveling compound with a high-torque drill to avoid air bubbles.
- Pour from the lowest point and work back toward the exit.
- Allow 24 hours of cure time before walking on the surface.