Why Your New Grout is Cracking in the Corners
The structural reality of corner cracks
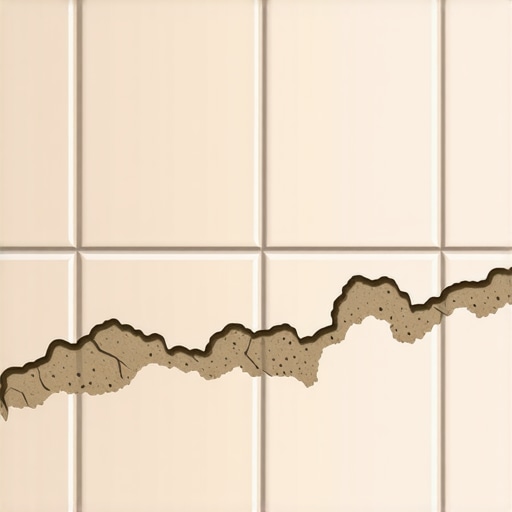
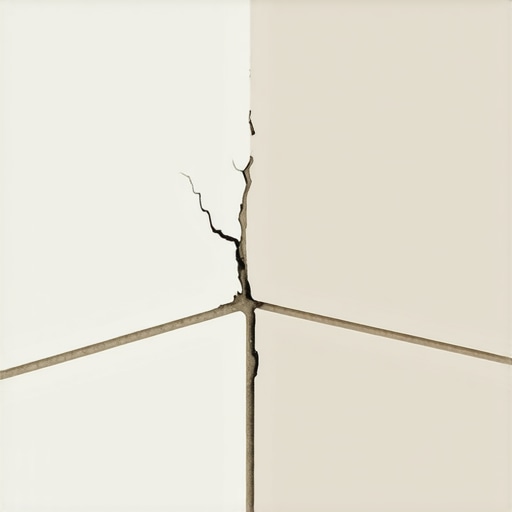
Grout cracks in corners because the different planes of a room move independently due to humidity, settling, and thermal expansion. When you apply a rigid cementitious product into a change of plane, the structural stress concentrates at that joint and snaps the brittle bond. This phenomenon occurs because houses are dynamic structures that breathe and shift on their foundations. Most guys skip the leveling compound. They think the underlayment will hide the dip. It won’t. I spent three days grinding concrete on a job last month just so the floor wouldn’t click like a castanet. That experience taught me that shortcuts always manifest in the finish work. When you see a hairline fracture in the corner of your shower or kitchen backsplash, it is a sign that the installer failed to respect the physics of movement. Grout is a filler for static joints. It is not an adhesive and it has almost zero tensile strength. If the subfloor is not dead flat or if the framing behind the wall is wet, that grout will fail every single time. It is a mathematical certainty. You cannot fight the expansion of wood or the contraction of concrete with a thin bead of sand and cement.
The hidden physics of subfloor deflection
Subfloor deflection refers to the amount of vertical flex in your floor system when a load is applied. If your joists are undersized or spaced too far apart, the floor will bounce, causing the grout to pulverize and pop out of the joints. This is especially problematic with heavy tile or stone. I have seen countless DIY jobs where people ignore the L/360 standard required for ceramic tile. If you are laying natural stone, that requirement jumps to L/720. That means the floor can only move 1/720th of the span. If you exceed that, the grout becomes the sacrificial lamb. In many modern homes, the use of OSB (Oriented Strand Board) instead of high-grade plywood introduces more variables. OSB can swell at the edges if it gets wet during construction, creating peaks and valleys. If you do not perform a proper floor leveling operation before the tile goes down, you are building on a foundation of sand. Laminate and carpet install methods are more forgiving of these minor dips, but tile is a merciless judge of your subfloor preparation. If the subfloor moves, the tile moves. If the tile moves, the grout cracks. It is that simple. I always tell my apprentices that the floor is only as good as what is underneath it. You can buy the most expensive Italian marble in the world, but if your joists are weak, your floor will look like a spiderweb of cracks within six months.
“A floor is only as good as the subfloor beneath it; deflection is the enemy of every joint.” – Master Flooring Axiom
The chemistry of grout failure and moisture
Grout failure is often driven by improper water-to-powder ratios or the premature evaporation of moisture during the curing process. If the installer adds too much water to the bucket to make the grout easier to spread, they are essentially diluting the polymer chains that hold the mixture together. As that excess water evaporates, it leaves behind microscopic voids. These voids make the grout porous and weak. Conversely, if the environment is too dry, like a house in Phoenix during the summer, the moisture can leave the grout before the cement has fully hydrated. This leads to a soft, chalky finish that will crumble at the slightest touch. We also have to talk about the chemistry of showers. If you have a leaking shower pan or poor waterproofing, moisture will migrate into the substrate. This moisture causes the wood studs to swell. As the wood expands, it pushes against the tile. Since grout has no elasticity, it cannot absorb that pressure. It has to give. Most people think grout is waterproof. It is not. It is a sponge. Without a high-quality sealer or an epoxy-based product, you are inviting moisture to live behind your tiles. This leads to the decay of the thin-set and the eventual failure of the entire installation. I have pulled up floors where the plywood was so rotted it looked like mulch, all because someone didn’t use a moisture barrier or didn’t understand the capillary action of water in a grout joint.
| Material Property | Sanded Cement Grout | Epoxy Grout | High-Performance Polymer |
|---|---|---|---|
| Flexibility | Very Low | High | Moderate |
| Water Resistance | Low | Excellent | Very High |
| Shrinkage Risk | High | None | Minimal |
| Chemical Resistance | Poor | High | Moderate |
Why change of plane requires flexibility
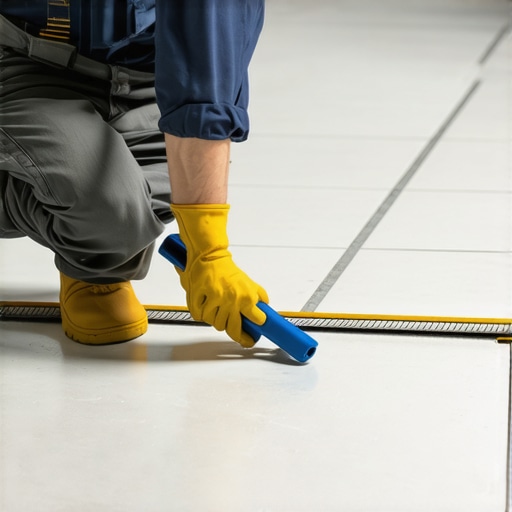
A change of plane occurs wherever two surfaces meet at a ninety degree angle such as a floor meeting a wall. These areas are hotspots for structural movement because the wall studs and the floor joists often move in different directions. According to the Tile Council of North America, these joints should never be filled with grout. Instead, they require a flexible sealant, usually a 100 percent silicone caulk that matches the color of the grout. This is the single most common mistake in residential construction. Builders use grout in the corners because it is faster and cheaper. But as the house settles, those corners are the first thing to crack. It is a visual disaster and a functional failure. In showers, a cracked corner joint is an entry point for water that will eventually rot your wall plates. I have spent years explaining to homeowners why I am putting caulk in their beautiful new shower. They think it looks like a shortcut. I tell them it is the only thing keeping their bathroom from falling apart. Silicone can stretch and compress. Grout can only break. If you want a floor that lasts thirty years, you have to plan for movement. You have to respect the expansion gaps at the perimeter. If you tight-fit your tile against the baseboards, the floor has nowhere to go when the humidity spikes. It will tent or the grout will explode in the center of the room. This is the same logic we use for laminate installations. You leave a gap. You cover it with molding. You let the floor breathe.
- Check subfloor for deflection using a straightedge and string line.
- Ensure all plywood or OSB seams are sanded flat.
- Apply a high-quality primer before using self-leveling underlayment.
- Use 100 percent silicone in all vertical and horizontal change of plane joints.
- Mix grout using a low-speed drill to avoid introducing air bubbles.
- Monitor the job site temperature to prevent flash drying.
The ghost in the expansion gap
Expansion gaps are the lungs of a flooring system and their absence is the primary cause of buckling and grout failure. Every material has a coefficient of thermal expansion. Wood moves a lot. Tile moves a little. Concrete moves somewhere in between. When you install a floor, you are creating a massive plate of material. In a large room, that plate can expand by a quarter of an inch or more depending on the seasonal changes. If that plate hits a wall, the pressure has to go somewhere. It either pushes the tile off the thin-set or it crushes the grout. This is why we leave a gap at the perimeter. It is also why large tiled areas need expansion joints every 20 to 25 feet. Most residential installers ignore this. They think it is only for commercial malls. Then they wonder why the grout is popping out in the middle of a kitchen. I have seen $20,000 floors ruined because the installer didn’t want to see a movement joint. You can disguise these joints under T-moldings or use specialized architectural profiles, but you cannot omit them. The physics of the earth and the climate do not care about your aesthetic preferences. If you are in a high-humidity area like Florida, your wood subfloors are going to expand like a sponge. If you are in a dry area, they will shrink. Your grout is caught in the middle of that tug of war. If you don’t give the floor a way to move, the floor will find its own way, and you won’t like the result.
“Movement joints are not an option; they are a structural necessity for the longevity of any rigid floor covering.” – TCNA Handbook EJ171
The 1/8 inch that ruins everything
Precise measurements and tolerances are what separate a master installation from a failure that cracks within a month. If your subfloor has a dip of 1/8 inch over a ten foot span, most people think it is fine. It is not. That 1/8 inch creates a void under the tile. When someone walks over that spot, the tile deflects into the void. This creates a shear force on the grout joint. Eventually, the bond breaks. This is why floor leveling is a non-negotiable step. I have used hundreds of bags of self-leveling compound over my career. It is expensive and it is a mess to work with, but it is the only way to guarantee a flat surface. You also have to consider the thickness of your thin-set. Using a larger notch trowel can help compensate for some minor irregularities, but it is not a substitute for a flat substrate. If the thin-set is too thick, it will shrink as it cures, pulling the tile down and creating lippage. Lippage is when the edge of one tile is higher than the next. This is a trip hazard and a grout killer. When the grout is forced to bridge a height difference, it is structurally compromised. It will chip and wear away much faster than a flush joint. Every professional knows that the work you do before you even open a bag of grout is what determines the success of the job. If you spend your time on the subfloor, the grout will take care of itself. If you rush the prep, no amount of high-tech grout will save you from the inevitable cracks.