The ‘Flashlight’ Check for Subfloor High Spots
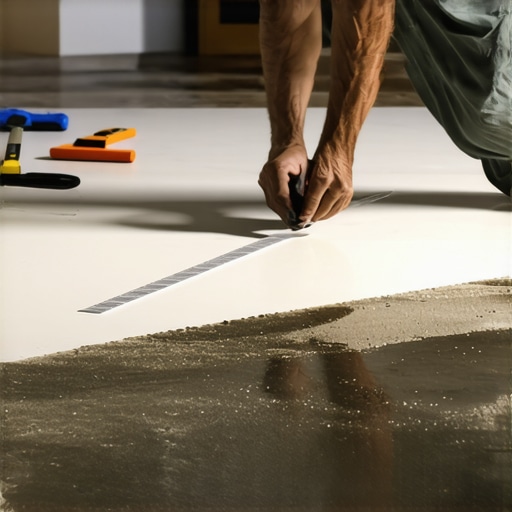
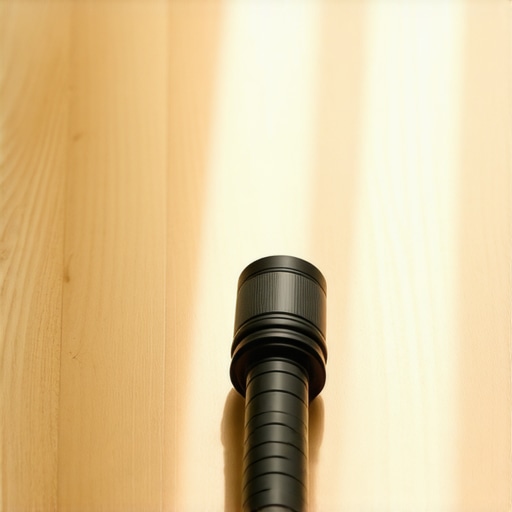
Most guys skip the leveling compound. They think the underlayment will hide the dip. It won’t. I spent three days grinding concrete on a job last month just so the floor wouldn’t click like a castanet. I walked into that house and the homeowner was bragging about their expensive wide-plank laminate. I didn’t even say a word. I just took my high-lumen flashlight, dropped it on the floor, and turned it on. The shadows looked like the Rocky Mountains. You could see every hump, every ridge, and every valley in that slab. The client went silent because the truth was right there in the light. They thought the floor was flat because it looked flat from six feet up. I proved it was a structural disaster before I even took a measurement. If you do not get your substrate dead flat, your locking mechanisms will fail and your investment will be garbage within two years.
The flashlight method exposes the lies of your subfloor
Floor leveling requires a flashlight check because low-angle light beams reveal surface deviations that the human eye cannot see from a standing position. Placing a light source parallel to the substrate exaggerates shadows at every high spot. This reveals the exact locations where grinding or self-leveling compound is mandatory for a successful install. You need to understand the physics of light refraction on a concrete or plywood surface. When a photon hits a microscopic peak on your subfloor, it creates a shadow on the opposite side. That shadow is often ten times longer than the height of the peak itself. This is why pros use this trick. We do not trust our eyes. We trust the shadows. If you see a shadow that looks like a dark blotch, you have a hump that needs to be ground down with a diamond cup wheel. If you see a pool of light that looks isolated, you have a birdbath or a dip that needs to be filled with a high-quality polymer-modified leveler. You are looking for a uniform, soft glow across the entire plane. Anything else is a warning sign of future flooring failure.
“A floor is only as good as the subfloor beneath it; deflection is the enemy of every joint.” – Master Flooring Axiom
Why a quarter inch of deviation destroys a floating floor
Laminate and LVP failure occurs when subfloor high spots create a fulcrum point that puts excessive stress on the tongue and groove locking systems. Most manufacturers mandate a flatness tolerance of 1/8 inch over a 10-foot radius. Exceeding this limit causes the boards to flex, eventually snapping the thin plastic or HDF joints. When you walk across a floor with a high spot, the plank is forced to bend over that hump. This is mechanical stress. Over thousands of footsteps, that stress causes fatigue in the material. For laminate, this means the core starts to crumble. For LVP, the vinyl begins to stretch until the joint separates. You might think a thick underlayment will solve this, but that is a lie. While most people want the thickest underlayment, too much cushion actually causes the locking mechanisms on LVP to snap under pressure. The extra compression allows the joint to move too much, which is exactly what you want to avoid. You want a firm, flat base. The flashlight check is the only way to ensure you are meeting the technical specifications of the National Wood Flooring Association and the Tile Council of North America. If you ignore this, you are just waiting for your floor to start squeaking and popping.
| Flooring Type | Max Deviation (per 10 ft) | Moisture Limit | Acclimation Time |
|---|---|---|---|
| Solid Hardwood | 3/16 inch | 6 to 9 percent MC | 7 to 14 days |
| LVP Click Lock | 1/8 inch | 75 to 85 percent RH | 48 hours |
| Large Format Tile | 1/8 inch | Not Applicable | None |
| Laminate | 3/16 inch | Less than 12 percent MC | 48 hours |
The chemical reality of self leveling compounds
Self leveling compound is a specialized cementitious material designed to flow across a substrate and create a perfectly horizontal surface through gravity. These products use calcium aluminate cement and high-performance polymers to ensure a mechanical bond to the existing slab. Proper priming is the most important step in the chemical application process. You cannot just pour leveler onto a dusty floor and expect it to work. The concrete will suck the moisture out of the leveler so fast that the chemical reaction will stop. This leads to a chalky, weak surface that will delaminate. I use a high-solids acrylic primer. I scrub it into the pores of the concrete with a stiff-bristle broom. I wait for it to get tacky. Then, and only then, do I mix the bags. You have to follow the water ratio to the milliliter. If you add too much water, the polymers will separate and float to the top, creating a white, brittle film. If you use too little, the stuff won’t flow and you will be left with a mess that is even worse than the original high spot. This is chemistry, not art. You are creating a new structural layer that must withstand the hydrostatic pressure of the slab and the weight of the furniture above it.
Structural deflection and the failure of thin set
Showers and tile installations require a substrate with a deflection rating of L over 360 to prevent grout cracking and waterproof membrane failure. Thin set mortar is a bonding agent, not a structural filler, and it cannot compensate for a subfloor that bounces. If the subfloor moves, the tile will crack. I have seen so many guys try to use thin-set to level a floor. It is a disaster. Thin-set shrinks as it cures. If you put it on an inch thick in one spot and an eighth of an inch in another, the shrinking will be uneven. This pulls on the tile and creates tension. In showers, this is even more dangerous. If the substrate flexes, the waterproofing membrane can tear at the corners. Then you have water leaking into your floor joists. You need to check the joist spacing and the thickness of the subfloor before you even think about tile. If you have a 16-inch on-center joist system with only a single layer of 5/8-inch plywood, you do not have enough support. You need to add another layer of exterior-grade plywood or a cement backer board that is properly thin-set and screwed down. This creates a monolithic slab that won’t move under the weight of a person or a tub full of water.
“Subfloor flatness is not a suggestion; it is a structural mandate for the longevity of the finished surface.” – NWFA Technical Manual
- Sweep the room to bare substrate and remove all debris.
- Dim the overhead lighting to increase shadow contrast.
- Place a high-lumen flashlight parallel to the floor at the edge of the room.
- Mark every high spot shadow with a carpenter pencil.
- Rotate the light 90 degrees and repeat the process to find ridges.
- Check the marked areas with a 10-foot straightedge to quantify the height.
Moisture barriers and the invisible hydrostatic pressure
Carpet install and laminate projects often fail because of moisture vapor emission from the subfloor that was never tested or blocked. Concrete slabs act like a sponge, drawing water from the earth and pushing it upward as vapor. A 6-mil polyethylene plastic barrier is the standard requirement for most floating floors. Even if a slab looks dry, it is probably breathing moisture. If you trap that moisture under a laminate floor without a barrier, the HDF core will swell. The edges of the planks will lift, a condition known as peaking. If you are doing a carpet install over concrete, the pad will trap that moisture and start to grow mold. This is why I always use a calcium chloride test or a pinless moisture meter. If the readings are high, you need a liquid-applied moisture vapor barrier. These are epoxy-based coatings that soak into the concrete and seal the pores. It is expensive, but it is cheaper than replacing a whole floor. You have to respect the environment of the house. A crawlspace with high humidity is a death sentence for solid hardwood unless you seal the ground and use a dehumidifier. The wood cells will expand as they take on water, and the floor will cup until it looks like a washboard.
The final check for a professional finish
A successful flooring project ends with a final flashlight check after the leveling compound has cured and the substrate is prepared. This second inspection confirms that all high spots have been mitigated and the surface meets the required flatness tolerances. Skipping this step risks discovering a problem only after the expensive finished floor is installed. I never start laying planks until I have walked the floor with a level and a light one last time. I look for any stray drips of leveler or any missed high spots from the grinding process. This is about pride in the work. A hack will just start throwing wood down and hope the baseboards cover the mess. A pro knows that the baseboard won’t hide the sound of a floor that clicks when the homeowner walks on it. You have to be meticulous. You have to be the guy who cares more about the subfloor than the color of the oak. Because at the end of the day, the color doesn’t matter if the joints are broken. Treat every floor like a structural engineering challenge. Use the light. Find the high spots. Fix them before they ruin your reputation.”,”image”:{“imagePrompt”:”A professional floor installer kneeling on a concrete subfloor in a dimly lit room, holding a high-powered flashlight flat against the ground to reveal high spots and uneven textures, tools and carpenter pencils nearby, cinematic lighting, hyper-realistic, 8k.”,”imageTitle”:”Subfloor Flashlight Inspection Technique”,”imageAlt”:”Installer using a flashlight to check for high spots on a concrete subfloor”},”categoryId”:1,”postTime”:”2023-10-27T10:00:00Z”}