The ‘Dime Test’ for Checking if Your Subfloor is Smooth Enough
The physics of subfloor flatness and the dime test
Most guys skip the leveling compound. They think the underlayment will hide the dip. It won’t. I spent three days grinding concrete on a job last month just so the floor wouldn’t click like a castanet. I have spent twenty-five years with sawdust under my nails and the smell of WD-40 on my clothes. I have seen fifteen thousand dollar walnut floors turn into potato chips because an installer thought a little moisture in the crawlspace was no big deal. When you are standing on a finished floor, you are standing on the culmination of structural engineering decisions, not just a pretty surface. If the subfloor is garbage, the finish is garbage. Period.
The math of the dime test for laminate floors
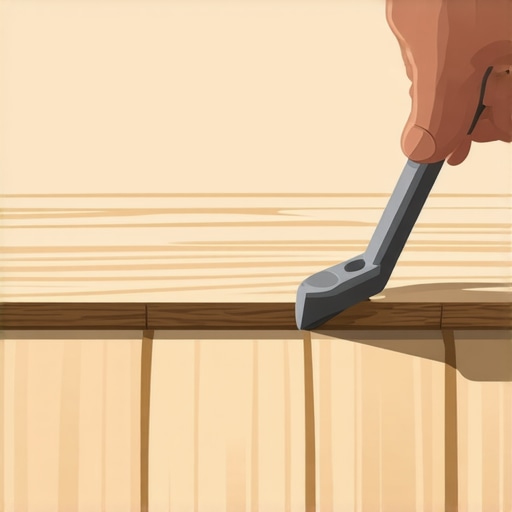
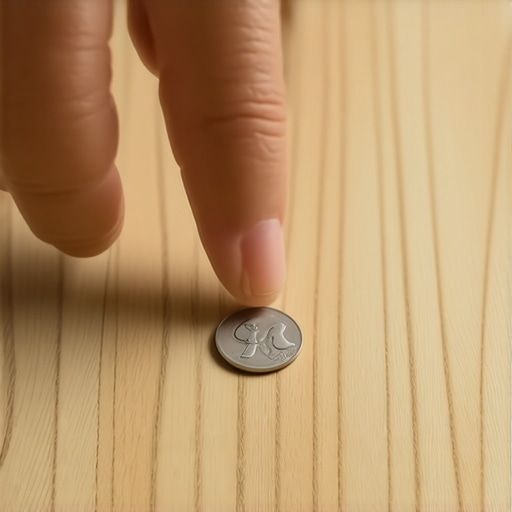
The dime test is a practical field measurement where a standard U.S. dime, which is exactly 1.35 millimeters thick, is used to gauge the flatness of a subfloor over a ten foot radius. If a dime can slide under a straightedge, the floor needs leveling. This simple test determines if your laminate or LVP will survive the next decade. When we talk about laminate, we are talking about high-density fiberboard cores that rely on thin, brittle locking mechanisms. These tongues and grooves are not designed to be structural bridges. If there is a dip in the subfloor, every time you step on that plank, the joint flexes. Over a few thousand cycles of walking to the refrigerator, that fiberboard fatigues. The click-lock snaps. Suddenly, you have a gap that collects dirt and moisture. You can avoid this by ensuring your subfloor does not deviate more than 1/8 inch over ten feet. A dime is your best friend here because it is a consistent, physical limit. If that coin slides under your level, you have work to do. I have seen homeowners try to compensate with thick padding. This is a recipe for disaster. Too much cushion actually increases the vertical travel of the joint, causing the locking mechanism to snap even faster under the pressure of foot traffic.
“A floor is only as good as the subfloor beneath it; deflection is the enemy of every joint.” – Master Flooring Axiom
The ghost in the expansion gap
An expansion gap is a mandatory perimeter space, usually 1/4 to 1/2 inch wide, that allows a floating floor to expand and contract with seasonal humidity changes. Without this gap, the floor will buckle or peak against the drywall or baseboards when temperatures rise. People treat these gaps like they are optional. They are not. I have walked into jobs where the LVP was pushing the baseboards off the wall. The physics are simple. Wood and plastic expand. If they have nowhere to go, they go up. In a shower, the stakes are even higher. If you are prepping for a tile floor leveling project in a wet area, you aren’t just looking for flatness; you are looking for the perfect pitch toward the drain. The Tile Council of North America is very clear about this. You need a slope of 1/4 inch per foot for proper drainage. If your subfloor has a birdbath, a low spot where water sits, you are going to get mold. I do not care how much waterproof membrane you use. Standing water is the enemy of every adhesive bond. You have to grind the high spots and fill the low spots with a high-compressive-strength patch. We are talking 3,000 to 5,000 PSI stuff. Anything less and the weight of the tile will eventually crush the leveling compound, leading to cracked grout lines.
The 1/8 inch that ruins everything
Subfloor smoothness is measured by the lack of abrupt ridges or pits, whereas flatness is the overall plane of the surface. A floor can be level but not smooth, and smooth but not level, but for flooring, flatness is the priority for mechanical stability. When you are doing a carpet install, people get lazy. They think the 7/16 inch 8-pound pad will hide everything. It hides the visual, sure. But you will feel that 1/8 inch dip every time you walk over it. It feels like a soft spot in the house. It makes the homeowner think the joists are rotting. In reality, it is just a low spot in the OSB. For hardwood, the NWFA specifies that the subfloor must be flat to within 3/16 inch in 10 feet. If you are installing wide-plank flooring, that tolerance gets even tighter. The wider the plank, the less it can tolerate a subfloor that is not dead flat. If you nail a 7-inch wide oak plank over a dip, you are literally bending the wood. That creates internal tension. Eventually, that tension wins, and the floor starts squeaking or the finish starts checking. I use a 10-foot magnesium straightedge. I drag it across the room. Every time I see light under that bar, I mark it with a red crayon. Red means the grinder or the trowel.
| Metric | Tolerance (10 ft) | Tool Used | Consequence of Failure |
|---|---|---|---|
| Laminate Flatness | 1/8 inch | 10-foot Straightedge | Broken Locking Joints |
| Hardwood Flatness | 3/16 inch | Dime or Feeler Gauge | Squeaks and Creaks |
| LVP Flatness | 3/16 inch | Straightedge | Plank Separation |
| Tile Substrate | 1/8 inch | Straightedge | Cracked Grout or Lippage |
Why your subfloor is lying to you
Subfloor materials like OSB and plywood react differently to moisture, with OSB often swelling at the edges and staying swollen even after drying out, creating permanent ridges. Plywood tends to delaminate if exposed to excessive moisture from a concrete slab or crawlspace. You have to look at the chemistry of the bond. If you are pouring a self-leveling underlayment (SLU), you cannot just dump it on the floor. You need a primer. The primer is a polymer-based liquid that seals the pores of the wood or concrete. If you skip the primer, the subfloor will suck the water out of the leveling compound before it has a chance to hydrate and flow. This results in a brittle, chalky mess that will eventually delaminate. I have seen guys try to level a floor without cleaning the dust first. The SLU just sits on top of the dust. It is like trying to glue two pieces of paper together with a layer of sand in between. It will fail. You need a mechanical bond. For concrete slabs, you also have to worry about the MVER (Moisture Vapor Emission Rate). If that slab is pumping out more than 3 pounds of moisture per 1,000 square feet, your leveling compound and your flooring are in trouble. You need a vapor barrier. I prefer a 6-mil poly film for floating floors, but for glue-down, you need an epoxy-based moisture mitigator.
“Surface preparation is 70 percent of the job; the flooring is just the victory lap.” – TCNA Guide Insights
The chemistry of the perfect pour
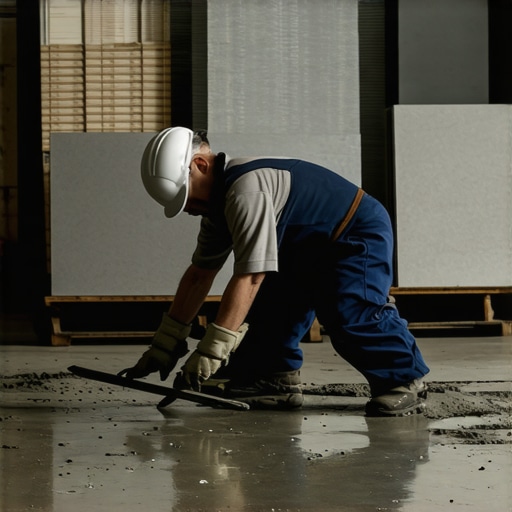
High-flow self-leveling compounds use calcium aluminate cements to provide fast setting times and high early strength, which is vital for preventing the floor from shifting under heavy furniture. These compounds must reach a specific specific gravity to ensure they are thin enough to find the low spots. When I am mixing a batch of leveler, I am looking for the consistency of pancake batter. Too thick and it won’t self-level. Too thin and the aggregate will settle to the bottom, leaving a weak, watery surface. We use a spiked roller to release the air bubbles. If you leave air in the mix, you get pinholes. Pinholes are weak points. When you are prepping for showers, you are often using a modified thin-set. This is Portland cement mixed with sand and polymers like ethylene-vinyl acetate. These polymers give the cement flexibility. Why do you need flexibility? Because houses move. They breathe. If your subfloor prep is too rigid, it will crack during the first winter-to-summer transition. This is why we use anti-fracture membranes over the leveling compound. It decouples the tile from the subfloor movement. It is structural insurance.
- Check subfloor for squeaks and screw down loose sheets every 6 inches.
- Sweep and vacuum twice to ensure zero dust for the primer bond.
- Identify high spots using a 10-foot straightedge and a dime for the gap test.
- Grind down concrete humps with a diamond-cup wheel and HEPA vacuum.
- Apply the correct primer for the specific leveling compound being used.
- Mix leveling compound with a high-shear mixer to avoid lumps.
- Pour in a continuous wet-edge fashion to avoid cold joints in the floor.
The brutal reality of floor leveling
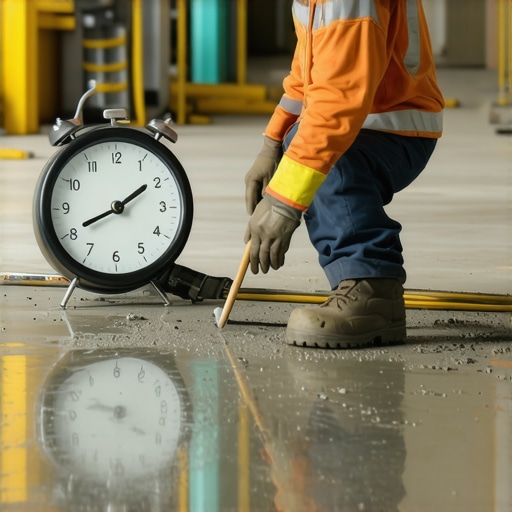
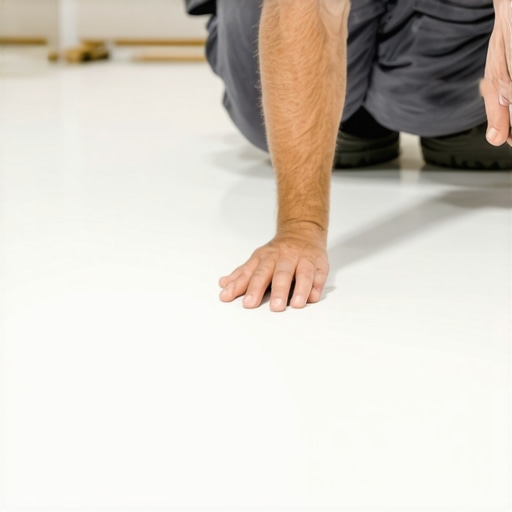
Floor leveling is a precision task that requires the installer to manage the pot life of the material, which is often as short as 15 minutes, while ensuring the surface remains within 1/8 inch flatness. Failure to move quickly results in ridges that must be ground down later. It is back-breaking work. It is also the most important part of the job. If you are doing a laminate install, and you ignore a dip, that floor will bounce. It feels cheap. A good floor should feel like you are walking on solid rock. That solid feeling comes from the subfloor contact. If there is air under the plank, you have a drum. Every footstep will echo. This is why the dime test is so effective. It is a reality check. It tells you exactly where the air is. I tell my apprentices that the floor doesn’t lie. You can hide a bad cut under a baseboard, but you can’t hide a bad subfloor. The physics of weight distribution will find that hole every time. Whether it is a kitchen island weighing five hundred pounds or a heavy refrigerator, that weight is going to push the floor into the dip. If the dip is deeper than a dime, the floor breaks. It is that simple. Don’t be the guy who thinks the pad will save him. It won’t. Get on your knees, grab a dime, and do the work correctly the first time.