How to Hide Scratches in Laminate Flooring Using a Crayon
Most guys skip the leveling compound. They think the underlayment will hide the dip. It won’t. I spent three days grinding concrete on a job last month just so the floor wouldn’t click like a castanet. That is the reality of my world. I have spent 25 years with sawdust under my nails and the smell of WD-40 on my shirt. I do not look at a floor as a pretty pattern. I see it as a structural assembly of layers, physics, and chemical bonds. When you see a scratch on your laminate, you see an eyesore. I see a breach in the aluminum oxide wear layer that exposes the decorative print film and the high-density fiberboard core to the elements.
The physics of the wax repair method
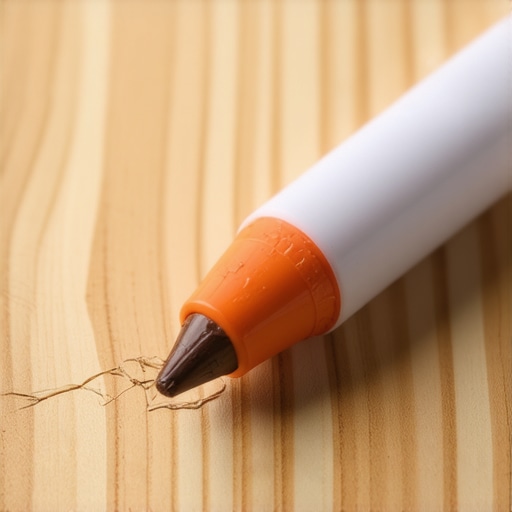
To hide scratches in laminate flooring using a crayon, you must select a wax filler stick that matches your floor color, clean the area of debris, rub the wax into the gouge until it is overfilled, and buff away the excess with a soft cloth. This process works because the paraffin or carnauba wax molecules fill the void in the melamine resin, preventing moisture from reaching the core. It is a mechanical bond that relies on the friction heat of your application to create a seal against the edges of the scratch. I have seen thousands of these floors, and while a crayon is a temporary fix, it is surprisingly effective for minor surface abrasions that have not penetrated the core material.
[image-placeholder]
Why your subfloor is lying to you
A successful laminate repair depends on the stability of the planks, which is directly tied to whether you used proper floor leveling techniques during the initial installation. If your subfloor has a dip of more than 3/16 of an inch over a 10 foot radius, your planks will flex. That flex puts tension on the wear layer. When you try to fill a scratch with wax on a floor that bounces, the wax will just pop right out. I tell my clients that they can spend the money on a self leveling underlayment now or they can spend it on replacing the floor in three years. Most people choose the latter and then call me back when the clicking starts. You have to understand that laminate is a floating system. It is not glued down like a traditional hardwood or a carpet install where you have a secondary backing and a pad to hide sins. Laminate is honest. It shows every bump in the concrete.
“A floor is only as good as the subfloor beneath it; deflection is the enemy of every joint.” – Master Flooring Axiom
The chemistry of the laminate wear layer
Laminate flooring is composed of a wear layer made of aluminum oxide and melamine resin which provides the primary resistance to scratches and impact. Underneath that is the decorative layer, which is essentially a high resolution photograph of wood or stone. The core is high density fiberboard, which is basically sawdust and resin pressed together under immense pressure. When you scratch the floor, you are tearing through that aluminum oxide. This layer is measured in AC ratings. An AC3 rating is fine for a bedroom, but if you have a high traffic hallway or a room near showers where moisture is present, you should have gone with AC4 or AC5. The crayon works because it mimics the refractive index of the resin, making the white line of the scratch disappear to the naked eye.
Selecting the right wax for the job
You cannot just grab a child’s coloring crayon and expect a professional result because floor specific wax sticks have a higher melting point and harder finish. I always keep a kit of hard wax sticks in my truck. These are not your average school supplies. They are formulated to withstand the heat generated by foot traffic. If you use a soft crayon, the wax will melt and track across the floor the first time the sun hits it through a window. You need a material that can handle the expansion and contraction of the planks. Every floor moves. It is breathing based on the humidity in your house. If you live in a place like New Orleans or Houston, that floor is expanding like a sponge. If you are in the high desert, it is shrinking. Your filler needs to move with it.
| Material Type | Janka Hardness Equivalent | Wear Layer Thickness | Recommended Use |
|---|---|---|---|
| Laminate AC3 | 1300 lbf | 0.3 mm | Residential Bedrooms |
| Laminate AC4 | 1800 lbf | 0.5 mm | Living Areas |
| Laminate AC5 | 2200 lbf | 0.7 mm | Commercial Spaces |
| Solid White Oak | 1360 lbf | 6.0 mm (Wear) | High End Residential |
The ghost in the expansion gap
The most common reason for floor failure and increased scratching is a lack of proper expansion gaps at the perimeter of the room. I see this all the time. A DIYer installs the floor tight against the baseboard. When the humidity rises, the floor has nowhere to go. It peaks. This creates high spots on the edges of the planks. Those high spots get hit by vacuum cleaners and shoes more often, leading to the very scratches you are trying to fix with a crayon. You need a minimum of a quarter inch gap. I prefer 3/8 of an inch. We cover that with shoe molding or quarter round. If your floor is buckling because it is too tight, no amount of wax is going to save your aesthetic. You have to give the floor room to live.
Step by step guide to the wax repair
Follow this checklist to ensure your wax repair lasts longer than a week and actually blends into the grain of the floor.
- Clean the scratch with denatured alcohol to remove any floor wax or cleaning residue.
- Select a color slightly darker than the floor as wax tends to look lighter once buffed.
- Warm the wax stick in your hand for two minutes to increase pliability.
- Apply the wax in a perpendicular motion across the scratch to pack it tight.
- Use a plastic scraper or an old credit card to level the wax with the surface.
- Buff the area with a microfiber cloth using rapid, light circular motions.
- Wait 24 hours before using a damp mop on the area.
Moisture and the laminate core
Water is the primary enemy of any laminate floor, especially once the protective wear layer has been compromised by a deep scratch. If you have laminate near showers or in a kitchen, a scratch is an open door for water. Once moisture hits the fiberboard core, it swells. This is called edge flare. You cannot fix edge flare with a crayon. You cannot fix it with a hammer. You can only fix it by replacing the plank. This is why I tell people to treat every scratch immediately. The wax act as a dam. It keeps the accidental spill from turning your floor into a topographical map of the Swiss Alps. Most people think their floor is waterproof. It is not. The surface is water resistant. The joints are the weak point. A scratch near a joint is a ticking time bomb.
“Laminate performance is defined by the integrity of its topical seal and the flatness of its substrate.” – NWFA Technical Guidelines
The 1/8 inch that ruins everything
Precision is the difference between a master and an amateur, and this applies to both the depth of your scratch and the levelness of your floor. I have spent my life measuring things down to the 32nd of an inch. When you are filling a scratch, you are dealing with a microscopic canyon. If you leave a hump of wax, it will collect dirt. That dirt acts like sandpaper. Within a month, you will have a black ring around your repair. You must get the wax perfectly flush. I use a specialized leveler tool, but you can use anything flat and plastic. Never use metal. A metal putty knife will just create more scratches, and then you will be back at the store buying more crayons. I have seen guys ruin a whole room because they got frustrated and started hacking away with a steel scraper.
When the crayon is not enough
Deep gouges that reach the subfloor or wide chips from dropped heavy objects require a two part epoxy or a hard resin melt rather than a simple wax stick. If you can see the grey or brown fiberboard clearly, and it is wider than a 16th of an inch, a crayon will look like a smudge. In those cases, I use a battery powered melting tool and hard resin bars. This creates a permanent plastic bond that is nearly as hard as the original wear layer. It is a more technical process. You have to blend three or four colors of resin to match the wood grain. You have to mimic the cathedrals and the knots in the oak print. It is an art form. But for the average homeowner with a few dog claw marks or a scrape from a chair leg, the wax stick is the gold standard for a quick and cheap fix.