Why your floor leveler is cracking in a spiderweb pattern
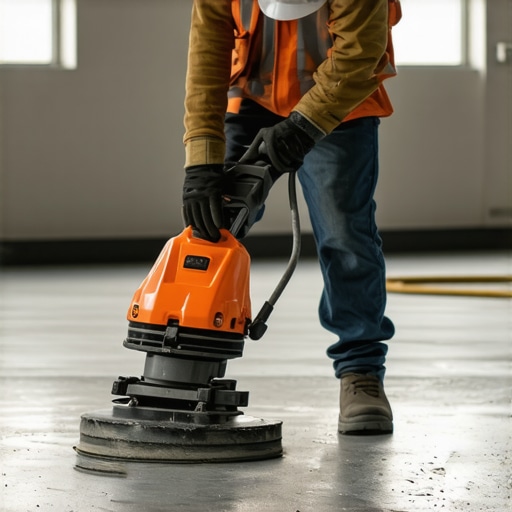
I spent three days grinding concrete on a job last month just so the floor wouldn’t click like a castanet. Most guys skip the leveling compound. They think the underlayment will hide the dip. It won’t. I walked into a site recently where the leveler looked like a dry lake bed in the Mojave. It was a spiderweb of fine cracks, technically known as crazing, and it was crunching under every step. The homeowner was panicked, thinking the house was settling. I told him the truth. His installer didn’t understand the chemistry of hydration or the physics of a mechanical bond.
The physics of the spiderweb crack
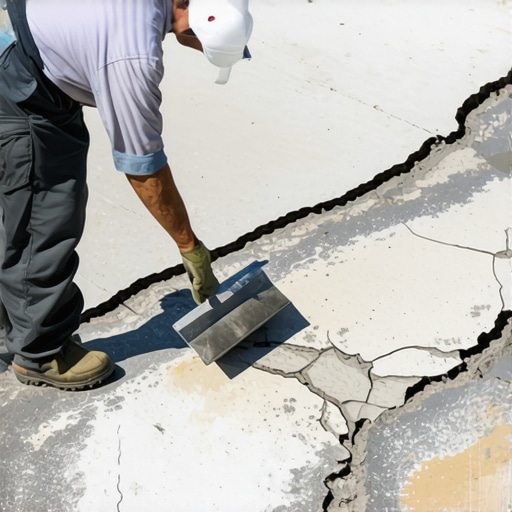
A spiderweb pattern in floor leveler occurs when the surface dries faster than the bottom, leading to shrinkage at the top layer. This differential drying creates surface tension that the compound cannot withstand, resulting in fine, interconnected cracks. It is usually caused by excessive water in the mix or failing to prime the substrate. When you pour a self-leveling underlayment, you are initiating a complex chemical reaction. This is not just wet mud becoming dry mud. It is a crystallization process. If the water-to-powder ratio is off by even a few ounces, the structural integrity of the lattice is compromised. The excess water rises to the top, a process called bleeding, and creates a weak, brittle surface that shrinks as the water evaporates. This is why the floor leveler looks like a shattered mirror before you even lay your first plank of laminate or roll of carpet.
The ghost in the expansion gap
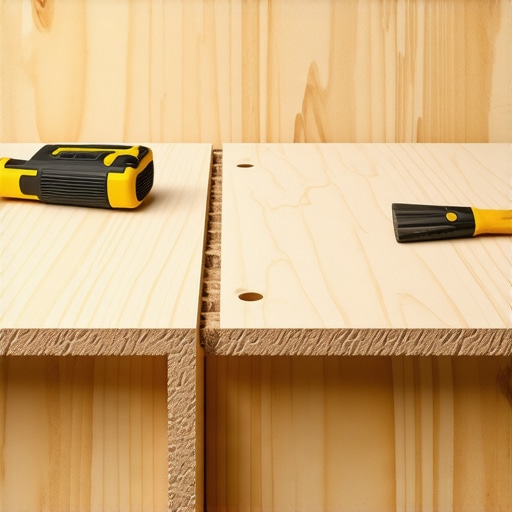
Expansion gaps at the perimeter are vital because every building moves, and floor leveler is a rigid material that cannot absorb structural shifts. Without a gap, the leveler binds against the walls and cracks under the pressure of thermal expansion or minor foundation settling. I see this in every kitchen install where someone tried to be too neat. They pour the leveler right up against the drywall. Then the sun hits the floor, the house breathes, and the leveler has nowhere to go. It buckles. It cracks. It loses its bond with the substrate. You need a foam sill plate or at least a half-inch of space around the entire perimeter. If you do not provide a relief valve for that energy, the leveler will create its own through a network of cracks that will eventually telegraph through your vinyl or snap the tongues off your laminate planks.
“A floor is only as good as the subfloor beneath it; deflection is the enemy of every joint.” – Master Flooring Axiom
Chemical bonds and the failure of primer
Primer acts as a bridge between the porous substrate and the leveling compound, preventing the subfloor from sucking the moisture out of the leveler too quickly. If the subfloor is not primed, the leveler loses its hydration water into the wood or concrete, leading to rapid shrinkage and cracking. Think of concrete like a giant sponge. It looks solid, but it is full of capillaries. When you pour a wet slurry on top of dry concrete without a primer, that sponge pulls the water out of the bottom of your leveler instantly. This ruins the hydration process. The leveler fails to form its crystalline structure at the bond line. This is the primary reason for delamination. You can have the strongest leveler in the world, but if it is sitting on a layer of dust and dry concrete, it is just a very expensive sheet of crackers waiting to break.
Why your subfloor is lying to you
Subfloor deflection is the hidden movement of the joists or the plywood that causes rigid levelers to fail. If the floor has too much bounce, the leveler, which has zero flexibility, will crack into pieces the moment someone walks across the finished surface. I have seen guys try to level a floor over 16-inch on-center joists with 5/8-inch plywood that was already sagging. They poured two inches of mud on it, thinking the weight would stabilize it. Instead, the weight increased the deflection. Every time you walk on a floor like that, the plywood bends, but the leveler stays stiff. Something has to give. Usually, it is the leveler. You need a stiff substrate, often requiring an extra layer of 3/8-inch plywood screwed down every six inches, before you even think about the leveler.
The math of the perfect mix
The water-to-powder ratio must be measured with a graduated cylinder because even a tiny amount of extra water can reduce the compressive strength of the leveler by fifty percent. Over-watering is the most common cause of spiderweb cracks and powdery surface finishes in residential construction. I see guys use an old five-gallon bucket and just eyeball the water line. That is a recipe for disaster. Different manufacturers have different requirements. Some want 5.5 quarts; some want 6. If you put in 6.5, you have changed the chemistry. The polymers that are supposed to hold the cement together get diluted. When the floor dries, you end up with a layer of laitance, which is a weak, milky residue on top. You cannot glue a floor to laitance. You cannot even walk on it without it turning to dust. Precision is the difference between a floor that lasts fifty years and one that fails in fifty minutes.
| Compound Type | PSI Strength | Drying Time | Best Use Case |
|---|---|---|---|
| Portland Base | 4000 | 24 Hours | General leveling over concrete |
| High-Flow SLU | 5500 | 12 Hours | Radiant heat systems |
| Gypsum Base | 3000 | 48 Hours | Wood subfloors and old homes |
| Rapid Set Mud | 6000 | 4 Hours | Commercial repair and showers |
The checklist for a stable surface
- Vacuum the substrate twice to remove every grain of dust and sawdust.
- Check for bond-breaking contaminants like oil, wax, or old adhesive residue.
- Seal the perimeter with foam tape to ensure a consistent expansion gap.
- Measure water with a graduated cylinder to the exact milliliter.
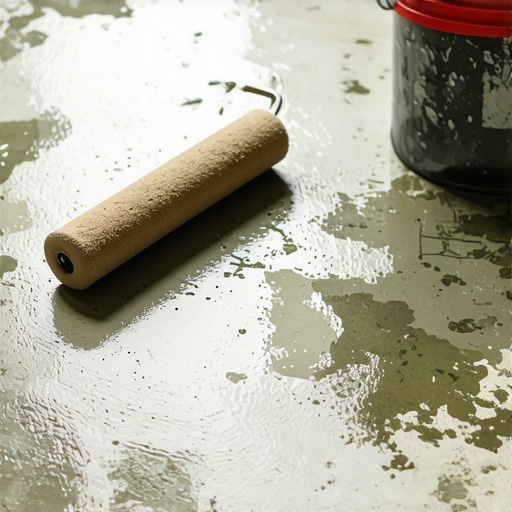
- Use a spike roller during the pour to release trapped air bubbles.
- Keep the room at a constant temperature to prevent rapid evaporation.
“Substrate preparation is 90 percent of the labor; the pour is just the victory lap.” – TCNA Guidelines
The threat of hydrostatic pressure
Hydrostatic pressure is the force of water vapor moving up through a concrete slab, which can push the leveler off the surface and cause it to crack and pop. This is especially common in basements where the water table is high or the vapor barrier is missing. If you are pouring leveler on a slab, you have to do a calcium chloride test. You need to know how many pounds of moisture are coming out of that floor every twenty-four hours. If it is over three pounds, you need a moisture vapor barrier. If you ignore this, the moisture will gather under the leveler, dissolve the bond, and cause the whole thing to lift. I have seen entire basement floors that you could peel up like a giant scab because the installer ignored the vapor drive. It does not matter how good your leveler is if the earth is pushing it off the floor. [IMAGE_PLACEHOLDER]
The 1/8 inch that ruins everything
Precision in floor leveling is measured in eighths of an inch over ten feet, and failing to meet this standard will cause modern click-lock flooring to separate at the seams. While most people want the thickest underlayment, too much cushion actually causes the locking mechanisms on LVP to snap under pressure. This is the contrarian truth of the flooring world. People think a thick, squishy underlayment will hide a bad leveling job. It does the opposite. It provides a void. When you step on the floor, the plank sinks into that void, and the plastic locking tongue snaps. You need a floor that is flat, not just level. Flat means no hills and no valleys. If you have a spiderweb crack, that crack is a ridge. That ridge will wear through the back of your vinyl or create a pivot point for your hardwood. You have to grind those cracks down or fill them with a high-strength epoxy before you move forward. There are no shortcuts in subfloor prep. You either do it right the first time, or you do it twice, and the second time is always more expensive because you have to tear out the finished floor first.