Why your shower floor feels gritty after it dries
The phantom sand under your feet
You step out of the shower and wait for the porcelain or natural stone to dry. Instead of a smooth, clean surface, your soles meet a fine, abrasive texture. It feels like someone tracked a handful of beach sand across the pan. This is not just a cleaning oversight. As a master installer with twenty five years of sawdust under my nails, I can tell you that a gritty shower floor is usually the result of a chemical or structural failure. Most guys skip the leveling compound. They think the underlayment will hide the dip. It won’t. I spent three days grinding concrete on a job last month just so the floor wouldn’t click like a castanet, and showers are even more demanding. When a shower floor feels gritty, you are likely feeling the physical manifestation of mineral deposits, grout haze residue, or the movement of salts from the mortar bed through the tile joints. This isn’t just about aesthetics. It is a sign that the moisture management system within your floor is interacting poorly with your local environment.
The chemical bond of grout haze
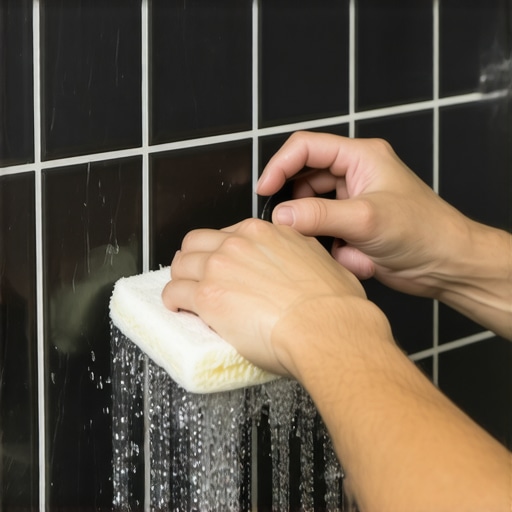
Grout haze is a microscopic layer of cementitious material or polymer resin left on the surface of the tile during the installation process. If the installer was sloppy with their sponge work, a thin film of grout remains. When wet, this film becomes translucent and almost invisible. As the water evaporates, the polymers and fine aggregates in the grout contract and harden, creating a sandpaper-like texture. This is especially common with modern high-performance grouts that use epoxy resins or specialized additives designed for color consistency. These materials are engineered to be incredibly durable, which makes them a nightmare to remove once they have fully cured on the face of the tile. Unlike a standard carpet install where the mistakes are hidden by the pile, a tile failure is immediate and tactile. If you are feeling grit, you are essentially walking on the bones of the grout that should have been wiped away during the initial wash. Removal requires specific acidic cleaners or alkaline strippers, depending on the grout chemistry. You cannot just scrub this away with soap and water because the bond is formed at a molecular level between the tile glaze and the grout residue.
“A floor is only as good as the subfloor beneath it; deflection is the enemy of every joint.” – Master Flooring Axiom
Efflorescence and the movement of salts
Efflorescence is the white, powdery, and often gritty substance that appears on the surface of masonry and tile. It occurs when water travels through the subfloor or the mortar bed, dissolves soluble salts, and carries them to the surface. As the water dries, the salts are left behind. This is a common issue in showers where the floor leveling was done incorrectly, allowing water to pool in the mud bed. When the shower is not in use, capillary action draws that moisture back up through the grout lines. The grit you feel is literally the internal minerals of your subfloor being vomited onto your finished surface. This is a structural engineering challenge. If your shower pan was not sloped correctly to the drain at the sub-membrane level, you have a reservoir of stagnant water beneath your feet. That water is a solvent. It breaks down the calcium hydroxide in the cement, leading to a perpetual cycle of grittiness that no amount of surface cleaning can stop. You must address the moisture migration within the assembly to end the salt deposits.
The physics of hard water and mineral calcification
In many regions, the water coming out of the shower head is packed with dissolved minerals like calcium and magnesium. As the shower floor dries, the water evaporates into the air, but the minerals have nowhere to go. They precipitate out and form a hard, crystalline structure on the tile. This is particularly noticeable on dark tiles or natural stones like slate and marble. Over time, these deposits build up into a crust that feels exactly like sand. This is not a failure of the tile, but a failure of water chemistry. The grit is a mineral matrix. If you compare this to a laminate floor in a dry area, the difference is the presence of a constant solvent. Hard water creates a calcified layer that traps skin cells, soap scum, and hair, creating a biological and mineral grit that is abrasive to the skin. To prevent this, a high quality sealer must be applied to the stone or grout to reduce the surface energy of the floor, making it harder for these minerals to find a foothold. Without a sealer, the tile surface is like a microscopic mountain range that catches every mineral flake that passes by.
| Deposit Type | Primary Cause | Texture Profile | Primary Solution |
|---|---|---|---|
| Grout Haze | Poor cleaning after install | Uniformly fine sand | Sulfamic acid or epoxy stripper |
| Efflorescence | Subfloor moisture migration | Crusty, white crystals | Fixing the weep holes and drainage |
| Hard Water | Evaporated mineral content | Spotty, jagged grit | Water softener or acidic cleaner |
| Sealant Breakdown | UV or chemical degradation | Flaky, sticky grit | Stripping and re-sealing |
Why your subfloor is lying to you
The foundation of the shower is where most installers fail. If the floor leveling process was ignored, the shower pan will have low spots. These low spots are the breeding ground for grit. While a carpet install might allow for a quarter inch dip over ten feet, a shower requires precision to the millimeter. Water that sits for hours in a low spot allows for greater mineral precipitation. It also allows the grout to stay saturated for longer periods, which accelerates the leaching of polymers. I have seen countless homeowners choose a beautiful mosaic tile only to have it ruined because the plumber didn’t set the drain low enough. This creates a lip where water stands. When that water dries, the grit is concentrated in those areas. You are feeling the physical evidence of a drainage failure. A floor is a performance surface, and if it is not moving water to the drain efficiently, the chemistry of the water will inevitably create an abrasive environment.
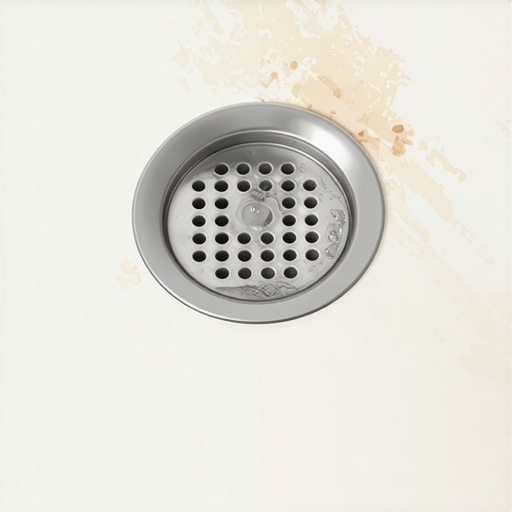
- Check the weep holes in the drain assembly to ensure they are not clogged with mortar.
- Use a pH neutral cleaner to avoid stripping the existing sealers.
- Inspect the grout lines for pinholes that allow excessive water penetration.
- Verify that the shower pan has a minimum slope of one quarter inch per foot.
- Test your water hardness to see if a whole house filtration system is necessary.
“Curing is not just drying; it is a chemical reaction that requires specific humidity levels to ensure the crystalline lattice of the cement reaches maximum density.” – TCNA Guide
The transition from wet to dry zones
The grit issue often migrates. If you have laminate or a fresh carpet install right outside the bathroom door, the grit from the shower will eventually find its way into those fibers or under the locking mechanisms. On a laminate floor, this grit acts like sandpaper, grinding down the wear layer every time you walk from the bathroom to the bedroom. This is why the integrity of the shower floor is so important. It is the beginning of the flooring ecosystem in your home. If the shower floor is shedding minerals or grout particles, you are essentially polluting the rest of your home’s flooring. Maintaining the shower floor is not just about your feet, it is about protecting the structural investment of the entire house. Addressing the grit requires a deep understanding of whether you are dealing with a topical residue or a deep seated moisture issue. If the grit returns within twenty four hours of a deep clean, you are dealing with efflorescence. If it takes a week, it is likely hard water. If it has been there since day one, it is grout haze. Understanding these timelines is the only way to fix the problem for good.