The ‘Sandpaper’ trick for fixing a tight laminate joint
The sandpaper method for tight laminate joints
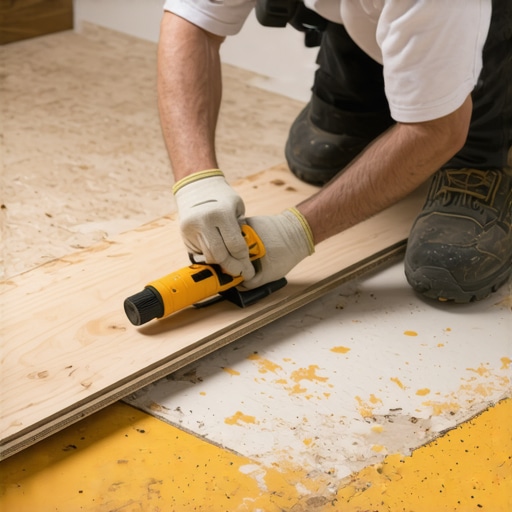
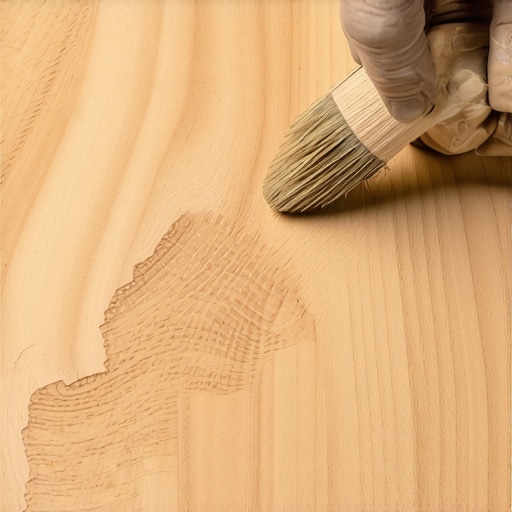
The sandpaper trick for fixing a tight laminate joint involves using a 120-grit or 150-grit sandpaper to lightly shave the male tongue of a laminate plank. This precise removal of excess HDF material or factory burrs allows the locking mechanism to click into place without using excessive force that might damage the groove.
I spent three days grinding concrete on a job last month just so the floor would not click like a castanet. Most guys skip the leveling compound. They think the underlayment will hide the dip. It won’t. I have seen five thousand dollar installs ruined because some kid with a hammer did not want to break out the self leveling mix. If the slab isn’t flat to within 1/8 inch over 10 feet, your laminate is doomed from day one. I was on a project in a high humidity basement where the installer forced every joint. Three weeks later, the whole floor looked like a mountain range. The joints had peaked because they were too tight to begin with. That is when I realized most people do not understand the mechanical tolerance of a click lock system. You cannot bully HDF. You have to treat it like the engineered product it is. If it does not fit, there is a reason. Usually, it is a burr or a slight swell in the tongue. A little bit of sandpaper saves the entire floor.
The subfloor secret and the click of death
A floor is only as good as the subfloor beneath it. If you have a dip in the subfloor, the laminate will flex every time you walk on it. This vertical movement, known as deflection, puts immense stress on the locking joints. Over time, the friction between the tongue and the groove will wear down the resin coating. You will start to hear a clicking sound. This is the sound of your floor dying. Floor leveling is the only way to prevent this. You need to use a high quality cementitious leveler. Do not rely on foam underlayment to fix structural flaws. Underlayment is for sound dampening and moisture protection, not for structural support. When I walk into a house and see carpet install leftovers used as padding, I know the floor is going to fail. Carpet pad is too soft. It allows the laminate to move too much. You need a firm base.
“A floor is only as good as the subfloor beneath it; deflection is the enemy of every joint.” – Master Flooring Axiom
The physics of the locking mechanism
Laminate flooring is composed of high density fiberboard or HDF. This core is made by compressing wood fibers with melamine urea formaldehyde resins under extreme heat and pressure. The locking mechanism is milled into this core with high precision diamond tipped cutters. Sometimes, the milling process leaves a tiny bit of residue or a burr. Other times, the plank has absorbed a microscopic amount of moisture, causing the tongue to swell by a fraction of a millimeter. When you try to engage the joint, it feels stubborn. If you hit it too hard with a tapping block, you will shear the bottom lip of the groove. This is why the sandpaper trick is vital. By removing a few microns of material from the top of the tongue, you reduce the friction coefficient. This allows the tongue to slide into the groove and drop into the locked position. It is a surgical adjustment, not a blunt force correction. You are essentially recalibrating the factory tolerance to account for site conditions.
Why your subfloor is lying to you
The slab might look flat, but a ten foot straight edge will tell a different story. In the world of laminate and floor leveling, flat is a relative term. Most manufacturers require the floor to be flat within 3/16 of an inch over a 10 foot radius. If you ignore this, the tight joints you are struggling with today will become open gaps tomorrow. The sandpaper trick helps with the immediate fit, but it cannot save a floor that is floating over a crater. If you find yourself needing to sand every single plank, stop. Your subfloor is likely the culprit. You might be trying to fit planks together that are being forced into a concave or convex shape by the floor beneath them. This creates tension in the joint that the locking mechanism was never designed to handle.
| Core Material | Density kg/m3 | Expansion Potential | Acclimation Time |
|---|---|---|---|
| Standard HDF | 800 to 850 | 0.20 percent | 48 Hours |
| Premium Water Resistant | 900 plus | 0.05 percent | 72 Hours |
| Budget MDF | 600 to 700 | 0.50 percent | 96 Hours |
The 1/8 inch that ruins everything
Precision is everything in flooring. When you are dealing with showers or wet areas near your laminate, moisture management is the primary concern. Moisture will cause the HDF core to expand. If your joints are already tight, there is no room for this expansion. This leads to peaking, where the edges of the planks push against each other and lift off the subfloor. You must maintain a 1/4 inch to 3/8 inch expansion gap around the entire perimeter of the room. This includes doorways and transitions to other flooring types like carpet. The sandpaper trick is useful for those specific planks that just will not seat, but it is not a substitute for proper acclimation. You must let the flooring sit in the room for at least 48 hours. This allows the moisture content of the wood fibers to stabilize with the ambient humidity of the home.
The mechanical advantage of 120 grit paper
Using the right grit is essential. If you use 60-grit, you will take off too much material and the joint will be loose. A loose joint is just as bad as a tight one because it will separate. Use 120-grit or 150-grit. It is fine enough to smooth the surface without gouging the core. Focus your sanding on the very tip of the tongue. Do not touch the wear layer or the decorative paper. You are only working on the structural HDF. A few light passes are usually all it takes. You will see a fine white dust. Wipe that dust off before you try to click the planks together. Dust in the groove will also prevent a tight fit. It acts like sand in a gear. It creates friction and prevents the mechanical lock from engaging.
“Expansion and contraction are not suggestions; they are physical mandates of wood-based products.” – NWFA Professional Guidelines
Essential tools for a perfect laminate fit
- Digital moisture meter for subfloor and planks
- 120-grit and 150-grit aluminum oxide sandpaper
- Ten foot professional grade straight edge
- Self leveling compound and mixing paddle
- Heavy duty tapping block and dead blow mallet
- Expansion spacers for perimeter gaps
The ghost in the expansion gap
People often overlook the importance of the expansion gap when they are frustrated with a tight joint. They think the joint is the problem, but the problem is actually that the entire row of flooring has nowhere to go. If the first plank in a row is tight against the wall, every subsequent joint will be harder to close. The sandpaper trick can help you get that last plank in, but it is a band-aid for a larger structural issue. You have to ensure the floor can breathe. Laminate is a floating floor. It is not attached to the subfloor. It needs to move as a single unit. If you pin it down with heavy cabinetry or a kitchen island, you are asking for trouble. The floor will buckle at its weakest point, which is usually the joints you struggled to click together during the install.
Moisture vapor and the invisible expansion
Concrete slabs are like sponges. They hold moisture for years. Even if the slab looks dry, it is constantly releasing moisture vapor. This vapor can penetrate the bottom of your laminate planks. If you do not have a 6-mil poly film moisture barrier, that vapor will enter the HDF core. This causes the bottom of the plank to expand faster than the top. This is called cupping. When the tongue and groove are under this kind of stress, they become brittle. Sanding the tongue helps during the initial install by ensuring a stress-free fit, but it cannot prevent moisture damage. This is why floor leveling and moisture barriers are the two most important steps in any laminate project. Do not skip them. Do not assume the underlayment is enough. Most underlayments have a built-in vapor barrier, but the seams must be taped perfectly with moisture resistant tape.
Why the sandpaper trick beats the pry bar
I have seen guys use a pry bar to force a laminate joint closed. They wedge it against the wall and pull with all their might. All this does is crush the edges of the plank. Once you crush that HDF, you have lost the structural integrity of the joint. It might look closed now, but it will fail within a year. Sanding is the smarter, more professional approach. It respects the material. It acknowledges that the factory milling might be off by a hair. It takes an extra thirty seconds, but it ensures the joint is locked naturally. If you have to use more than a light tap with a mallet, something is wrong. Stop and check the tongue. Look for burrs. Look for swelling. Use your sandpaper. Your knees and your customers will thank you later. This is the difference between a floor that lasts twenty years and one that needs to be replaced in two.