How to Level a Room That Slopes Toward an Exterior Wall
How to Level a Room That Slopes Toward an Exterior Wall
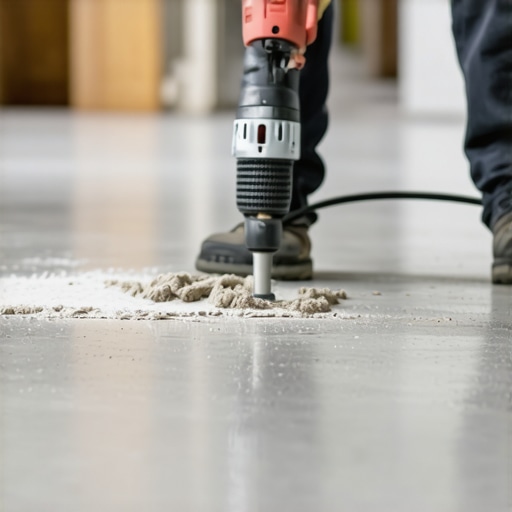
Most guys skip the leveling compound. They think the underlayment will hide the dip. It won’t. I spent three days grinding concrete on a job last month just so the floor wouldn’t click like a castanet. I have spent twenty five years on my knees with a moisture meter and a six foot level. I can tell you that a floor is a performance surface, not a piece of furniture. When a room slopes toward an exterior wall, you are not just looking at a cosmetic dip. You are looking at a structural reality that involves gravity, foundation settling, and often the moisture migration of the earth outside that wall. If you ignore it, your laminate locking systems will snap, your carpet will develop ripples that look like the Atlantic Ocean, and your tile will tent until it cracks. To fix this, we have to look at the physics of the subfloor and the chemistry of the leveling agents.
The one eighth inch that ruins everything
Leveling a room that slopes toward an exterior wall requires identifying the low point, checking for structural rot, and applying a high flow self leveling underlayment or shimming the subfloor. You must ensure the surface is clean and primed to create a mechanical bond. If the slope exceeds one eighth of an inch over ten feet, your finish flooring will fail prematurely due to excessive deflection and joint stress. This is the industry standard for most floating floors and hard surfaces. When you ignore that tiny gap, you are inviting mechanical failure into your home.
The science of floor flatness is governed by the L over 360 rule. This means the floor should not deflect more than the length of the span divided by 360. When a room slopes toward an exterior wall, the cause is usually the compression of the rim joist or the settling of the foundation footer. If you are on a concrete slab, the slab itself may have curled during the curing process. As water evaporates from the top of the pour faster than the bottom, the edges lift or sink. This creates a slope that pulls away from the center of the structure. My job is to fight that movement with mass and chemistry.
Why your subfloor is lying to you
A subfloor may look flat to the naked eye but a laser level will reveal the truth about your structural slope. You cannot trust your eyes in a room with long sightlines. Gravity pulls everything toward the lowest point, and over decades, the wood fibers in your joists actually begin to take a permanent set. This is called creep. If your room slopes toward the exterior wall, it is often because that wall is carrying the heaviest load of the roof and the siding. The weight literally pushes the floor down into the earth.
“A floor is only as good as the subfloor beneath it; deflection is the enemy of every joint.” – Master Flooring Axiom
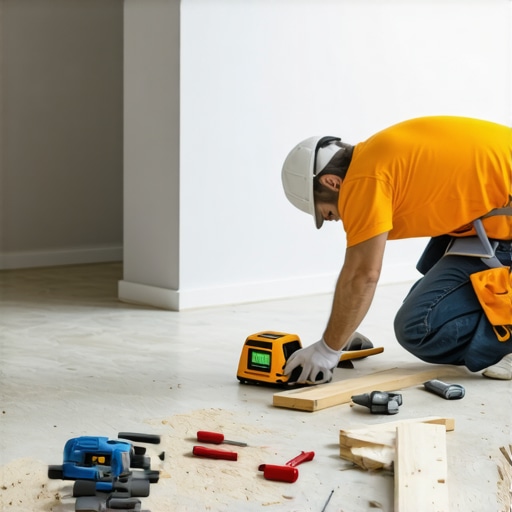
When I evaluate a sloped room, I start by pulling the baseboards. You cannot see the true transition if the trim is hiding the gap. I use a rotating laser level to map the high and low spots. I mark the floor with a grease pencil. I draw topographical lines just like a map. This tells me exactly where the slope begins and how much volume of material I need. If the slope is half an inch over four feet, a simple patch won’t work. You need a self leveling underlayment with high compressive strength. We are talking about five thousand pounds per square inch of density once it cures.
The chemistry of the bond and the primer
Successful floor leveling depends on the chemical adhesion between the old substrate and the new leveling compound. Without a proper primer, the dry subfloor will suck the moisture out of the leveling liquid too fast. This causes the compound to crack and delaminate. You need a polymer modified primer that creates a bridge between the porous wood or concrete and the cementitious leveler. This is not just a liquid. It is a molecular glue that ensures the new floor becomes part of the house structure.
I have seen guys pour leveler directly over dusty plywood. Within six months, the floor sounds like it is crunchy. That is the sound of the leveler breaking into sand because it never bonded. You have to vacuum the floor until you can eat off it. Then you apply the primer with a soft bristle broom. You work it into the pores of the wood. You let it get tacky. This creates a surface tension that allows the self leveling underlayment to flow like water but stick like epoxy. If you are working near showers or wet areas, this bond is even more vital because any moisture that gets under the floor will rot the bond first.
Gravity always wins against your laminate
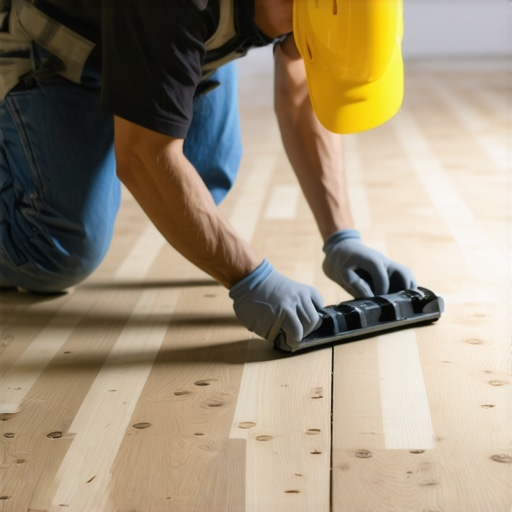
Laminate flooring requires a flat surface because its locking mechanisms are brittle and cannot handle the vertical movement caused by a sloped subfloor. When you walk across a floor that has a void underneath it, the tongue and groove joints flex. Over time, the HDF core of the laminate will fatigue and snap. This leads to gaping and peaking. You might think a thick underlayment will fix the slope. You are wrong. While most people want the thickest underlayment, too much cushion actually causes the locking mechanisms on LVP or laminate to snap under pressure. The underlayment is for sound and moisture, not for structural leveling.
| Correction Method | Max Thickness | Best For | Acclimation Time |
|---|---|---|---|
| Self-Leveling Underlayment | 5 Inches | Concrete and Plywood | 24 Hours |
| Plywood Shimming | Unlimited | Deep Structural Slopes | None |
| Patching Compound | 1/2 Inch | Minor Dips and Seams | 4 Hours |
| Fiberglass Reinforced Leveler | 1 Inch | Flexible Subfloors | 12 Hours |
The table above shows that for a slope toward an exterior wall, the self leveling underlayment is often the king. It finds its own level based on the physics of fluid dynamics. If the slope is massive, I might rip down some cedar shims and install a new layer of plywood over the top. This is the old school way. It is dusty and loud, but it works when the house is sinking into the swampy soils of the coast. If you are in a high humidity area, you have to account for the expansion of these materials. Wood moves. Concrete stays. Leveler is the bridge between the two.
The exterior wall moisture trap
Exterior walls are thermal bridges that often harbor higher moisture levels which can affect how leveling compounds cure and how floors sit. If your room slopes toward an exterior wall, that wall is likely the coldest part of the room. Condensation can form at the base. If you pour leveler against a damp wall without a moisture barrier, the leveler will fail. I always install a foam expansion strip around the perimeter. This serves two purposes. It keeps the leveler from sticking to the wall and it allows the floor to breathe as the seasons change.
In regions with high humidity, solid wood flooring is a risky bet near an exterior wall slope. The moisture coming through the foundation footer will cause the wood to cup. You see the edges lift up while the center stays down. I tell my clients that if they want a flat floor, they need to fix the drainage outside first. If the gutters are clogged and the water is pooling against that exterior wall, no amount of leveler will save your floor. The hydrostatic pressure will push the leveler right off the slab.
Steps to level a sloped wood subfloor
If you are dealing with a wood subfloor that slopes, you have to be surgical. You cannot just dump five gallons of liquid and hope for the best. You have to seal the holes. If there is a gap where the floor meets the wall, the leveler will run right down into your crawlspace. I have seen guys lose ten bags of leveler because they didn’t plug the holes with spray foam or caulk. It is a mess you don’t want to clean up.
- Inspect the joists for rot or termite damage near the exterior wall sill plate.
- Screw down the existing subfloor every six inches to eliminate squeaks.
- Apply a high quality acrylic primer and let it dry until it is clear and tacky.
- Install a foam perimeter strip to handle expansion and prevent leakage.
- Mix the leveling compound with a high speed drill and a specialized mixing paddle.
- Pour the material at the lowest point near the exterior wall and work backward.
- Use a spiked roller to release air bubbles and help the material converge.
“The flatness of the substrate dictates the life expectancy of the finish floor; never compromise on the prep work.” – TCNA Handbook for Ceramic Tile Installation
The physics of the pour
When you mix self leveling underlayment, you are initiating a chemical reaction. The water hydrates the Portland cement and the polymers. If you use too much water, the material will be weak and dusty. If you use too little, it won’t flow. I use a calibrated measuring bucket. I don’t guess. I want that material to have the consistency of heavy cream. Once it hits the floor, gravity takes over. It seeks the center of the earth. Because your room slopes toward the exterior wall, the liquid will naturally pool there. This is what you want. It fills the void and creates a perfectly horizontal plane.
I use a gauge rake to move the material around. This tool allows me to set the depth of the pour. If the dip is half an inch, I set the rake to half an inch. I am not trying to be an artist. I am trying to be a technician. Once the material is down, I stay off it. I let the chemistry work. The polymers cross link. The water evaporates. The mass densifies. In twenty four hours, that sloped nightmare is a flat stage ready for carpet, laminate, or tile.
Carpet install on a corrected slope
You might think carpet is forgiving. It isn’t. If you have a slope, the carpet will eventually stretch and bunch at the bottom of the incline. When I install carpet over a leveled floor, I make sure the transition at the exterior wall is secured with a heavy duty tack strip. The leveling compound provides a smooth surface for the pad. This prevents the pad from wearing out prematurely. If you have a dip, the pad will bounce. That bounce creates friction. Friction destroys the backing of the carpet. A flat floor makes the carpet feel like a million dollars under your feet.
For those doing a carpet install after leveling, you must ensure the leveler is completely dry. If you trap moisture under the pad, you will get mold. I use a calcium chloride test to check the moisture emission rate. If it is over three pounds per thousand square feet, I wait. Patience is the hallmark of a master installer. The shopkeeper at the flooring store might tell you it is fine to install immediately. He just wants to move inventory. I want the floor to last for thirty years.
Final thoughts on structural integrity
Leveling a room is about more than just making it look good. It is about protecting the structural integrity of your home. A slope toward an exterior wall is a signal. It tells you the house is moving. By leveling the floor, you are creating a stable base that can handle the stresses of daily life. Do not use cheap materials. Do not skip the primer. Do not ignore the moisture. If you follow the physics and the chemistry, your floor will be dead flat and silent. It will buckle if you don’t. It will fail if you rush. Do it right the first time so you don’t have to call me to fix it later. This is the reality of the trade. Wood dust and sweat are the only ways to get a floor that actually stands the test of time.