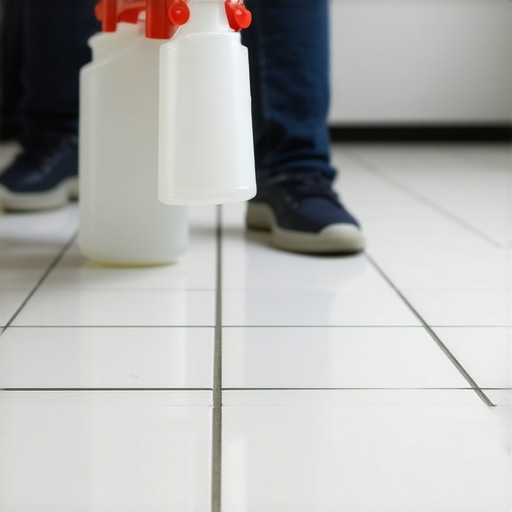
The ‘Spray Bottle’ Trick for Testing Grout Sealer
The ‘Spray Bottle’ Trick for Testing Grout Sealer
You walk into my shop looking for the cheapest jug of liquid in a plastic bottle because you think grout sealer is a scam. I have seen it a thousand times. You spent twelve thousand dollars on a custom walk-in shower with hand-pressed Italian porcelain, and now you want to save twenty bucks on the chemical barrier that keeps the whole thing from turning into a petri dish. Most guys skip the leveling compound and they think the underlayment will hide the dip. It won’t. I spent three days grinding concrete on a job last month just so the floor wouldn’t click like a castanet, and that same level of structural obsession belongs in your grout joints. If you do not test your sealer, you are just waiting for the mold to take up residence in the microscopic voids of your cementitious joints. I smell like floor wax and old receipts, and I am telling you that your ‘waterproof’ claims are mostly marketing theater.
The ghost in the expansion gap
Testing grout sealer with a spray bottle is the only way to verify the surface tension of your tile joints after the curing process is complete. You simply mist the grout lines with room temperature water and observe the physical reaction. If the water beads up into tight spheres, the fluoropolymer or silicone resin has successfully filled the pores. If the grout darkens immediately, you have a porous failure that will lead to moisture wicking into the thin-set. This simple physics test determines if your shower is protected or if you are inviting subfloor rot through capillary action. Most homeowners ignore this until the tiles start popping off the wall because the moisture bypassed the barrier.
“A floor is only as good as the subfloor beneath it; deflection is the enemy of every joint.” – Master Flooring Axiom
Why your subfloor is lying to you
Subfloor integrity and floor leveling are the silent partners in grout longevity because any vertical movement will snap a sealer bond in seconds. When a floor is not level to within 1/8 inch over ten feet, the tile undergoes microscopic shifting every time you step on it. This movement creates hairline fractures in the grout. No sealer in the world, regardless of the price per ounce, can bridge a structural crack. I have seen laminate installs fail because the installer thought they could bridge a half-inch valley with foam. You cannot. In a shower, that flex means your grout sealer is effectively useless because the water will find the structural crack before it even hits the sealed surface.
The spray bottle ritual for shower longevity
The process requires a clean spray bottle filled with distilled water and a high-intensity work light to see the bead formation. You must wait at least 48 to 72 hours after applying the sealer to ensure the solvents have evaporated and the resins have cross-linked. Spray a fine mist directly onto the horizontal and vertical joints. You are looking for a high contact angle. If the water flattens out and disappears into the cement, you have zero protection. This is common with big-box store sealers that are 95 percent water and 5 percent actual solids. My shelves are stocked with high-solids formulas for a reason. Cheap products are why I have people coming back six months later complaining about ‘black spots’ in their beautiful white grout.
Molecular differences between cheap and premium sealers
Premium grout sealers use smaller molecular structures that penetrate deeper into the grout matrix than the budget versions found at discount retailers. High-end sealers are often solvent-based, allowing the active ingredients to travel into the smallest capillaries of the Portland cement. Budget sealers are often water-based and have large molecules that simply sit on the surface. These topical barriers wear off quickly under the friction of cleaning. When you perform the spray bottle test, a premium sealer will show water beading even after you scrub the surface. A cheap sealer will fail the moment the top layer of acrylic is abraded away by a sponge. This is why I tell people that carpet install logic does not work here. You cannot just put a pad down and call it a day. You are fighting chemistry.
- Ensure the grout is completely dry before testing.
- Use a spray bottle with an adjustable nozzle for a fine mist.
- Check both the floor and the wall joints as gravity affects sealer penetration.
- Wipe away excess water after the test to prevent mineral spotting.
- Re-apply sealer only to the areas that failed the bead test.
The 1/8 inch that ruins everything
Precision in grout joint width and floor leveling is the difference between a floor that lasts decades and one that fails in a year. If your grout joints are too narrow, the sealer cannot penetrate. If they are too wide, the grout may be too porous for a standard sealer to handle. In regions with high humidity like the Gulf Coast or the humid Southeast, grout sealer is not an option, it is a requirement. The swampy humidity will turn unsealed grout into a fungus farm within weeks. I have seen solid wood floors warp in those climates because people did not understand moisture vapor transmission. The same applies to your shower. The spray bottle trick is your final defense against the inevitable humidity of your environment. Do not trust the ‘waterproof’ label on the box. Trust the bead of water on the floor.
“Every ceramic tile installation is a system, and the grout joint is the most vulnerable link in that system’s chain.” – TCNA Installation Manual Insight
Structural Zooming into the grout matrix
When we look at grout under a microscope, we see a jagged landscape of calcium silicate hydrate. It is essentially a hard, brittle sponge. When you apply a sealer, you are not just painting the surface. You are performing a chemical impregnation of that sponge. The spray bottle trick works because it measures the surface energy of the grout. A properly sealed joint has lower surface energy than the water itself, causing the water to pull into a sphere to minimize its own surface area. This is the same principle as a freshly waxed car. If your grout does not behave like a waxed Cadillac, you are in trouble. I don’t care if you’re installing laminate or high-end marble. If you don’t respect the physics of the pour, the results will be a disaster. Stop buying the cheap stuff and start testing your work. That is the only way to survive in this business without getting a dozen callbacks for moldy showers.