How to Fix a Carpet Seam That Is Pulling Apart
The structural reality of carpet seam failure
Fixing a carpet seam that is pulling apart requires the reintroduction of a high-performance thermoplastic adhesive bond while managing the lateral tension of the primary and secondary backings. This failure often stems from insufficient heat during the initial carpet install or the degradation of the latex bond under heavy foot traffic. You cannot simply glue it back with a craft gun and hope for the best. I remember a job where I spent three days grinding concrete on a job last month just so the floor would not click like a castanet because the previous guy ignored the subfloor. Carpet is the same way. If the subfloor is not level, the seam becomes a pivot point that eventually snaps. I have seen fifteen thousand dollar installs ruined because the installer did not check the crawlspace humidity. The moisture rises, softens the latex, and your seam opens up like a wound. You need to treat this as a structural engineering challenge. Smelling like WD-40 and oak dust is part of the job when you are knee-deep in a repair that should have been done right the first time. Professionals do not look at the color of the carpet. We look at the weave density and the chemistry of the adhesive tape. If you want a floor that lasts, you stop thinking about aesthetics and start thinking about physics.
“A floor is only as good as the subfloor beneath it; deflection is the enemy of every joint.” – Master Flooring Axiom
The 1/8 inch that ruins everything
A carpet seam gap as small as one eighth of an inch allows the internal fibers to fray and prevents the thermoplastic resin from bridging the gap between the two pieces of secondary backing. This misalignment creates a weak point where the power stretcher cannot apply uniform force. When I walk into a house and see a seam pulling apart, the first thing I check is the tension. Most hacks do not use a power stretcher. They use a knee kicker and call it a day. That is how you end up with ripples that migrate toward the seam. In the world of floor leveling, we know that any dip in the subfloor will cause the carpet to bridge. This bridging creates a pocket of air. Every time someone steps on that pocket, the seam flexes. Imagine bending a paperclip back and forth. Eventually, it snaps. That is what is happening to your adhesive bond at the molecular level. You need a flat surface, a clean edge, and the right amount of tension. If your subfloor is uneven, your carpet install is doomed from the start. This is why I always carry a six foot level even when I am just doing carpet. If the concrete is out of spec, the carpet will never lay flat.
The ghost in the expansion gap
Expansion gaps are not just for laminate or hardwood but represent the necessary space around the perimeter of a room where the carpet is tucked into the gully between the tack strip and the baseboard. If the carpet is too tight against the wall, it cannot distribute tension properly, which puts an unfair load on the seaming tape in the middle of the room. This is the physics of floorcovering. When I talk about the ghost in the expansion gap, I am talking about the invisible forces that pull your floor apart. Unlike a laminate floor that needs room to swell, carpet needs room to be stretched. If you do not have enough bite on the tack strip, the seam is the first thing to give. I have seen it happen in houses near showers where moisture migrates through the subfloor and hits the seam from below. The moisture reacts with the calcium carbonate filler in the latex backing. This causes the backing to become brittle. Once that happens, the seam tape loses its grip. You are no longer looking at a simple repair. You are looking at a chemical failure of the carpet itself. You have to scrape away the old, crystallized latex before you can even think about applying new heat-bond tape.
Selecting the right adhesive chemistry
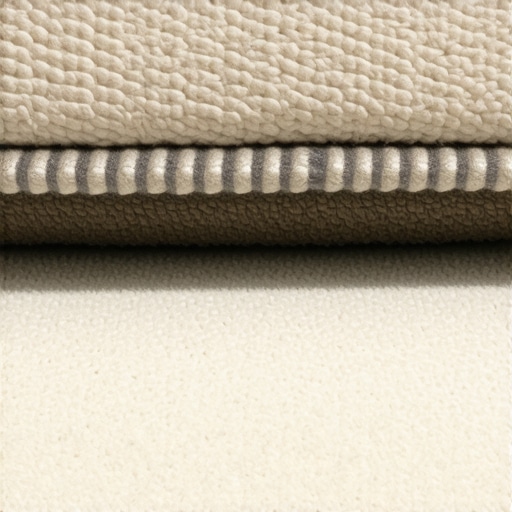
The chemistry of carpet seaming involves thermoplastic resins that must reach a precise melting point between 150 and 180 degrees Fahrenheit to penetrate the polypropylene secondary backing. Using a low-melt tape on a heavy commercial carpet is a recipe for disaster. You need a tape with a high concentration of adhesive and a wide enough profile to grip both sides of the joint. I have no patience for the cheap stuff they sell at big-box discount retailers. That stuff is basically stickers. You need a professional-grade reinforced tape. Look at the grid on the back of the tape. It should have fiberglass reinforcement to prevent the tape from stretching along with the carpet. If the tape stretches, the seam opens. It is that simple. While most people want the thickest underlayment, too much cushion actually causes the locking mechanisms on LVP to snap under pressure, and in carpet, it causes the seam to sink and flex excessively. You want a high-density pad that supports the seam. A soft, mushy pad is the enemy of a long-lasting carpet seam.
| Tape Type | Melting Point | Adhesive Weight | Best Use Case |
|---|---|---|---|
| Standard Low-Melt | 150F | High | Residential Cut Pile |
| High-Temp Professional | 180F | Ultra-High | Commercial Loop / Berber |
| Pressure Sensitive | N/A | Low | Temporary Repairs Only |
| Double-Sided Silicone | N/A | Medium | Hard Surface Transitions |
The cooling process determines the strength
Thermal contraction occurs as the adhesive cools, meaning the seam must be held under compression with a weighted seam roller or a specialized tool to ensure the adhesive anchors into the fibers. If you move the carpet before the adhesive has fully cured, you break the legs of the bond. I use a heavy steel roller and sometimes a seam iron cooling station. The heat needs to leave the carpet slowly and evenly. If you have a draft in the room from an AC vent, one side of the seam might cool faster than the other. This creates internal stress. You can actually hear the adhesive crack if you are not careful. This is why I hate rushing a job. You can do the best floor leveling in the world and use the most expensive carpet install tools, but if you do not respect the cooling cycle, the seam will fail within six months. I tell homeowners to stay off the floor for at least four hours. Do not even look at it. Let the chemistry work. The bond between the thermoplastic and the polypropylene is a physical entanglement. It takes time for those molecules to settle into their final state.
Tools that separate the pros from the hacks
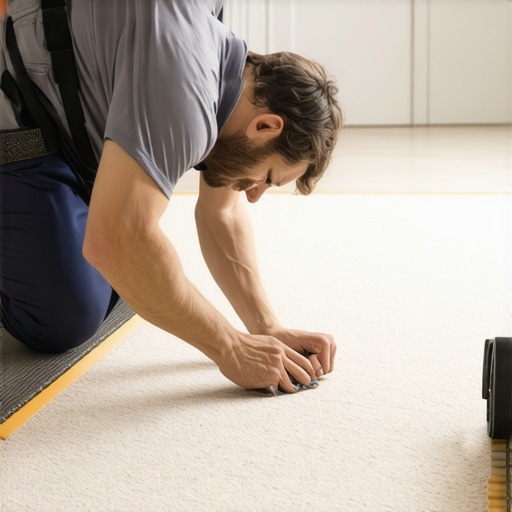
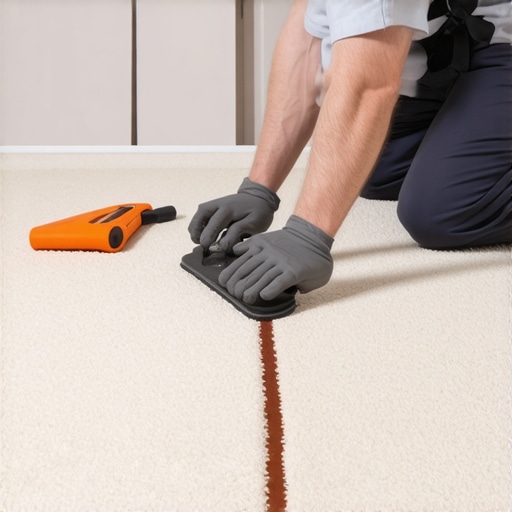
Professional carpet seam repair requires a specific arsenal including a porcupine roller, a regulated seaming iron, and a power stretcher to re-establish the necessary tension across the room. You cannot do this with a butter knife and some wood glue. You need to clean the edges with a row separator first. If you cut through the nap of the carpet, you will have a visible line forever. You have to find the gap between the tufts. It takes a steady hand and years of practice. I have been doing this for twenty-five years and I still take my time with the row cutter. Once the edges are clean, you apply a seam sealer. This is a liquid latex or acrylic that prevents the edges from fraying. Most guys skip this step because it takes ten minutes to dry. That is a mistake. Without seam sealer, the fibers will eventually pull out of the backing, leaving you with a bald spot right at the joint. It is the little details that prevent the big headaches. I would rather spend an extra hour on the prep than come back in a year for a warranty claim.
- Inspect the subfloor for moisture and levelness before starting the repair.
- Trim any frayed fibers with sharp 4-inch duckbill napping shears.
- Apply a high-quality acrylic seam sealer to both raw edges of the carpet.
- Slide the seaming iron under the joint at a consistent speed to melt the tape.
- Use a star roller or porcupine roller to blend the fibers while the glue is hot.
- Weight the seam down with a professional tool or a heavy book for 30 minutes.
Why your subfloor is lying to you
Subfloor deflection often manifests as seam separation because the vertical movement of the floorboards or concrete slab exerts localized shear force on the adhesive tape. You think the carpet is the problem, but it is actually the plywood underneath. If the subfloor is bouncing, the seam is being pulled in three different directions every time you walk on it. I have seen guys try to fix a seam over a loose joist. It never works. You have to fix the structure first. This might mean pulling back the carpet and pad to screw down the subfloor or pouring a self-leveling compound to fill a low spot. In showers and wet areas, the moisture can seep under the transition and rot the subfloor, which leads to carpet failure in the adjacent room. You have to look at the whole house as a single system. Everything is connected. If your subfloor is lying to you, your finish floor will eventually tell the truth. Do not ignore a squeak or a dip. Those are the early warning signs of a seam failure waiting to happen. I have spent my life on my knees fixing these issues, and it always comes back to the foundation. Secure the subfloor, control the moisture, and use the right heat. That is how you fix a floor for good.