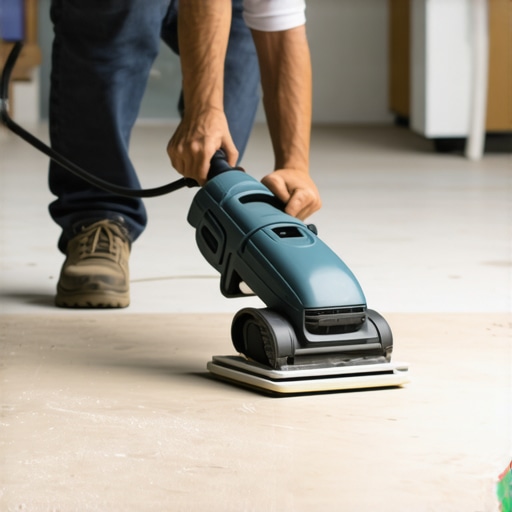
How to Sand Down High Spots in Cured Floor Leveler Without a Dust Cloud
Most guys skip the leveling compound. They think the underlayment will hide the dip. It won’t. I spent three days grinding concrete on a job last month just so the floor wouldn’t click like a castanet. That job was a nightmare because the previous contractor poured a self-leveling underlayment and left it with a massive hump right in the center of the room. When I arrived, the homeowner was terrified of the dust. I told them that if you do this right, you do not need a respirator for the whole house, just a smart setup and the right chemistry. This article explains the technical reality of flattening a floor without turning your home into a silica factory.
The physics of the high spot
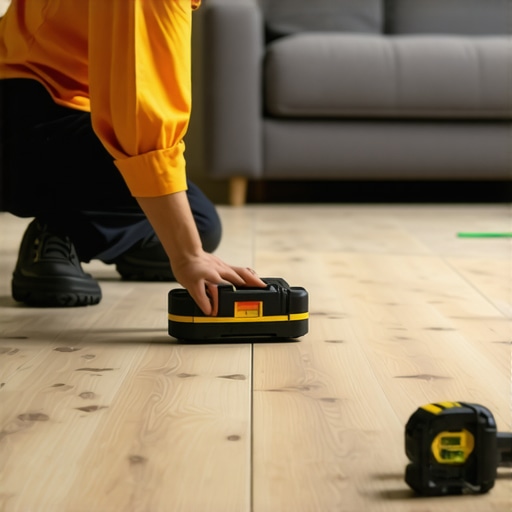
A high spot in cured floor leveler is a structural protrusion that exceeds the 1/8 inch per 10 feet flatness tolerance required for most laminate and tile installations. These bumps usually occur due to poor mixing, lack of primer, or surface tension issues during the pour. You must identify them using a 10-foot straightedge or a laser level to map the topography of the subfloor before any flooring material touches the surface.
When you find a hump, you are looking at a localized area where the calcium aluminate or Portland cement based leveler has over-accumulated. If you ignore it, your laminate joints will eventually snap under the weight of foot traffic. If you are prepping for showers, that high spot will create a birdbath where water pools instead of draining. The high spot is not just an aesthetic flaw. It is a mechanical failure point. You must reduce its height until it sits flush with the surrounding plane. The challenge is that cured leveler is essentially a ceramic stone. Breaking it down generates fine particulate matter that can hang in the air for days. This is where professional containment and specific abrasive selection become your best friends.
The chemistry of the cured leveler bond
Self-leveling underlayments are not just thin concrete. They are engineered polymers. When they cure, they form a dense crystalline structure designed for high compressive strength. This density is what makes them hard to sand. Traditional sandpaper designed for wood will glaze over in seconds. You need abrasives that can handle the heat and the hardness of the aggregate. I prefer using diamond cup wheels or specialized carbide discs. These tools do not just scratch the surface. They micro-fracture the top layer of the leveler, allowing you to remove material with precision. The key is managing the energy of the tool. High RPMs create more heat and more airborne dust. Low-speed, high-torque grinding with the right shroud is the secret to a clean site.
“A floor is only as good as the subfloor beneath it; deflection is the enemy of every joint.” – Master Flooring Axiom
The tool kit for a clean grind
To sand floor leveler without dust, you must use a variable speed angle grinder equipped with a HEPA-filtered vacuum shroud and a diamond cup wheel. The vacuum must maintain a constant CFM high enough to pull the dust away before it escapes the shroud perimeter. Do not use a standard shop vac. You need a dedicated dust extractor with a mechanical filter shaker to prevent clogging from the ultra-fine leveler particles.
If you are working on a smaller high spot, you might consider wet-sanding. Wet-sanding uses a small amount of water to keep the dust in a slurry state. This is effective but messy. For most interior carpet install or laminate projects, a dry grind with a high-end shroud is better. The shroud must have a flexible skirt that maintains contact with the floor even as you tilt the grinder. This contact creates a seal. Without that seal, the vacuum is useless.
Grinding methods compared
| Method | Dust Level | Removal Speed | Best For |
|---|---|---|---|
| Hand Sanding (60 grit) | High | Very Slow | Small edges |
| Orbital Sander with Vacuum | Medium | Slow | Minor smoothing |
| Angle Grinder with Shroud | Very Low | Fast | High spots and humps |
| Wet Grinding Slurry | None | Medium | Prepping for showers |
The step by step containment protocol
Preparation is the difference between a clean job and a disaster. Follow this checklist to ensure your workspace remains breathable during the process.
- Seal off all HVAC vents with plastic and painter’s tape to prevent dust travel.
- Set up a negative air machine if the room lacks natural ventilation.
- Connect a HEPA vacuum to the grinder shroud and test the suction before touching the floor.
- Mark the high spots with a carpenter’s pencil so you know exactly where to stop grinding.
- Keep the grinder moving in a circular motion to avoid creating a new low spot.
- Check the flatness every thirty seconds with a straightedge.
Why your subfloor is lying to you
Often, a high spot in the leveler is actually a reflection of a high spot in the wood or concrete subfloor beneath it. If you have a humped joist in a wood subfloor, pouring leveler over it just follows the curve. This is why I always tell my apprentices that the leveler is the last step, not the first. You should have addressed the joist before the pour. Now that it is cured, you are essentially shaving the mountain down. You must be careful not to grind too deep. If you hit the primer layer or the subfloor itself, you risk compromising the bond of the surrounding leveler. The transition must be feathered. A harsh edge will telegraph through luxury vinyl plank or thin carpet padding.
“The tolerance for subfloor flatness is typically 3/16 inch in 10 feet for hardwood and even tighter for large format tile.” – NWFA Standards Manual
The 1/8 inch rule for showers and tile
In shower installations, the floor leveler acts as the foundation for the waterproofing membrane. If you have a high spot, the membrane will not sit flat. This creates a weak point in the shower pan. When you sand these areas down, you need to be surgical. I use a smaller 4-inch diamond pad for shower floors. It gives me more control. You want the surface to be as smooth as glass so the thin-set can achieve 100 percent coverage. Any void under a tile in a shower is a recipe for a cracked tile or a leak in five years. Do not rush this. The dust you avoid today is the mold you avoid tomorrow.
Final considerations for a successful prep
Once the grinding is done and the vacuum has done its job, you still need to clean the surface. A damp microfiber mop is the best way to pick up the microscopic residue that the vacuum missed. If you are going straight into a carpet install, you can be a bit more relaxed. But for laminate or glue-down vinyl, that surface must be pristine. Any leftover dust will act as a bond-breaker for your adhesive. You will end up with a floor that bubbles or shifts. Take the time to do the final wipe. It is the hallmark of a master installer. Your lungs and your client will thank you. The floor will stand the test of time because you treated the subfloor like the engineering challenge it actually is.