The Hidden Danger of Using Regular Thinset for Large Format Tiles
Most guys skip the leveling compound. They think the underlayment will hide the dip. It won’t. I spent three days grinding concrete on a job last month just so the floor wouldn’t click like a castanet. I have spent twenty-five years on my knees with a moisture meter and a level. I have seen every shortcut in the book and most of them lead to a cracked tile or a failed bond. When you are dealing with large format tiles, which are any tiles with one edge longer than fifteen inches, the physics of the installation change. You cannot treat a thirty pound porcelain slab like a four inch ceramic square. The chemistry of the adhesive and the flatness of the subfloor become the primary engineering requirements for a successful surface. If you ignore the subfloor leveling or use the wrong thinset, you are not just making a mistake. You are building a failure. My hands are covered in scars from carrying these slabs and my lungs have seen enough concrete dust to know when a job is being done the right way. This is about structural integrity, not just aesthetics.
The hidden physics of mortar shrinkage and tile failure
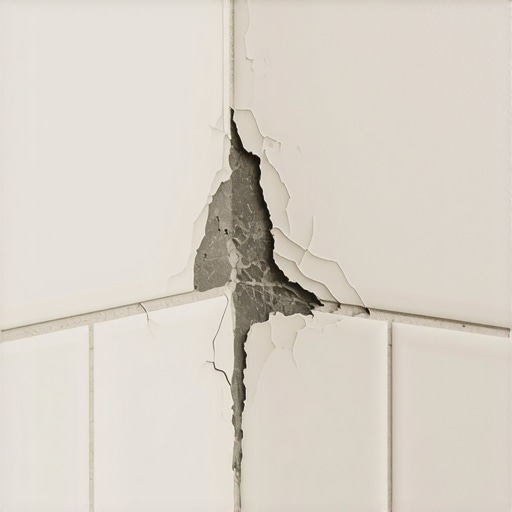
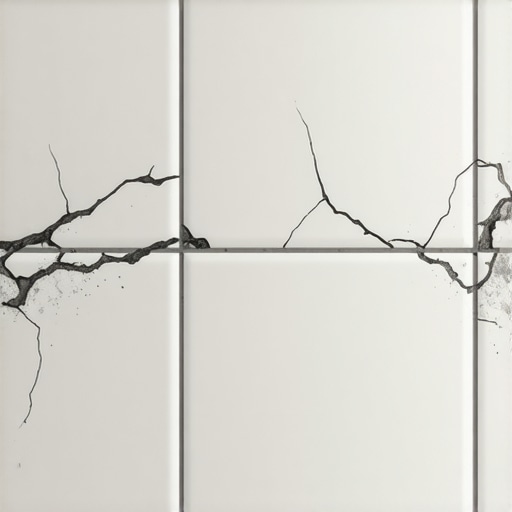
Regular thinset is engineered for small tiles and will shrink significantly during the curing process which causes massive large format tiles to lose their bond. When you apply a standard thinset, it is designed to be spread thin, usually around one eighth of an inch. As the water evaporates and the Portland cement hydrates, the mortar undergoes a volume reduction. For a small tile, this shrinkage is negligible. However, for a 24 by 48 inch tile, that shrinkage happens across a massive surface area. If the mortar shrinks, it pulls away from the back of the tile. This creates a hollow spot. When you walk across that floor with heavy boots or move furniture, the tile has no support beneath it. It cracks. It snaps. You are left with a fifteen thousand dollar floor that sounds like a drum and looks like a jigsaw puzzle. Medium bed mortar, or large format tile mortar, is specifically formulated with higher solids and less water. This allows the mortar to maintain its volume as it cures. This specialized chemical composition prevents the tile from sagging into the mortar bed, a phenomenon known as lippage, where one edge of the tile sits higher than the other. Lippage is the enemy of a high end flooring job. It ruins the clean lines and creates a tripping hazard that no amount of grout can fix.
“A floor is only as good as the subfloor beneath it; deflection is the enemy of every joint.” – Master Flooring Axiom
Why your subfloor is lying to you about being flat
Most concrete slabs are not flat enough for large format tiles and require extensive floor leveling to meet the industry standard of one eighth inch over ten feet. A homeowner looks at a concrete slab and sees a flat surface. I look at it and see a mountain range. Every dip and hump in that concrete is a point of failure for a large format tile. If you have a one quarter inch dip over a six foot span, your tile will have to bridge that gap. Because porcelain is rigid, it cannot bend to follow the contour of the floor. It will sit on the high points and hang over the low points. When someone steps on that bridge, it breaks. You must use a self-leveling underlayment or a mechanical grinder to ensure the slab is within the tolerance of one eighth of an inch over ten feet. This is twice as strict as the requirement for smaller tiles. I have seen installers try to fix a bad floor by just adding more regular thinset. This is a recipe for disaster. Regular thinset is not designed to be used in thick layers. If you pile it up, it will shrink unevenly and pull the tile down with it. You need a flat subfloor and a medium bed mortar that can handle the thickness without losing its shape. This is especially true in showers where the drainage slope must be perfect to prevent standing water and mold growth.
The chemical bond of polymers and Portland cement
The science of adhesion is what keeps your floor from moving for the next fifty years. Regular thinset relies primarily on a mechanical bond where the mortar reaches into the pores of the tile and the substrate. But modern porcelain tiles are dense and non-porous. They do not have many pores for the mortar to grab onto. This is where polymer modification comes in. High quality mortars for large tiles are packed with liquid or powdered polymers that create a chemical bond. These polymers act like microscopic suction cups that grip the back of the tile. When you are installing large format tiles, you must ensure that you have ninety-five percent coverage in wet areas and eighty percent coverage in dry areas. To achieve this, you have to use a specific troweling technique. You don’t just swirl the mortar around. You comb it in straight lines. When you set the tile, you move it perpendicular to those lines to collapse the ridges and push out the air. Air pockets are where moisture collects and where cracks begin. In a shower installation, if you have an air pocket, that space will fill with water every time someone bathes. Eventually, that water will rot the subfloor or cause the tile to pop off the wall. I have seen entire shower walls fall off because the installer used a regular thinset and didn’t get enough coverage. It is a mess that costs thousands to fix.
| Mortar Property | Standard Thinset | Large Format Mortar (LFM) |
|---|---|---|
| Maximum Bed Thickness | 1/4 inch | 3/4 inch |
| Shrinkage Rate | High | Low to Minimal |
| Slump Resistance | Poor | Excellent |
| Polymer Content | Low to Moderate | Very High |
| Tile Weight Support | Up to 5 lbs per sq ft | Over 10 lbs per sq ft |
The myth of the thick underlayment cushion
While most people want the thickest underlayment for comfort, too much cushion actually causes the locking mechanisms on LVP and laminate to snap under pressure. This same principle applies to tile. You might think that a thicker layer of mortar or a soft underlayment will make the floor feel better, but it actually introduces movement. Movement is the killer of tile. If the floor can flex, the grout will crack and the tile will debond. You want a rigid, unyielding surface. When I walk onto a carpet install job, I am looking for a good pad for comfort. But when I am doing a tile floor, I am looking for a rock-solid foundation. This is why I often recommend uncoupling membranes. These membranes allow the subfloor and the tile to move independently in a horizontal direction. If the concrete slab develops a hairline crack due to settling, the membrane absorbs the stress so the crack does not telegraph up through your beautiful tile. If you skip the membrane and use the wrong mortar, that crack in the concrete will become a crack in your floor within a year. I have seen it happen in brand new builds in Houston where the humidity causes the wood framing to swell and shrink. The house moves, the slab moves, and if the floor isn’t engineered to handle it, the tile fails. You cannot fight the physics of a house. You have to build a floor that can survive them.
“Proper mortar coverage is 95 percent for wet areas like showers and exterior applications.” – TCNA Handbook
A checklist for a professional large format installation
- Verify the subfloor is flat within 1/8 inch over 10 feet using a straight edge
- Check concrete moisture levels using a calcium chloride test or an in-situ probe
- Select an ANSI A118.15 compliant mortar for maximum bond strength
- Wipe the back of every tile with a damp sponge to remove factory dust
- Back-butter every tile by applying a thin layer of mortar to the back of the slab
- Use a 1/2 inch by 1/2 inch square notch trowel or a Euro-notch trowel
- Utilize a mechanical lippage tuning system to hold tiles level during the cure
- Maintain a minimum grout joint of 1/16 inch to allow for thermal expansion
Environmental factors and the chemistry of the cure
The climate where you live changes how your mortar behaves. In a dry climate like Phoenix, the moisture in your thinset will evaporate too fast. If the water leaves the mortar before the Portland cement has finished its hydration process, the bond will be weak and chalky. You will be able to scrape the mortar off the floor with a fingernail. In these areas, you have to dampen the subfloor before you start. In a humid area like Miami, the mortar might take twice as long to set up. If you walk on the floor too soon, you will break the bond while it is still soft. I have seen homeowners try to save money by doing the carpet install themselves or laying laminate because they think tile is too hard. They are usually right. Tile is an engineering challenge. It requires an understanding of thermodynamics and chemistry. You have to know the open time of your mortar, which is the amount of time you have to set a tile before the mortar starts to skin over. If you set a tile on mortar that has skinned over, it will not stick. It might look fine for a week, but the first time a heavy dog runs across it, the tile will come loose. This is why professional installers are expensive. You aren’t just paying for the labor. You are paying for the knowledge of how to make a floor last for the life of the building. Do not settle for builder grade materials. Use the right mortar for the job. Your subfloor will thank you and your tiles will stay where you put them.