The ‘Quarter-Inch’ Secret for Laminate Expansion Gaps
I once walked into a house where a 15,000 dollar wide-plank floor was cupping so bad it looked like a potato chip because the installer didn’t check the crawlspace humidity. It is the same story with laminate. I have spent twenty five years on my knees with a moisture meter and a level, and I can tell you that most people treat flooring like a rug. They think you just throw it down and it stays there. It does not. A floor is a living, breathing mechanical system. If you do not give it room to move, it will destroy itself. My hands smell like WD-40 and oak dust today because I just finished ripping out a two year old floor that buckled because some hack forgot the expansion gap. Laminate is basically a high-density fiberboard sponge wrapped in a pretty picture of wood. When the humidity in your house hits sixty percent, that sponge grows. If it hits a wall, the only place for that energy to go is up. That is how you get a mountain range in the middle of your living room.
The physics of a floating floor system
Laminate expansion gaps are structural requirements that allow high-density fiberboard to expand and contract based on ambient humidity and temperature fluctuations. Without a quarter-inch perimeter space, the floating floor will encounter kinetic resistance against walls, causing locking mechanism failure and plank peaking. This movement is a constant physical reality of wood-based products. You have to understand the molecular reality here. The core of your laminate is HDF. That is wood fibers mashed together with resin. Even though it is engineered, those fibers still have a cellular memory. They want to drink water from the air. When they drink, they grow. A standard twelve hundred square foot install can move as much as half an inch across the entire span. If you pinned that floor against the drywall, you are asking for a disaster. The floor is not attached to the subfloor. It sits on an underlayment. It is one giant heavy sheet. It needs to be able to slide. If you block that slide, the clicking sounds you hear at night are the joints screaming under the pressure.
Why your subfloor is lying to you
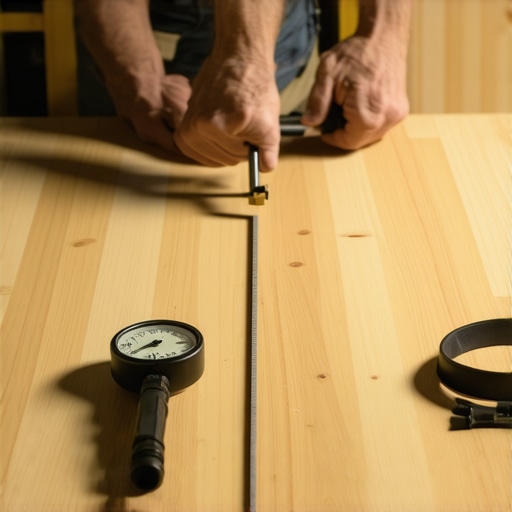
A level subfloor is the foundational metric for any successful laminate installation, requiring a flatness tolerance of 3/16 inch over 10 feet. If the subfloor has undulations, the expansion gap becomes irrelevant because the vertical deflection will snap the tongue and groove joints regardless of perimeter space. Most guys skip the leveling compound. They think the underlayment will hide the dip. It won’t. I spent three days grinding concrete on a job last month just so the floor wouldn’t click like a castanet. I see it all the time. People buy the expensive planks but skip the floor leveling. They think the foam underneath is like a mattress. It is not. If you have a valley in your plywood or concrete, the laminate spans it like a bridge. When you walk on that bridge, it flexes. That flex pulls the planks away from the walls, making your carefully measured gap useless. You need to use a straight edge. Not a short level, but a ten foot piece of box steel. If you see light under that bar, you have work to do before the first plank touches the ground.
“A floor is only as good as the subfloor beneath it; deflection is the enemy of every joint.” – Master Flooring Axiom
The science of HDF swelling
HDF core expansion is driven by the hygroscopic nature of cellulose fibers, which absorb water vapor from the indoor environment. This moisture-induced swelling requires a 1/4 inch gap to prevent internal stress that leads to delamination and surface buckling. Let’s talk about the chemistry. The resin used in laminate is designed to be stable, but it is not a force field. Water molecules are tiny. They get into the edges where the planks click together. This is why you never see a floor fail in the middle of the winter when the heat is on and the air is bone dry. It happens in July. It happens when the air is thick enough to drink. If you didn’t leave that gap, the floor grows until it hits the baseboard. Then it keeps growing. Since it can’t move out, it moves up. That is called peaking. Once those joints peak, the melamine wear layer starts to chip. Once it chips, the floor is junk. You can’t sand it. You can’t fix it. You throw it in the dumpster and start over. All because you wanted to save five minutes of measuring.
| Material Type | Expansion Rate (Low Humidity) | Expansion Rate (High Humidity) | Required Gap |
|---|---|---|---|
| Standard Laminate | 0.05% | 0.15% | 1/4 Inch |
| Waterproof Laminate | 0.02% | 0.08% | 1/4 Inch |
| Solid Hardwood | 0.10% | 0.30% | 3/4 Inch |
The 1/8 inch that ruins everything
Precise measurements of expansion gaps must account for vertical obstructions like door jambs, cabinetry, and vent covers. A gap variance of even 1/8 inch can cause localized binding, which translates into floor failure across the entire horizontal plane of the room. You see it near the door frames. Someone is too lazy to undercut the casing. They just butt the laminate right up against the wood. That is a death sentence. You need an oscillating saw. You need to cut that jamb so the floor can slide underneath it. That space under the wood is part of your expansion gap. If you pin the floor at the door, but leave a gap at the wall, the floor still can’t move. It is like trying to run with one foot nailed to the porch. You aren’t going anywhere, and you’re going to fall on your face. The same goes for the carpet install transitions. If you transition to carpet, that track needs to be screwed to the subfloor, not through the laminate. I have seen guys nail a transition strip right through the floor. They effectively locked the floor in place. Six months later, the planks are gapping because they can’t move back and forth.
The tragedy of the kitchen island
Kitchen islands and heavy cabinetry must never be installed on top of a floating laminate floor, as they act as structural anchors that prevent natural expansion. To maintain warranty compliance and structural integrity, the laminate must be installed around the island with a dedicated perimeter gap. Homeowners always ask why their waterproof vinyl or laminate is buckling. Usually, it’s because they locked it under a heavy kitchen island, killing the floor’s ability to breathe. You cannot put a five hundred pound granite-topped island on a floor that needs to move. It is common sense, but I see it every week. If you anchor one side of the room with a kitchen, and the other side with a heavy hutch, the floor is trapped. When it expands, it has nowhere to go. It will buckle in the middle of the kitchen. You have to install the cabinets first. Then you bring the floor to the cabinets and leave your quarter inch. Then you cover that gap with a shoe molding. It is the only way it works.
“Floating floors must be allowed to move as a single unit without restriction from perimeter walls or heavy fixtures.” – NWFA Technical Guidelines
Why showers and laminate are natural enemies
Laminate flooring in bathroom environments requires specialized sealant protocols and enhanced moisture barriers to protect the HDF core from hydrostatic pressure. While some modern laminates are marketed as waterproof, they still require expansion gaps filled with silicone sealant to prevent perimeter seepage. Do not think that waterproof means you can treat it like tile. It is not tile. If you are putting this near showers, you are playing with fire. You still need that quarter inch gap at the tub or the shower base. But you cannot leave it open. You fill it with a 100 percent silicone caulk. This allows the floor to expand and contract against the caulk while keeping the water out of the core. If you skip this, the first time someone steps out of the shower dripping wet, that water goes straight into the expansion gap. It hits the raw edge of the HDF. Game over. The edges will swell and turn into soft mush within weeks. I have replaced dozens of bathroom floors because people thought the click-lock was a watertight seal. It is not. It is just a mechanical connection.
The checklist for a perfect laminate install
Installation success depends on a rigid protocol involving acclimation, subfloor preparation, and perimeter spacing. Following a standardized checklist ensures that environmental stressors do not compromise the locking system or the visual finish of the laminate planks.
- Check moisture levels with a pin-type meter to ensure the subfloor is dry.
- Level the subfloor to within 1/8 inch over 6 feet using a high-quality patch or leveler.
- Acclimate the planks for 48 hours in the room where they will be installed.
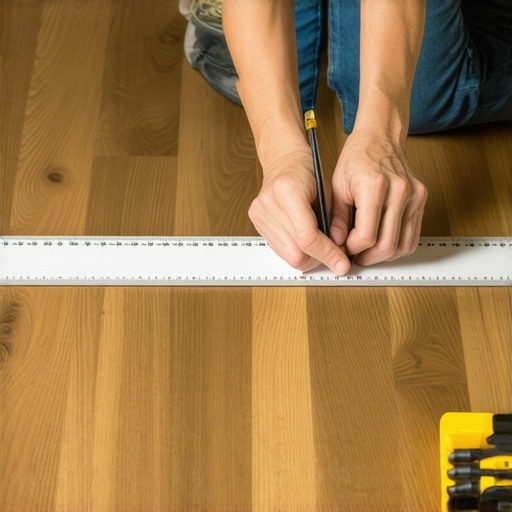
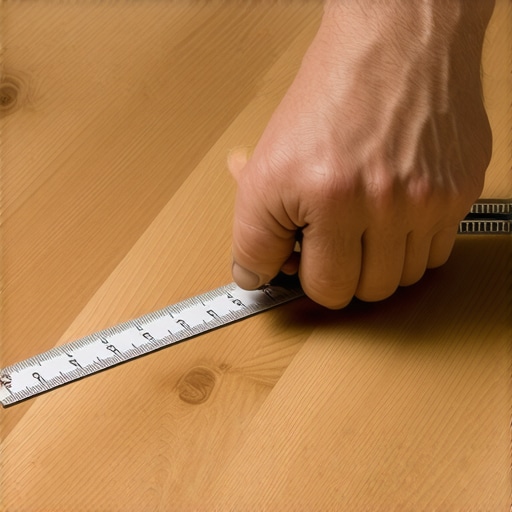
- Leave the 1/4 inch gap at every vertical obstruction including walls and pipes.
- Use spacers that do not compress under the weight of the flooring.
- Undercut all door jambs to allow for hidden expansion space.
- Seal all gaps in wet areas with 100 percent silicone to prevent core rot.
The ghost in the expansion gap
Proper expansion gaps are often hidden by baseboards or quarter-round molding, providing a clean aesthetic while maintaining structural functionality. If the baseboard is nailed through the flooring, the expansion gap is nullified, leading to mechanical failure during seasonal humidity shifts. This is what I call the ghost. You think you have a gap, but you killed it with the trim. When you nail that baseboard down, the nail must go into the wall, not the floor. If you pin the floor with the trim, you might as well have not left a gap at all. I see this with DIY jobs all the time. They get the gap right, then they smash the shoe molding down tight against the floor and nail it into the subfloor. Now the floor is clamped. It can’t slide. You need to leave a hair of space between the trim and the floor. Just enough for a piece of paper to slide through. That lets the floor breathe. If you don’t hear your floor moving occasionally, it might be stuck. And a stuck floor is a failing floor. Respect the quarter inch. It is the difference between a floor that lasts twenty years and one that lasts twenty months. [image_placeholder_1]