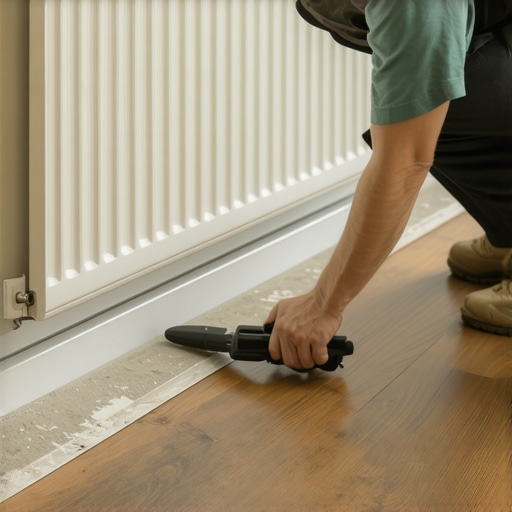
How to Trim Laminate Around a Radiator Pipe Without a Huge Gap
Most guys skip the leveling compound. They think the underlayment will hide the dip. It won’t. I spent three days grinding concrete on a job last month just so the floor wouldn’t click like a castanet because the slab was out of level by nearly half an inch. That kind of attention to detail is what separates a floor that lasts thirty years from one that fails in three. When you are dealing with laminate around radiator pipes, the stakes are even higher. You are cutting a hole in a floating system that needs to move as a single unit. If you get the geometry wrong or the expansion gap is too tight, the floor will bind, the joints will peak, and you will be back there in six months ripping up your hard work. This guide focuses on the engineering precision required to handle thermal expansion while maintaining a clean, professional appearance. We are not just covering up a hole. We are managing the physics of a moving surface.
The physical reality of the expansion gap
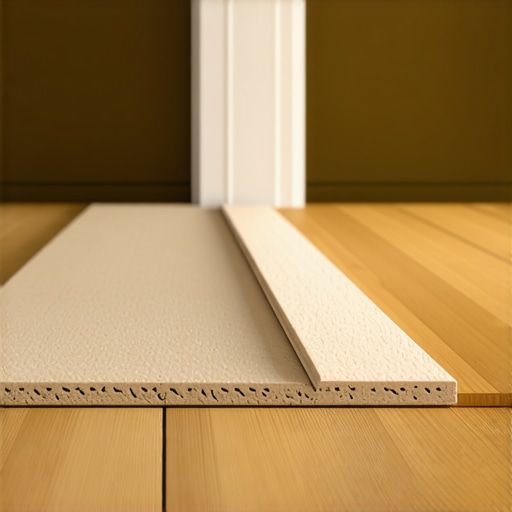
Laminate flooring requires a 1/4 inch to 3/8 inch expansion gap around all fixed objects including radiator pipes to prevent buckling. This gap allows the high density fiberboard core to expand and contract with changes in humidity and temperature without hitting the pipe and causing the floor to tent. I have seen entire living rooms lift off the subfloor because one single pipe was tight against the laminate. You have to remember that laminate is a wood based product. It is thirsty. It reacts to the moisture in the air. Even if you have performed a perfect floor leveling operation, a restricted pipe cut will destroy the installation. Unlike a carpet install where you can simply tuck the material, laminate is rigid and unforgiving. It behaves more like a solid sheet of material that is constantly breathing. If you lock it in place at the pipe, you are fighting the laws of physics. The gap is not a suggestion. It is a structural requirement. To hide this gap, we use escutcheons or color matched sealants, but the void beneath must exist.
“A floor is only as good as the subfloor beneath it; deflection is the enemy of every joint.” – Master Flooring Axiom
The chemistry of heat and fiberboard cores
Radiator pipes transfer significant thermal energy to laminate planks which can cause localized expansion and resin softening in the HDF core. Standard hydronic heating pipes can reach temperatures of 180 degrees Fahrenheit which creates a micro-climate around the penetration point. This heat accelerates the movement of the wood fibers within the laminate. Most laminate is composed of a wear layer, a decorative layer, a core of compressed wood fibers, and a backing layer. The core is the engine of the floor. When that core gets hit with heat from a radiator pipe, it expands more rapidly than the rest of the room. This is why the precision of the cut is so vital. If the cut is too tight, the heat will cause the plank to grow right into the metal. The result is a floor that makes a popping sound every time you walk near the radiator. In extreme cases, the heat can even cause the decorative layer to delaminate from the core if the expansion is restricted. This is why we never use silicone to fill the gap directly against the pipe; we need a material that can handle the thermal bridge without melting or hardening into a rock.
Tools that separate professionals from amateurs
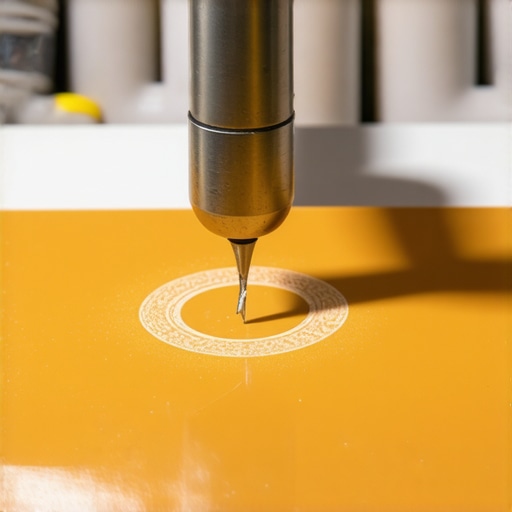
The successful cut of a radiator pipe requires a Forstner bit and a fine tooth jigsaw to ensure clean edges without chipping the wear layer. Amateurs often reach for a spade bit or a hole saw, but these tools are too aggressive for the brittle melamine surface of modern laminate. A Forstner bit shears the fibers at the perimeter of the hole before removing the waste, which prevents the shattering of the decorative image layer. When you are standing over a plank that costs five dollars a square foot, you cannot afford a jagged edge. You also need a high quality jigsaw blade with downward pointing teeth. This ensures that the cutting action happens on the downstroke, pressing the laminate surface against the core rather than pulling it away and causing chips. I always keep a roll of blue painter tape in my kit to mask the area before I mark my lines. This protects the finish from the metal footplate of the jigsaw and provides a high contrast surface for my pencil marks. If you are working in areas with high moisture potential, like near showers or kitchens, the quality of these cuts determines how well your edge sealant will perform.
| Bit Type | Performance Rating | Risk of Chipping | Best Use Case |
|---|---|---|---|
| Forstner Bit | Excellent | Very Low | Precision pipe holes |
| Spade Bit | Poor | High | Rough framing only |
| Hole Saw | Moderate | Medium | Large diameter ducts |
| Step Bit | Low | High | Metal transitions only |
The geometry of the expansion plug method
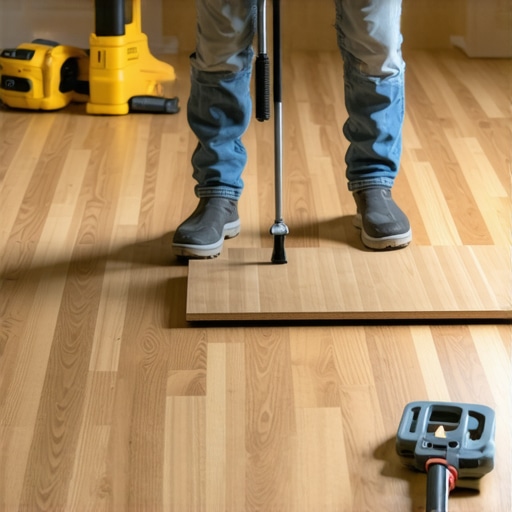
Creating a removable plug behind the pipe is the most effective way to install laminate around existing radiator lines without visible gaps. This technique involves drilling a hole that is approximately 1/2 inch larger than the pipe diameter and then making two angled cuts from the hole to the edge of the plank. This creates a wedge shaped piece of laminate that can be popped out, the plank slid into place around the pipe, and the wedge glued back in behind it. The angle of the cut is vital. By cutting at a slight 15 degree inward bevel, you create a mechanical lock that helps the glue hold the piece in place. I always use a D3 rated PVA glue for this joint. It provides a water resistant bond that can handle the slight vibration and thermal cycling of the radiator. You are essentially rebuilding the plank around the obstruction. If you just cut a straight notch, you leave a massive visual void that an escutcheon might not cover. The plug method is the mark of a craftsman who cares about the final aesthetic as much as the structural integrity.
- Measure from the wall to the center of the pipe and mark the plank.
- Measure from the previous row edge to the pipe center.
- Select a Forstner bit that provides a 1/2 inch total expansion clearance.
- Drill the hole at the intersection of your two measurements.
- Use a jigsaw to cut a V-shape from the edge of the plank to the hole.
- Keep the waste piece to use as your structural plug.
- Apply wood glue to the edges of the plug before reseating it.
Why a glue joint is mandatory here
Using a high quality wood glue for the radiator pipe plug is necessary because the locking mechanism of the laminate is removed during the cutting process. Once you cut that V-shaped wedge out of the plank, you have destroyed the tongue and groove system that keeps the floor together. Without glue, that small piece will eventually work its way loose and become a trip hazard or a collection point for dust. I prefer a wood glue with a high solids content because it fills any microscopic gaps in the fiberboard core. This is especially important if the floor leveling wasn’t 100 percent perfect in that corner. If there is even a tiny bit of vertical deflection, the glue joint will be under constant stress. A brittle glue will snap, but a flexible PVA will move with the floor. You also have to be careful not to get glue on the subfloor. The floor must remain floating. If you glue the plank to the subfloor at the pipe, you have created a fixed point that will cause the floor to fail elsewhere. It is a delicate balance of bonding the plank to itself while keeping it detached from the house structure.
“Expansion is not an option in wood flooring; it is a mathematical certainty that must be managed.” – NWFA Technical Manual
Finishing the look with escutcheons and color matched caulk
Professional finishes involve the use of hinged escutcheons or flexible acrylic caulking to hide the required expansion gap around the radiator pipe. An escutcheon is a decorative collar that snaps around the pipe and sits on top of the laminate. It covers the 1/4 inch gap perfectly while allowing the floor to move freely underneath it. If you cannot find an escutcheon that fits the decor, a high quality floor caulk is the alternative. However, you must use a brand specifically designed for flooring, which remains flexible over many years. Siliconized acrylic is usually the best bet. You apply a bead around the pipe, but you must ensure it does not bond the plank to the pipe itself. The goal is a gasket, not a weld. This is a common point of failure for DIYers who think they can just fill the whole hole with standard bathroom caulk. That stuff will harden, and when the floor tries to move in the winter, it will pull the caulk away or buckle the plank. This is the same logic we use when transitioning from laminate to tile in showers; you need a joint that can handle the movement.
The ghost in the expansion gap
Many installers believe that more underlayment is better, but too much cushion actually causes the locking mechanisms on laminate to snap under pressure. This is a contrarian reality that many people refuse to accept. When you are cutting around a pipe, the plank is already weakened. If you have a thick, squishy underlayment beneath that cut, the plank will flex every time someone walks near the radiator. That flexing will eventually break the glue bond on your plug or cause the thin neck of the laminate around the hole to crack. I always recommend a high density, low profile underlayment with a high crush resistance. This provides the necessary moisture barrier without sacrificing the structural support of the floor. You want the floor to feel like a solid surface, not a trampoline. When the subfloor is flat and the underlayment is firm, your precision cuts around pipes will stay tight and beautiful for the life of the product. The secret to a great floor is often what you cannot see once the job is finished. It is the chemistry of the glue, the physics of the gap, and the grit of the man who spent the time to get the subfloor right before the first plank was ever laid.