The ‘Wet Fingertip’ Move for Sealing Shower Corner Joints
I spent three days grinding concrete on a job last month just so the floor wouldn’t click like a castanet. Most guys skip the leveling compound. They think the underlayment will hide the dip. It won’t. I have seen it time and again where a beautiful walk-in shower fails because the installer thought a thick bead of grout would handle the structural movement at the wall-to-floor transition. It never does. When you are dealing with showers, the physics of water and the movement of the house will find every shortcut you took. This is about more than just a clean look. This is about preventing mold from rotting out your studs and keeping your subfloor from turning into a sponge. This guide breaks down the professional method for sealing joints using the wet fingertip technique while respecting the structural realities of floor leveling and waterproofing.
The physics of movement in wet areas
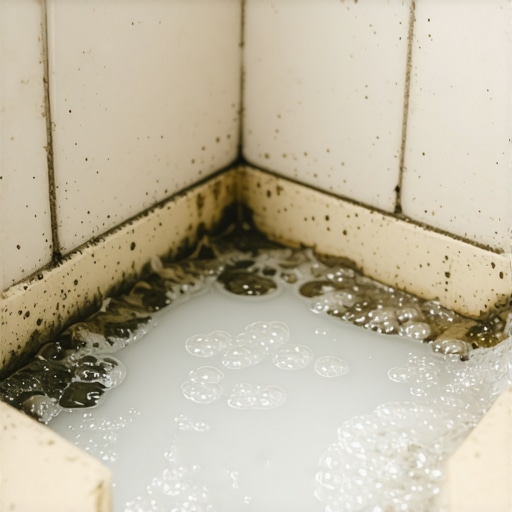
Shower corner joints require flexible sealants because every house shifts and breathes due to thermal expansion and humidity changes. When a wall meets a floor, or two walls meet in a corner, that joint is called a change of plane. Grout is a rigid material. It has zero flexibility. If you put grout in a corner, it will crack. Once it cracks, capillary action pulls water behind the tile. This leads to substrate saturation. A professional installation uses 100 percent silicone to accommodate this movement. We are talking about movement on a microscopic level. Even a shift of 1/32 of an inch is enough to shatter a grout line. This is why the TCNA (Tile Council of North America) mandates flexible movement joints at all changes of plane.
“A floor is only as good as the subfloor beneath it; deflection is the enemy of every joint.” – Master Flooring Axiom
Why your subfloor is lying to you
Subfloor flatness is the single most important factor in preventing grout and sealant failure in bathroom installations. If your floor has a dip or a crown, the tile will experience uneven pressure. This pressure transfers to the corner joints. I often see people try to fix a bad floor leveling job with extra thin-set. That is a recipe for disaster. Thin-set is not a leveling agent. It is an adhesive. If it is applied too thick, it shrinks as it cures. This shrinkage pulls on the tile and creates tension at the perimeter. You must use a high-quality self-leveling underlayment to achieve a floor that is flat within 1/8 inch over 10 feet. Without this, your shower pan will never drain correctly and your corner joints will be under constant stress.
The chemistry of the silicone bead
Pure silicone is the only acceptable sealant for shower corners because it maintains elasticity and resists microbial growth over its entire lifespan. Many big-box stores sell siliconized acrylic or tub and tile caulk. Avoid these. They contain water and will shrink as they dry. When they shrink, they pull away from the tile edges. This creates a microscopic gap. 100 percent silicone does not shrink. It cures through a chemical reaction with moisture in the air. This results in a dense, rubberized gasket that bonds at a molecular level to the glaze of the tile. This bond is what prevents water from bypassing your waterproofing membrane.
| Material Type | Flexibility Rating | Shrinkage Rate | Best Use Case |
|---|---|---|---|
| Sanded Grout | Zero | High | Flat floor joints only |
| Acrylic Caulk | Low | Moderate | Baseboards in dry rooms |
| Siliconized Acrylic | Medium | Low | Kitchen backsplashes |
| 100% Silicone | High | Zero | Shower corners and pans |
How to achieve the perfect wet fingertip finish
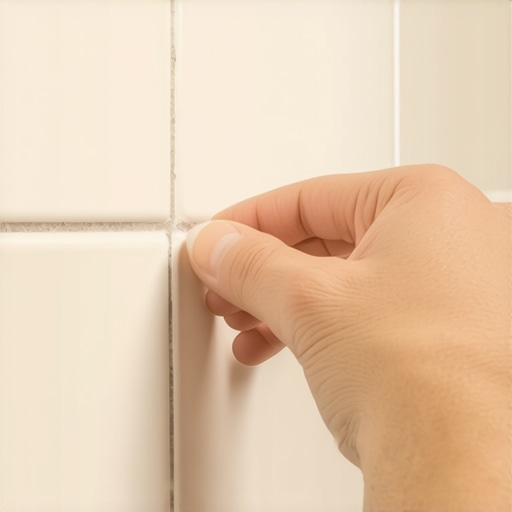
The wet fingertip move involves using a solution of water and dish soap to lubricate your finger while tooling the sealant bead. This prevents the silicone from sticking to your skin and allows you to create a smooth, concave profile. First, clean the joint with denatured alcohol. Any dust or skin oils will prevent the silicone from bonding. Apply a consistent bead of silicone about 1/8 inch thick. Do not overfill the joint. Dip your finger into a cup of soapy water. Lightly drag your finger along the bead in one continuous motion. The soap breaks the surface tension of the silicone. This allows you to compress the material into the gap without pulling it out of the joint. It is a delicate balance of pressure and speed.
- Clean the joint with denatured alcohol to remove all residues
- Cut the sealant nozzle at a 45 degree angle for better control
- Apply a steady bead without stopping mid-way
- Use a soap and water mixture with a 1 to 10 ratio
- Wipe excess silicone off your finger immediately after each pass
- Allow the joint to cure for 24 hours before introducing moisture
The ghost in the expansion gap
An expansion gap is a structural necessity that allows your tile assembly to move without crushing itself against the walls. Many installers make the mistake of jamming tile tight against the wall. This is a failure of basic engineering. You need a minimum 1/8 inch gap at the perimeter. This gap should be filled entirely with 100 percent silicone. This acts as a shock absorber. In regions with high humidity, like the coastal areas or the swampy south, this gap is even more critical. Wood framing expands when it absorbs moisture. If your tile has no room to move, it will tent or crack. The wet fingertip move ensures that this expansion gap is sealed but remains functional.
“Movement joints are not optional; they are the insurance policy for your entire tile installation.” – TCNA Technical Bulletin
The 1/8 inch that ruins everything
A sealant bead that is too thin will fail because it does not have enough mass to stretch and compress. People often try to make the bead as invisible as possible. This is a mistake. If the silicone film is too thin, it will tear like tissue paper when the house shifts. You need a substantial body of material within the joint. This is where the structural zooming comes in. Look at the cross-section of the joint. You want the silicone to form a triangular wedge that grips both surfaces firmly. If you use too much soap in your fingertip move, you might actually prevent the silicone from sticking to the edges. Use just enough to glide. If the silicone starts to skin over, stop tooling it immediately. If you mess with it once it starts to cure, you will ruin the finish and the seal.
Transitions from showers to carpet or laminate
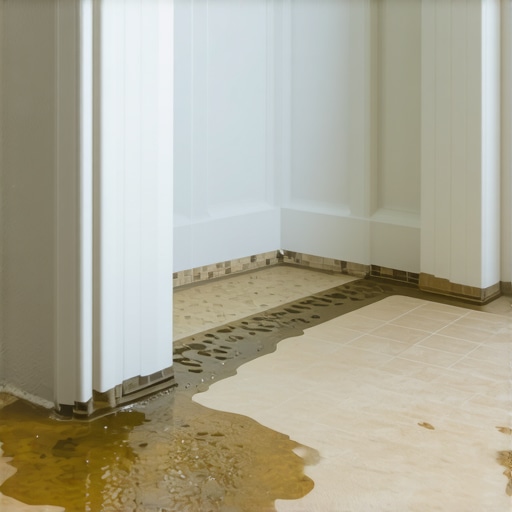
Moisture management does not stop at the shower door; it extends to how you handle transitions to carpet and laminate. If you have a walk-in shower, the floor leveling must be perfect to ensure water does not migrate toward the bedroom carpet. Carpet install near a bathroom requires a solid transition strip, usually a marble or metal threshold. Laminate is even more sensitive. Laminate is essentially compressed sawdust with a picture of wood on top. If water escapes the shower and hits the edge of the laminate, it will swell like a sponge. Always seal the edge of the laminate where it meets the bathroom tile transition with the same high-quality silicone used in the shower. This provides a secondary line of defense against the inevitable splashes of a busy household.
The contrarian truth about underlayment cushion
While most people want the thickest underlayment for comfort, too much cushion actually causes the locking mechanisms on LVP and laminate to snap under pressure. This relates to your shower because many bathrooms now use luxury vinyl plank (LVP) outside the immediate wet zone. If you have a soft, bouncy underlayment, the floor will flex every time you step on it. This flexing pulls at the transitions and the door frames. A firm, high-density underlayment is superior for structural integrity. It keeps the floor stable. When the floor is stable, your sealant joints stay intact. Everything in flooring is a chain reaction. A soft subfloor leads to a moving floor, which leads to a failed sealant bead, which leads to a rotten house. Do not be the guy who prioritizes soft feet over a solid structure.
{“@context”:”https://schema.org”,”@type”:”HowTo”,”name”:”Sealing Shower Corner Joints with the Wet Fingertip Technique”,”step”:[{“@type”:”HowToStep”,”text”:”Clean the joint thoroughly with denatured alcohol to ensure a molecular bond.”},{“@type”:”HowToStep”,”text”:”Apply a 1/8 inch bead of 100 percent silicone along the change of plane.”},{“@type”:”HowToStep”,”text”:”Dip your finger into a solution of water and dish soap.”},{“@type”:”HowToStep”,”text”:”Tool the bead with light, consistent pressure to create a smooth, concave seal.”}],”totalTime”:”PT30M”}