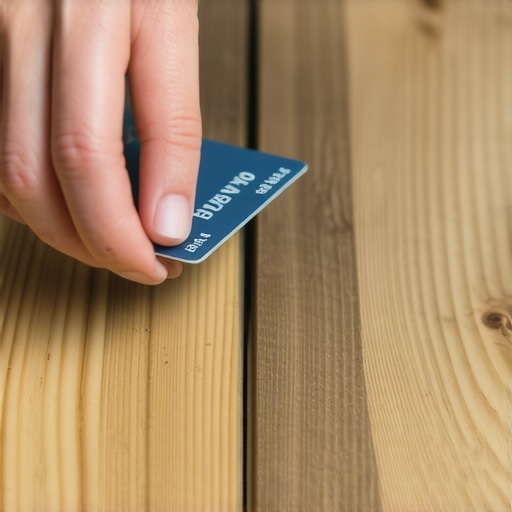
The ‘Credit Card’ Method for Cleaning Debris Out of Laminate Gaps
The gritty reality of floating floor gaps
Laminate floor gaps occur when the mechanical locking systems of floating planks separate due to subfloor deflection, poor acclimation, or structural shifting. To fix these gaps, you must first remove microscopic debris and grit trapped within the tongue and groove using a rigid plastic card. This prevents the locking mechanism from being obstructed when the planks are tapped back together. A floor is not just a surface. It is a system of interlocking parts that move in response to your home climate. When those parts separate, they invite dust, pet hair, and silica particles into the joints. This debris acts like a wedge, preventing the planks from ever meeting perfectly again. You cannot simply shove them back. You have to clear the path first.
“A floor is only as good as the subfloor beneath it; deflection is the enemy of every joint.” – Master Flooring Axiom
Most guys skip the leveling compound. They think the underlayment will hide the dip. It won’t. I spent three days grinding concrete on a job last month just so the floor wouldn’t click like a castanet. The homeowner thought they had a defective product. The reality was a 3/16 inch dip over four feet. That dip caused the laminate to flex every time someone walked on it. Eventually, the tongue sheared off. If you are seeing gaps, the first thing you should check is the levelness of your slab or plywood. If the subfloor is a roller coaster, your laminate will be a disaster. This is why floor leveling is the most ignored yet vital step in any carpet install or hard surface project. You cannot build a temple on a swamp.
The physics of a credit card shim
Cleaning laminate gaps requires a tool that is thinner than the gap itself but rigid enough to scrape out impacted dust without damaging the decorative wear layer. An old credit card or a plastic putty knife is the ideal tool for removing debris from floor joints because its polymer composition is softer than the aluminum oxide coating on the laminate. Using a metal screwdriver will chip the edges of the plank. I have seen countless DIY jobs ruined because someone used a flathead screwdriver to dig out a rock. They ended up with a silver scar on a gray oak floor. You slide the card into the gap and pull it toward you. You will be surprised at the amount of gray fuzz and grit that comes out. That grit is what stops the locking mechanism from clicking home. It is basic physics. Two objects cannot occupy the same space. If there is dust in the groove, the tongue cannot enter.
Why your subfloor is lying to you
Subfloor deflection is the primary cause of gap formation in floating floors because it forces the planks to move vertically, which eventually pulls them apart horizontally. When a floor is not flat, the laminate planks act like a bridge over a valley. Every time you step on that bridge, it bends. That bending puts immense stress on the short side joints. Eventually, the friction of the click-lock system is overcome by the force of the deflection. The gap opens. Now, the gap is a vacuum. It sucks in skin cells, dirt, and spills. If you try to close that gap without cleaning it, you are just compressing the dirt. This can lead to the tongue breaking off entirely, leaving you with a floor that cannot be repaired without a full tear-out. I have seen $5,000 floors destroyed by a $50 bag of self-leveler that was never used.
The humidity factor in plank separation
Laminate floor expansion is driven by the moisture content in the air, meaning that gaps often appear in winter when the air is dry and the wood fibers shrink. Even though laminate has a resin core, it still responds to the environment. If your home drops below 30 percent humidity, those planks are going to pull back. This is why we leave expansion gaps at the perimeter. But if the floor is pinned under a heavy kitchen island or a massive bookshelf, it cannot move toward the walls. Instead, it pulls apart at the weakest joint. This is the same reason you don’t use laminate in showers. The localized humidity is too high, the core swells, and the joints fail. If you are cleaning out gaps, check your hygrometer. If your house is as dry as a bone, your floor is going to shrink. No amount of cleaning will fix a floor that is literally gasping for moisture.
| Feature | Laminate Flooring | Solid Hardwood | Luxury Vinyl Plank |
|---|---|---|---|
| Subfloor Tolerance | 1/8 inch over 6 feet | 1/4 inch over 10 feet | 3/16 inch over 10 feet |
| Acclimation Time | 48 to 72 Hours | 7 to 14 Days | 0 to 48 Hours |
| Joint Type | Click-Lock | Tongue and Groove | Uniclic / Valinge |
| Moisture Resistance | Moderate | Low | High |
The 1/8 inch that ruins everything
Debris removal in laminate must be thorough because even a 1/8 inch piece of grit can prevent the locking system from engaging properly. When you are on your knees with that credit card, you are looking for anything that breaks the clean line of the groove. I have found bits of dried drywall mud, small pebbles from shoes, and even old carpet staples that were never pulled. This is the difference between a floor that lasts twenty years and one that fails in two. People want the fast fix. They want to buy a suction cup tool and just yank the planks together. If you do that without cleaning the joint, you are burying a problem. The joint will eventually fail again because the locking mechanism is under constant tension from the trapped debris.
Laminate maintenance and gap prevention checklist
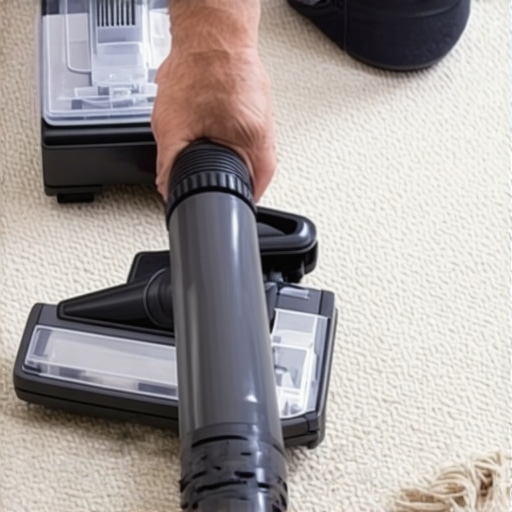
- Vacuum the gaps thoroughly using a crevice tool before attempting any mechanical cleaning.
- Use a rigid plastic card to scrape the vertical faces of the tongue and the internal channel of the groove.
- Check the perimeter expansion gaps to ensure the floor is not pinned against a wall or door jam.
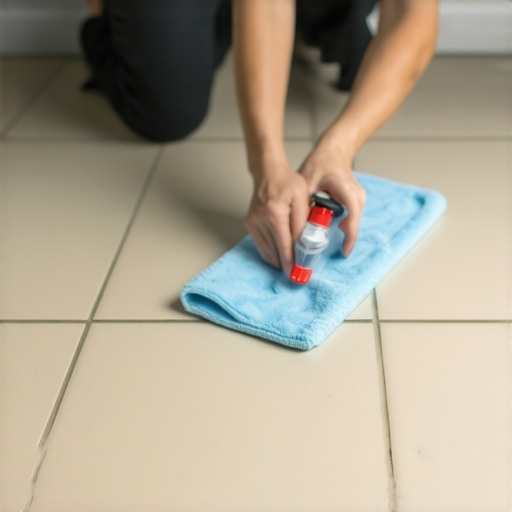
- Avoid using liquid cleaners inside an open gap as this can cause the HDF core to swell.
- Apply a small amount of wood glue to the tongue if the locking mechanism has been weakened by repeated movement.
- Use a professional floor tapping block and a dead-blow hammer to reseat the planks once the joint is clean.
When a gap becomes a structural failure
Laminate floor repair is impossible if the tongue and groove have been physically sheared off by excessive movement or heavy point loads. If you clean the gap with your credit card and the planks still won’t stay together, the internal lock is gone. This happens frequently near transitions to other rooms or near heavy appliances. In these cases, the only solution is to pull up the floor starting from the nearest wall and replace the damaged boards. This is why I always tell clients to buy two extra boxes of their flooring. Ten years from now, that specific dye lot will be gone. If you have the boards, I can fix it. If you don’t, you are looking at a whole new floor just because of one broken joint. Flooring is a game of foresight. The credit card trick is a great maintenance tool, but it cannot fix a broken heart or a broken plank.
“Modern floating floors are engineering marvels, but they are unforgiving of poor preparation and neglect.” – Technical Standards for Floor Coverings
The ghost in the expansion gap
Floor leveling and perimeter clearance are the two pillars of a successful floating installation. If you skip the prep, you are haunted by the ghost of the subfloor forever. That clicking sound you hear when you walk across the room is the sound of your floor dying. It is the sound of friction. By using the credit card method to keep your joints clean and ensuring your home maintains a steady humidity level, you can extend the life of your laminate significantly. Stop looking at your floor as a rug. Start looking at it as a mechanical assembly. It needs space to move, it needs a flat base to sit on, and it needs the joints to be free of the grit and grime of daily life. If you treat it with respect, it will stay tight and quiet for decades. If you treat it like a cheap shortcut, it will behave like one.