The ‘Flashlight Check’ for Spotting Poorly Sealed Grout in Your Kitchen
The shadow test for failing kitchen grout
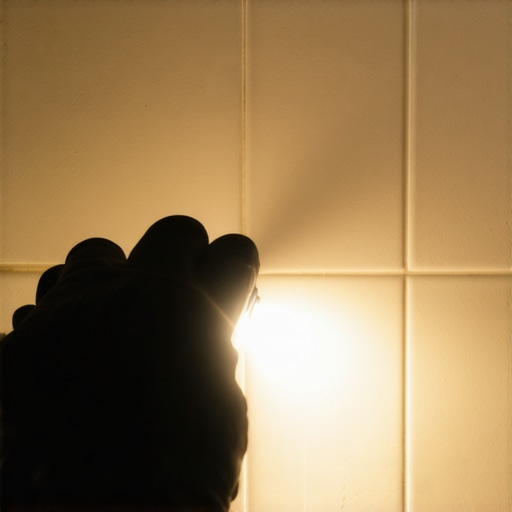
Grout sealing is the final defense against subfloor rot and bacterial growth in your kitchen floor environment. To perform the flashlight check, place a high-lumen LED flashlight directly on the tile surface and shine the beam across the grout lines at a very low angle to reveal porosity, pits, and missing sealer. If the light reveals a rough, sandpaper-like texture with deep shadows in the tiny valleys of the grout, your sealer has failed or was never applied. This simple optical test exposes the microscopic voids where dirty mop water and grease accumulate, eventually bypassing the tile and attacking the thin-set bond underneath.
The microscopic reality of Portland cement and capillary action
Most homeowners assume that because grout is hard, it is waterproof. This is a dangerous misconception that leads to thousands of dollars in subfloor repairs every year. Standard grout is a mixture of Portland cement and sand. On a molecular level, it is a lattice of interconnected pores. When moisture hits an unsealed grout line, it is pulled inward through capillary action. I spent three days grinding concrete on a job last month just so the floor wouldn’t click like a castanet, and that experience reminded me that even the best floor leveling job is useless if you let water seep through the grout. When water enters these pores, it carries organic matter, food particles, and bacteria into the body of the grout. Once inside, it is nearly impossible to remove. A properly sealed grout line has its surface tension altered so that water beads on top rather than being sucked into the cementitious matrix. If you see the grout darkening when it gets wet, the seal is non-existent. You are basically living on top of a giant sponge that never truly gets clean. I have pulled up tile in kitchens where the subfloor was black with mold because the installer ‘saved time’ by skipping the sealer phase. It is a lazy habit that ruins the integrity of the entire flooring system.
“A floor is only as good as the subfloor beneath it; deflection is the enemy of every joint.” – Master Flooring Axiom
Why your subfloor hates your mop and the danger of saturation
The subfloor remains the most vulnerable component of any kitchen installation regardless of the surface material used. When grout fails, every time you mop, you are injecting a small amount of liquid into the wooden or concrete structure below. For plywood subfloors, this leads to delamination and rot. For concrete, it can cause the rebar to rust or the tile bond to shear off. Even if you are comparing this to a carpet install or a laminate project, the moisture risk is the same. While a carpet install might hide the moisture in the pad, tile grout actively funnels it into the substrate. Laminate floors often buckle at the seams when exposed to this level of moisture, but tile hides the damage until the floor starts to crunch under your feet. The flashlight check catches this before the structural damage becomes irreversible. You want to see a slight sheen or a smooth, closed surface when the light hits the grout. If it looks like a moon landscape, you are in trouble. I always tell my clients that the ‘waterproof’ label on flooring is only as good as the perimeter and the joints. In showers, we take this for granted because the waterproofing membrane is a requirement, but in a kitchen, the grout is often the only thing between your subfloor and a spilled gallon of milk.
The difference between penetrating sealers and topical coatings
Understanding the chemistry of your sealer is just as important as the application itself. Topical sealers sit on top like a plastic film. They look great for six months but then they start to peel. Penetrating sealers, or impregnators, are the gold standard. They use silanes or siloxanes to penetrate the pores and line them with a hydrophobic coating. This does not change the look of the grout, but it makes it impossible for water to enter. When you do the flashlight check on a floor with a penetrating sealer, the grout will still look matte, but it will lack the deep, jagged shadows of raw cement. You are looking for consistency. If one area of the kitchen looks smooth under the light and another looks like a gravel road, your sealer was applied unevenly. This often happens around the stove and sink where grease and water wear down the protection faster than in the corners.
| Sealer Type | Longevity | Mechanism | Best Use Case |
|---|---|---|---|
| Topical Acrylic | 1 to 2 Years | Surface Film | Decorative Low Traffic |
| Penetrating Silane | 5 to 10 Years | Capillary Lining | Kitchens and High Traffic |
| Epoxy Grout | Lifetime | Non-Porous Solid | Commercial and Showers |
How floor leveling and structural stability affect grout integrity
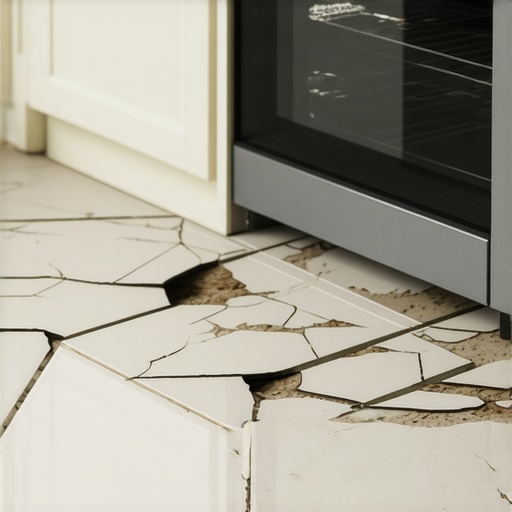
Proper floor leveling is the primary factor in preventing grout cracks that lead to sealer failure. If the subfloor has too much deflection, the grout will develop hairline fractures that no amount of sealer can fix. These cracks act as open highways for moisture. When I am prepping a job, I am obsessed with the 1/8 inch rule. If there is a dip, I fill it. If there is a hump, I grind it. This ensures that the tile remains static. When tiles move, the grout breaks. Once the grout breaks, the seal is compromised. You can see these micro-cracks easily with the flashlight check. Shine the light parallel to the grout line. A crack will cast a long, sharp shadow that looks like a canyon. If you see this, you don’t just need sealer, you have a structural issue. This is why a carpet install is often the ‘cheap’ fix for bad floors, because carpet hides the movement. But with tile, the floor is a rigid system. It demands perfection from the joists up.
The flashlight check procedure for homeowners
- Wait for the floor to be completely dry for at least 24 hours.
- Turn off the overhead kitchen lights to increase contrast.
- Place a high-power flashlight flat on the tile.
- Slowly move the beam across the grout joints in a 360-degree sweep.
- Identify areas with high texture or visible pits.
- Mark areas where the light ‘disappears’ into the grout with painter’s tape.
Comparing tile grout to laminate and carpet moisture profiles
People often ask me if they should just switch to laminate or go back to a carpet install to avoid grout issues. Laminate is a different beast. While modern laminate has better click-lock technology, it still relies on a tight seal at the surface. If water gets into the core of a laminate plank, it swells and stays swollen. Tile is actually more resilient if you maintain the grout. Unlike carpet, which traps allergens and moisture in the fibers, a sealed tile floor is the most hygienic surface you can own. The flashlight check is simply the maintenance tax you pay for having a floor that can last fifty years. In showers, we use epoxy grouts more often now because they are essentially waterproof plastics, but in the kitchen, we still mostly see cementitious grout because it is easier to work with and cheaper. But cheap usually means high maintenance. If you aren’t willing to seal your grout every few years, you might as well be installing a sponge.
“Grout is the fuse of the flooring system; it is designed to fail before the tile does, but it must be protected to prevent the fire from reaching the subfloor.” – TCNA Installation Standards
The chemistry of a proper grout seal
When we talk about sealing, we are talking about surface energy. Raw grout has high surface energy, meaning it wants to bond with liquids. A sealer lowers that surface energy. Think of it like a freshly waxed car. The water beads up because the wax has lower surface energy than the water droplets. This is the goal for your kitchen floor. Over time, the alkaline cleaners people use on their floors strip that sealer away. Most people use way too much soap when they mop. That soap residue itself becomes a magnet for dirt. Then they scrub harder, and the friction wears down the sealer. It is a vicious cycle. Use the flashlight check once a quarter. It takes five minutes and can save you the nightmare of a full floor replacement. If you see the shadows returning, it is time for a deep clean and a fresh coat of high-quality penetrating sealer. Don’t wait for the grout to turn black. By then, the bacteria have already set up a colony in your subfloor. Article Schema: “,