The ‘Level Check’ Every Homeowner Needs Before Installing a Shower Door
I spent three days grinding concrete on a job last month just so the floor would not click like a castanet. Most guys skip the leveling compound because they think the underlayment will hide the dip. It will not. When you are dealing with a heavy glass shower door, that dip becomes a structural failure waiting to happen. I have seen thousand dollar glass panels shatter because a contractor ignored a quarter inch deviation in the subfloor. A floor is a performance surface. It is the foundation of every movement in your home. If the ground under your feet is not flat, nothing you put on top of it will ever work right. This is especially true in the high moisture environment of a bathroom where showers and floor leveling must be handled with surgical precision. Most homeowners focus on the tile or the hardware. They look at the finish. I look at the slab. I look at the moisture levels in the wood. I look at the deflection of the joists. If those things are wrong, your beautiful new bathroom is a ticking clock.
The physics of the glass hinge and subfloor failure
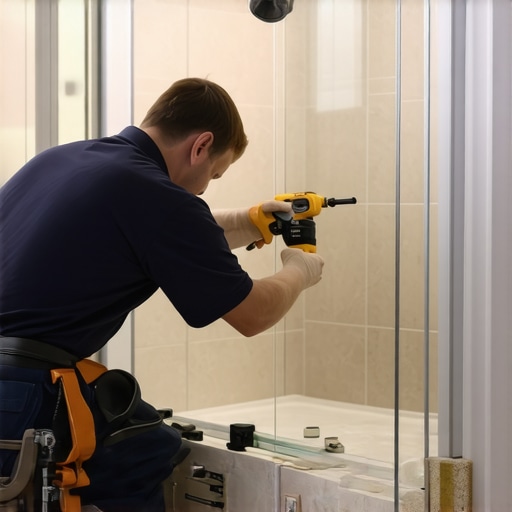
Shower door installations require a perfectly level subfloor to ensure the weight of the glass does not create uneven torque on the wall anchors or the floor guide. When a heavy glass panel is installed, it exerts a concentrated load on a very small footprint. If the subfloor has a valley or a hump, the vertical alignment of the door shifts. This puts lateral pressure on the hinges. Over time, the constant swinging of the door pulls the screws from the studs or cracks the tile. You cannot fix a bad floor with a better door. You fix it with a level. We are talking about tolerances of less than one eighth of an inch over ten feet. Anything more than that and you are asking for the glass to bind or the seal to fail. This is why floor leveling is not an optional prep step. It is the most important part of the job. I have walked off jobs where the general contractor refused to let me grind the high spots. I will not put my name on a floor that is destined to fail because the substrate was ignored.
“A floor is only as good as the subfloor beneath it; deflection is the enemy of every joint.” – Master Flooring Axiom
The microscopic war between water and laminate
Laminate flooring and high moisture areas like showers are fundamentally incompatible because the wood fiber core will swell when exposed to the high humidity found in bathrooms. Even the products marketed as waterproof have a limit. The chemistry of the medium density fiberboard used in laminate is designed to be stable under normal household conditions. However, when steam from a shower permeates the air, those fibers begin to absorb moisture through the locking mechanisms. This is why I always tell people to keep laminate out of the bathroom. If you must have that wood look, go with a high quality luxury vinyl plank or a porcelain tile. But even with vinyl, the levelness of the floor is the deciding factor. If the floor has a dip under the laminate, every step you take pushes air and moisture into the joints. It acts like a bellows. It sucks water down into the subfloor where it rots the wood or grows mold. I have pulled up floors that looked fine on top but were black with rot underneath because a installer thought a little foam underlayment would fix a crooked slab.
The gravity of a heavy glass enclosure
A standard ten millimeter thick glass shower door weighs approximately five pounds per square foot which places immense stress on the floor transition and the underlying structural members. If you are installing this over a crawlspace, you better check your joist spacing. I have seen floors sag under the weight of a custom glass enclosure because the installer did not account for the dead load. You need to ensure the subfloor is at least one and one eighth inches thick if you are going with a heavy stone base or a heavy glass door. This is not about the aesthetic. This is about the physics of load distribution. When the door is open, the center of gravity shifts. This creates a lever effect. If your subfloor is soft or uneven, that lever will eventually crack the grout lines in your tile or cause your carpet install in the adjacent room to pull away from the transition strip. Every material in the room is connected by the shared plane of the floor. If one part is out of level, the whole system suffers from stress fractures.
Moisture barriers and the chemistry of adhesion
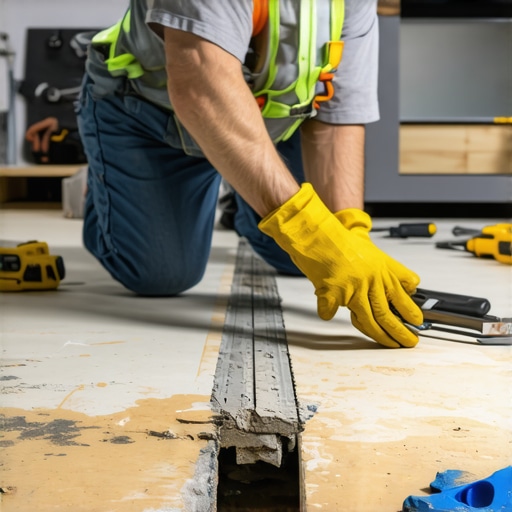
Modern floor leveling requires a deep understanding of the chemical bond between the primer and the substrate to prevent delamination in wet environments. You cannot just pour self-leveling compound over a dusty slab. You have to prep the surface. I use a diamond grinder to open the pores of the concrete. Then I apply a high solids acrylic primer. This creates a bridge between the old concrete and the new leveler. Without this, the leveler will just sit on top like a pancake. When it dries, it will shrink and pull away. Then you have a hollow spot. When you step on it, it clicks. When you install a shower door over a hollow spot, the vibration of the door moving will eventually turn that leveler into dust. You have to respect the chemistry. You have to respect the cure times. Most guys are in a rush. They want to pour and then tile the next day. I wait. I check the moisture content with a calcium chloride test. If the slab is breathing too much water, the glue will not stick. The leveler will pop. Your floor will fail.
The structural reality of the shower curb
The shower curb must be constructed from solid material and tied directly into a level subfloor to prevent the glass door from shifting over time due to settlement. I see people build curbs out of stacked two by fours. That is a mistake. Wood moves. It shrinks. It expands. If you build a curb out of wood and then put a heavy glass door on it, the door will be out of plumb within a year. I use pre-formed high density foam curbs or solid concrete. And I make sure that curb is sitting on a level surface. If the subfloor under the curb is sloped, the curb will be sloped. Then your door will not close. It will either swing open or slam shut on its own. This is the structural engineering of the bathroom. It is not about the tile color. It is about the level. I have spent more hours with a laser level than I have with a trowel. That is the difference between a master and a handyman. A master knows that gravity never takes a day off.
| Material Type | Janka Hardness / Density | Moisture Tolerance | Max Deflection Allowed |
|---|---|---|---|
| Solid White Oak | 1360 lbf | Low | L/360 |
| Engineered Wood | Varies | Medium | L/360 |
| Porcelain Tile | Extremely High | High | L/720 |
| Luxury Vinyl Plank | N/A | High | L/360 |
| Laminate Floor | N/A | Very Low | L/360 |
The transition between wet and dry zones
Transitions between different flooring materials like tile and carpet require a perfectly level subfloor to ensure the transition strip sits flush and does not create a trip hazard. When you are coming out of a shower onto a carpeted area, the subfloor height must be adjusted. Carpet is thick. Tile is thin. But the tile needs a backer board and thin-set. If you do not calculate the finished floor height before you start, you will end up with a big bump at the door. I have seen people try to hide these bumps with wide metal strips. It looks like garbage. A real pro will use floor leveling compound to create a slight, invisible ramp or will shim the subfloor so the transition is seamless without the need for bulky moldings. This requires planning. It requires measuring the thickness of the carpet, the pad, the tile, and the mortar. It is math. If you hate math, you should not be installing floors. You have to account for every millimeter.
“Deflection is not just a measurement; it is a promise of future failure if ignored during the leveling phase.” – Master Flooring Axiom
Essential checklist for subfloor preparation
- Check the entire surface with a ten foot straight edge to identify dips greater than one eighth of an inch.
- Use a moisture meter to ensure wood subfloors are within four percent of the flooring material.
- Grind down any high spots in concrete slabs using a dust-shrouded diamond grinder.
- Apply a manufacturer-approved primer before pouring any self-leveling underlayment.
- Verify that the floor joists meet the L/720 deflection rating if installing heavy stone or large format tile.
- Remove all paint, oil, and drywall mud from the substrate to ensure proper chemical adhesion.
- Install a perimeter expansion strip to allow the leveling compound to move independently of the walls.
The chemical profile of self-leveling compounds
The science of a self-leveling underlayment is fascinating. It is a blend of Portland cement, aluminate cement, and various polymers. When you add water, you trigger a rapid hydration reaction. The polymers are there to provide flexural strength. Standard concrete is great under compression, but it is brittle. It has no tension strength. By adding polymers, we allow the leveler to bend slightly without cracking. This is vital when you have a shower door vibrating the floor. The leveler has to absorb that energy. It has to stay bonded to the slab while the house moves and settles. If you use a cheap, hardware store brand, you are missing out on those high performance polymers. You are getting a bag of sand and a little cement. It will crack. I only use high grade bags that cost three times as much because I know they will stay put. The cost of the material is nothing compared to the cost of ripping out a shower because the floor started to crumble.
The ghost in the expansion gap
Every floor needs to breathe. Even inside a bathroom, the materials are constantly expanding and contracting based on the temperature and the humidity. When I see a floor installed tight against the walls or the shower base, I know it is going to buckle. You need that gap. But you also need a level floor for that gap to work. If the floor is wavy, the expansion gap will open and close unevenly. This creates points of tension. Eventually, the floor will find the weakest spot and pop up. Usually, this happens right in front of the shower door where the foot traffic is heaviest. I have seen laminate floors peak at the seams because they were trapped against a bathtub. It is a simple fix during the install, but it is an impossible fix once the cabinets and the toilets are in. You have to respect the perimeter. You have to give the floor room to live. If you don’t, it will kill itself trying to move.
Final inspection protocols
Before the shower door goes in, I do one last check. I set my laser level on the floor and I spin it. I look at the red line against the walls. I look for any deviation. If that line is straight all the way around, I know the door will hang true. I know the water will drain where it is supposed to. I know the homeowner will not be calling me in six months because their floor is clicking. It takes an extra hour to be this thorough. Most guys want to get to the next job. I want to never have to come back to this one. A perfect floor is silent. It is invisible. It is level. When you walk into a room and you don’t notice the floor, that is a success. It means everything was done right. It means the subfloor was prepped, the leveling was precise, and the physics of the installation were respected. That is what a master flooring architect does. We build the foundation that the rest of the house relies on. Without a level floor, you are just living on a slope and waiting for the glass to break.