The ‘Soap Suds’ Test for Finding Leaks in a New Shower Liner
Why soap suds expose the invisible failure
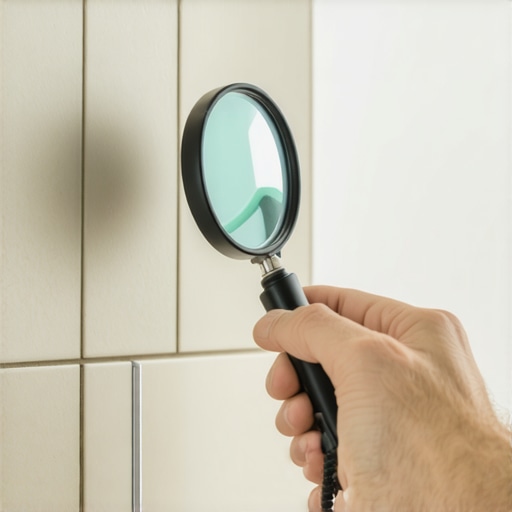
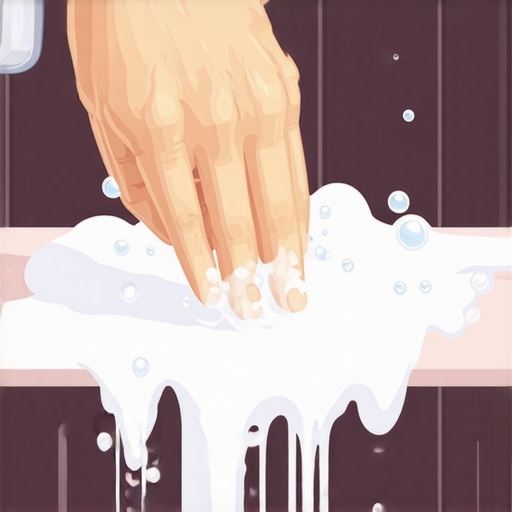
The soap suds test is a diagnostic procedure used to identify microscopic punctures or failed solvent welds in a PVC shower liner during a mandatory flood test. By applying a surfactant solution to seams and corners while the pan is filled, installers can see escaping air bubbles that indicate a breach in the waterproof barrier before tile is set. This method ensures the integrity of the subfloor and prevents long term structural rot. Most guys skip the leveling compound. They think the underlayment will hide the dip. It won’t. I spent three days grinding concrete on a job last month just so the floor wouldn’t click like a castanet. That job taught me that if you do not respect the physics of the flat surface, the house will eventually win. I have been doing this for 25 years and my knees tell the story. I smell like sawdust and WD-40 most days because I do not believe in shortcuts. I have seen 15000 dollar bathroom remodels fail in six months because the installer treated the shower liner like a suggestion instead of a structural engineering requirement. You cannot just slap some laminate or carpet install techniques onto a wet area and hope for the best. A shower is a controlled flood. If your floor leveling is off by even an eighth of an inch, the water will find a way to stay where it is not wanted. To understand the soap suds test, you have to understand the chemistry of the liner itself. PVC and CPE are the two most common materials used for these membranes. They are thick, heavy plastics that require specific solvents to fuse the layers together. If those chemicals do not bond at a molecular level, you have a leak. The soap suds test uses the physics of surface tension. When you submerge a shower pan under two inches of water, the weight of that water pushes air into any tiny void. By brushing a heavy soap solution over the seams, you create a film. Any air pushing through that film creates a bubble. It is the same logic used to find a leak in a tire or a gas line.
The physics of surface tension and liner integrity
Surface tension reduction is the primary mechanism that allows a soap solution to identify pinhole leaks in a shower pan membrane. When surfactants in the soap encounter escaping air from a failed weld, they form stable bubbles that do not pop immediately, providing a visual indicator of a leaking joint or mechanical puncture. This is mandatory for TCNA compliance. You have to realize that water is a heavy substance. One gallon of water weighs about 8.3 pounds. When you fill a standard shower pan with four inches of water for a flood test, you are putting hundreds of pounds of pressure on that liner. If your subfloor is not perfectly flat, that pressure creates stress points. This is why floor leveling is not an optional step for a tile guy. If there is a hump in the concrete, the liner is stretched thin over that hump. If there is a dip, the water pools and creates a localized pressure zone. I have seen liners fail simply because the installer did not sweep the subfloor. A single grain of sand under a PVC liner acts like a diamond drill bit under the weight of a person taking a shower. Over time, that friction creates a hole. The soap suds test is your last chance to find that hole before you bury it under two inches of mortar and expensive stone. If you miss it, you are looking at a mold nightmare. I have torn out showers where the subfloor was so rotted it looked like wet cardboard. All because someone did not want to wait 24 hours for a proper flood test.
“A floor is only as good as the subfloor beneath it; deflection is the enemy of every joint.” – Master Flooring Axiom
The ghost in the expansion gap
An expansion gap is a required perimeter space that allows a subfloor or floor covering to expand and contract without buckling or tenting. In shower installations, the liner must be integrated into the wall studs with enough slack to prevent bridging, which causes the liner to pull away from the drain assembly or corner folds. I once walked into a house where a wide plank walnut floor was cupping so bad it looked like a potato chip because the installer did not check the crawlspace humidity. The same logic applies to shower liners. If you pin the liner too tight to the studs, it will eventually snap or tear at the corners. You need to understand the material. PVC is a polymer. It reacts to temperature. If you install a liner in a freezing cold house in January and then turn on the heat, that plastic is going to move. If you did not leave room for that movement, it will find its own room by cracking a weld. This is why we use soap. We want to see if the movement has already caused a failure. I always tell my apprentices that a shower is a machine. Every part has to move in harmony. If the drain is rigid but the subfloor is bouncy, you are going to have a leak at the flange. This is where people get confused. They think waterproof means indestructible. It does not. It just means water cannot pass through the material. It does not mean the material cannot break.
| Material Type | Janka Rating or Thickness | Acclimation Time | Primary Failure Mode |
|---|---|---|---|
| Solid White Oak | 1360 lbf | 7 to 14 days | Cupping and Crowning |
| Laminate Core | N/A | 48 hours | Edge Swelling |
| PVC Liner | 40 mil | Zero | Solvent Weld Failure |
| CPE Membrane | 40 mil | Zero | Mechanical Puncture |
Why your subfloor is lying to you
A subfloor may appear level and flat to the naked eye but often contains deflection or planar irregularities that exceed the 1/8 inch tolerance required for large format tile or shower pan liners. Using a 10 foot straightedge is the only way to verify that the substrate is ready for a waterproofing system. If you trust your eyes, you are a fool. I have been doing this for two and a half decades and my eyes still lie to me. I always use a level. I have seen guys try to level a floor with extra thin set. That is a crime. Thin set is an adhesive, not a filler. It shrinks as it cures. If you put it on too thick, it will pull on the tile and cause lippage. Or worse, it will crack and take the waterproofing with it. When I talk about floor leveling, I am talking about using high quality self leveling underlayment. You have to prime the floor first. If you do not prime it, the dry concrete will suck the moisture out of the leveler too fast and it will not bond. It will just sit there like a giant cracker waiting to snap. This relates to the soap suds test because a level floor ensures the water pressure is distributed evenly during the flood test. If the floor is slanted the wrong way, the water will not even reach the high corners where your seams are. You could have a massive hole in the corner and never know it because the water never touched it. You have to fill the pan until it is touching the transition curb. That is the only way to be sure.
The 1/8 inch that ruins everything
A measurement error as small as 1/8 inch in a shower slope or subfloor flatness can lead to standing water, capillary action leaks, and premature grout failure. The standard pitch for a shower floor is 1/4 inch per foot toward the drain to ensure total evacuation of water and prevent biofilm buildup. Most people think they can just eye the slope. They cannot. You need a slope tool. If you have too much slope, the tile will not sit right and you will have huge gaps. If you have too little, the water stays in the pan. When water stays in the pan, it searches for a way out. This is where the soap suds test becomes your best friend. If you have a tiny leak in a corner fold, and water is sitting in that corner because the slope is wrong, that water is going to migrate into your wall studs. I have seen entire bathrooms where the bottom three inches of every stud were completely black with mold. The homeowner never knew because the tile looked fine. But the liner was leaking at a seam. If the installer had just taken ten minutes to brush some soapy water on those seams during the flood test, they would have seen the bubbles. It is such a simple test, but laziness is a powerful force in this industry. People want to get in and get out. They want the check. I want the floor to still be there in fifty years.
- Clean the subfloor of all debris and dust before laying the liner.
- Pre-slope the subfloor using a mortar bed or sloped foam system.
- Install the PVC or CPE liner according to manufacturer specifications.
- Apply solvent weld to all corners and seams with a minimum two inch overlap.
- Plug the drain with a pneumatic or mechanical test plug.
- Fill the shower pan with water to at least two inches deep or to the top of the curb.
- Mark the water level on the wall and wait 24 hours.
- Apply soap suds to all visible seams and folds above the water line to check for air escape.
The chemistry of the bond
The chemical reaction involved in solvent welding for PVC shower liners creates a permanent fusion between two pieces of material, effectively turning them into a single continuous sheet. This is not a glue; it is a molecular weld that requires clean surfaces and proper cure times to achieve ASTM D412 standards for tensile strength. If you use the wrong solvent, you are dead in the water. I have seen guys try to use pipe cement on a liner. It does not work. Pipe cement is designed for rigid PVC. Liner solvent is designed for flexible PVC. If you use the wrong one, it will make the liner brittle. It will crack like glass the first time someone steps on it. The soap suds test is especially good at finding these failed welds. Sometimes the weld looks good from the outside, but it is actually a cold weld. That means the surfaces touched but did not fuse. Air will leak through a cold weld every single time. While most people want the thickest underlayment, too much cushion actually causes the locking mechanisms on LVP to snap under pressure. This is a common mistake when people try to bridge the gap between a bathroom and a hallway. They try to use carpet install padding under laminate or vinyl to match the height of the tile. It is a disaster. You need a rigid transition. The same goes for the shower curb. It has to be solid. If the curb moves, the liner fails. I always use solid wood or specialized foam blocks for my curbs. Never ever use stacked 2x4s that are not treated. They will twist and warp and rip your liner to shreds. The soap suds test will show you that failure before you tile over it. If you see bubbles at the curb corner, you know you have a mechanical failure caused by movement.
“Water is the most patient architect; it will find the one hole you forgot to check.” – Master Flooring Axiom
The checklist for a professional result
A professional shower installation requires meticulous attention to the waterproofing sequence, starting with a dead level subfloor and ending with a verified flood test. Using ANSI A118.10 compliant membranes and integrated drain systems ensures that the thermal expansion and structural shifts of the home do not compromise the watertight seal. You have to be a stickler for the rules. I do not care if the homeowner is in a hurry. I do not care if the contractor is screaming about the schedule. If that pan is not tested, I do not set tile. It is that simple. I have seen what happens when you skip the test. I have seen the lawsuits. I have seen the insurance claims. It is not worth it. The soap suds test takes five minutes. The flood test takes 24 hours. Compared to the life of a house, that is nothing. You also have to check the weep holes. Every shower drain has little holes designed to let moisture out of the mortar bed. If you clog those with thin set, your shower will never dry out. It will smell like a swamp forever. This is why I use a bit of pea gravel around the drain before I dump the mortar. It keeps the weep holes open. It is a small trick, but it is the difference between a pro and an amateur. Just like the soap suds. It is a small trick that saves a massive headache. If you are doing a carpet install in the adjacent room, make sure you do not tack the strip through your liner. I have seen that too. A guy runs a tack strip right into the shower transition and punctures the membrane. Bubbles do not lie. If you see them, you have work to do.