The ‘Soap Bubble’ Secret for Finding Leaky Pipes
The ghost of a leaking pipe
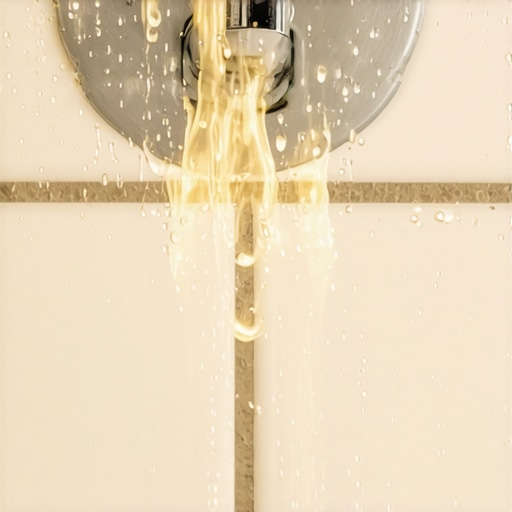
The soap bubble secret involves applying a mixture of dish soap and water to pipe joints to identify leaks through expanding air bubbles. This method is vital before a carpet install or floor leveling project because it detects microscopic gas or water escapes that digital sensors often miss. I spent three days grinding concrete on a job last month just so the floor wouldn’t click like a castanet. I thought the job was done until I smelled the faint hint of damp concrete near the bathroom transition. If I had laid the laminate then, the whole floor would have buckled within ninety days. Most guys skip the leveling compound and they definitely skip the plumbing check. They think the underlayment will hide the dip or the dampness. It wont. A floor is a structural assembly that relies on a dry, stable base. When you are about to drop ten grand on a new hardwood or a high-end carpet install, you do not guess. You test. The soap bubble method is an old school mechanic trick that works because physics does not lie. If air or gas is pushing out of a pipe, it will create a bubble in the surfactant solution. It is that simple. This is mandatory for anyone working around showers or kitchen islands where plumbing is integrated into the subfloor plane.
“A floor is only as good as the subfloor beneath it; deflection is the enemy of every joint.” – Master Flooring Axiom
The science behind the soap bubble method
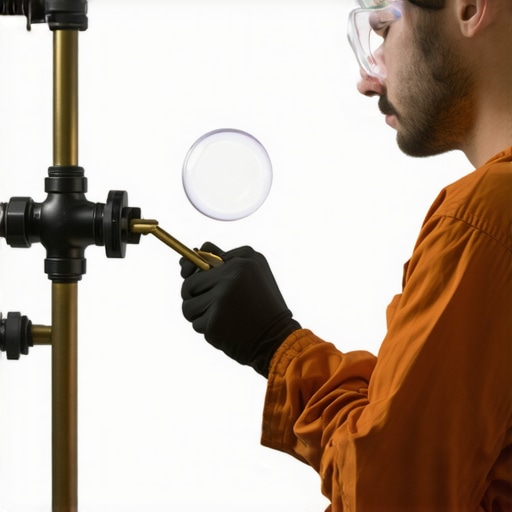
Applying a surfactant solution to plumbing joints creates a thin film that reacts to pressure differentials by forming visible bubbles at the source of a leak. This process utilizes the surface tension of water combined with the chemical properties of soap to reveal pinhole leaks in copper, PVC, or PEX piping systems. When we talk about floor leveling, we are talking about creating a perfectly flat substrate. If there is a leak under that leveler, the moisture will eventually cause the polymer bonds in the leveling compound to fail. I have seen guys pour expensive self-leveling underlayment over a slab that had a pinhole leak in a radiant heat line. The water slowly emulsified the patch, turning a rock-hard floor into mush. You must ensure the integrity of every pipe before the first bag of leveler is mixed. The soap bubble test is your first line of defense. You mix a solution of one part dish soap to four parts water. You brush it on the fittings. If you see a dome start to grow, you have a problem. It is more reliable than many electronic sensors because it does not require calibration. It relies on the atmospheric pressure pushing through the leak.
Why floor leveling compounds reveal hidden moisture
Floor leveling materials act as a vapor barrier that traps moisture rising from the subfloor and forces it to accumulate until structural failure occurs. Most homeowners do not realize that adding a leveler or a thick underlayment for a carpet install changes the way their home breathes. When you seal a slab, you are stopping the natural evaporation of moisture. If there is a leak in a pipe buried in that slab, the water has nowhere to go. It will travel laterally until it finds a seam. This is why you see laminate floors peaking at the joints. The HDF core of the laminate is like a sponge. It sucks up that trapped moisture and expands. By the time you see the damage on the surface, the subfloor is already a colony for mold. I always tell my apprentices that they need to smell the floor before they prep it. If you smell ozone or damp earth, there is a leak. You use the soap bubble test on any exposed valves or lines near the showers before you even think about setting your laser level. Leveling a wet floor is just burying a corpse. It will eventually stink.
| Material Type | Janka Hardness | Moisture Tolerance | Acclimation Time |
|---|---|---|---|
| Solid White Oak | 1360 lbf | Very Low | 7 to 14 Days |
| Engineered Maple | 1450 lbf | Moderate | 3 to 5 Days |
| Laminate HDF | N/A | Low | 48 Hours |
| Luxury Vinyl Plank | N/A | High | 24 Hours |
Carpet install hazards in wet environments
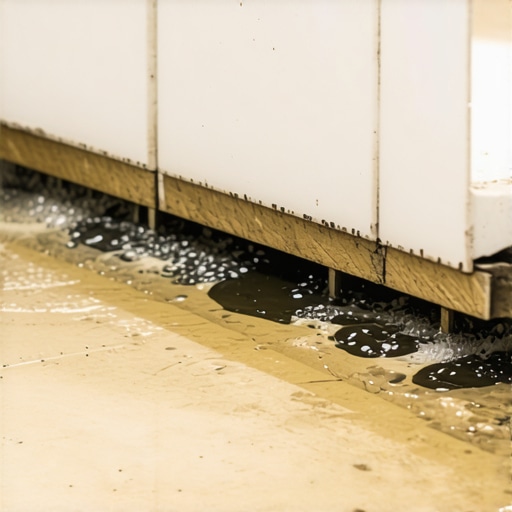
Installing carpet over a damp subfloor leads to the rapid degradation of the latex backing and the growth of fungal spores within the padding. People think carpet is forgiving. They think it hides sins. It actually highlights them. If you have a leak in the wall behind the baseboards, the tack strip will be the first thing to rot. A carpet install requires a dry environment to maintain the tension of the stretch. If the subfloor is holding moisture from a leaky pipe, the wood tack strips will pull out of the concrete or plywood. I once saw a $5,000 wool carpet ruined because a shower valve was weeping behind the drywall. The water traveled under the carpet pad for twenty feet. The installer didn’t check the pipes. He just kicked the carpet in and left. Three weeks later, the room smelled like a wet dog. Use the soap bubble test on every shutoff valve and every visible joint in the vicinity. It takes five minutes. It saves five thousand dollars. The physical bond of the carpet adhesive or the grip of the tack strip depends on a dry substrate.
The chemical breakdown of laminate cores
High density fiberboard cores in laminate flooring undergo irreversible thickness swelling when exposed to moisture levels exceeding twelve percent. Laminate is a fantastic product for durability, but it is the Achilles heel of plumbing leaks. Unlike solid wood which can sometimes be sanded and refinished after it cups, laminate is done once it gets wet. The resins holding the wood fibers together break down. The edges of the planks will lift, creating a trip hazard and an eyesore. This usually happens around showers or kitchen sinks. Before you click those planks together, you must verify that the plumbing is tight. Use the soap bubble secret on the dishwasher line and the fridge water line. These are the most common culprits for laminate failure. The moisture travels through the underlayment and sits under the floor. Because the top of the laminate is a wear layer of melamine, the water cannot evaporate. It stays trapped in the core. It is a slow motion disaster. You will hear a clicking sound when you walk on it. That is the sound of the locking mechanism snapping because the board has swollen too thick for the groove.
- Clean the pipe joint thoroughly with a wire brush.
- Mix high-concentration dish soap with warm water in a spray bottle.
- Pressurize the system to its maximum operating limit.
- Apply the solution generously to all threaded and soldered connections.
- Observe for at least sixty seconds for any growing bubbles.
- Mark the leak location with a permanent marker for repair.
- Re-test after the repair is completed to ensure a total seal.
Shower pan failures and the bubble test
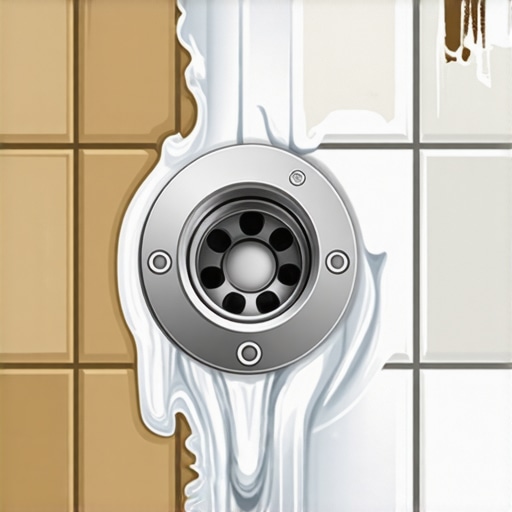
Shower installations fail most frequently at the drain assembly where the clamping ring meets the waterproof membrane or the subfloor. This is the most technical part of a bathroom remodel. If you are doing floor leveling in a bathroom, you are likely working around a shower. The TCNA requires a slope of one quarter inch per foot for proper drainage in wet areas. If the drain is leaking, your leveling compound will wick that water across the entire bathroom. I use the soap bubble test on the drain housing itself. I plug the drain and put a small amount of air pressure into the line if possible, or I look for bubbles around the seal when the system is under a flood test. While most people want the thickest underlayment, too much cushion actually causes the locking mechanisms on LVP to snap under pressure. The same logic applies to showers. You need a rock solid base. If there is air escaping the drain assembly, water is following it. You cannot fix a leaky shower drain after the tile is down without a sledgehammer.
“Wood is hygroscopic, meaning it will gain or lose moisture until it is in equilibrium with the surrounding air.” – NWFA Technical Manual
Hydrostatic pressure in concrete slabs
Concrete acts as a porous sponge that pulls moisture from the earth through capillary action, a process intensified by plumbing leaks within the slab. This is the physics of the ground beneath your feet. If you have a pipe buried in a concrete slab, a leak does not just stay at the pipe. It saturates the entire slab. This increases the hydrostatic pressure. When you try a carpet install or lay down laminate, that pressure pushes the moisture up. It can even push floor leveling compounds right off the floor. I have seen leveler pop up in giant sheets because the moisture underneath was so high. The soap bubble secret is harder to use on buried pipes, but you can use it on the manifolds and the entry points. If you suspect a slab leak, you must address it before the flooring goes down. You check the water meter. You check the pressure. You use every trick in the book. A dry slab is the only slab worth flooring. If you ignore the moisture, the floor will eventually delaminate. The adhesive chemistry of modern flooring is incredible, but it cannot fight the constant pressure of water.
Final inspection of the structural plane
The flooring industry is full of people who want to talk about colors and textures. I want to talk about PSI and moisture content. The ‘Soap Bubble’ secret is a testament to the fact that the best tools are often the simplest. Whether you are prepping for a carpet install, leveling a kitchen floor, or tiling showers, the integrity of the plumbing is your responsibility as much as the levelness of the floor. You are building a system. If one part of that system fails, the whole thing is garbage. Take the time to brush the soap on the joints. Take the time to grind the concrete flat. Take the time to let the wood acclimate. Flooring is a science of patience and precision. If you skip the diagnostics, you are just waiting for a phone call from an angry homeowner. Keep your subfloor dry, keep your joints tight, and never trust a pipe you haven’t tested yourself. The structural reality of the home depends on the small details you handle before the finished floor ever comes out of the box.