Why Your Shower Floor Tile Is Popping Up
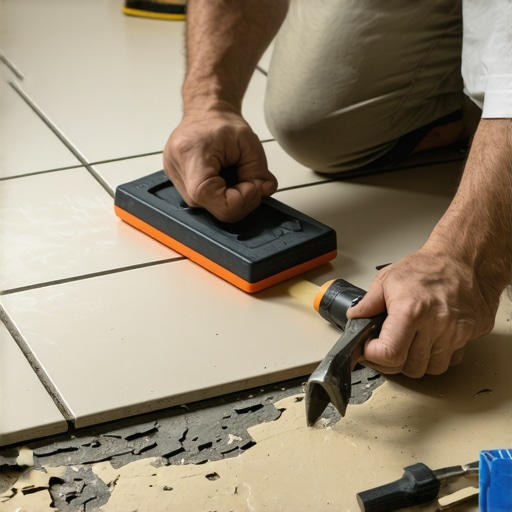
The sound of a cracking tile in the middle of a shower is the sound of money leaving your bank account. Most homeowners think tile is an impenetrable fortress of ceramic and grout. It is not. Tile is a rigid finish on a dynamic structure. When the structure moves and the tile does not, something has to give. Most guys skip the leveling compound. They think the thin-set will hide the dip. It won’t. I spent three days grinding concrete on a job last month just so the floor wouldn’t click like a castanet. That same negligence causes shower floors to pop, tent, and crack. If your shower floor is lifting, it is usually because the installer ignored the physics of expansion or the chemistry of the bond.
The ghost in the expansion gap
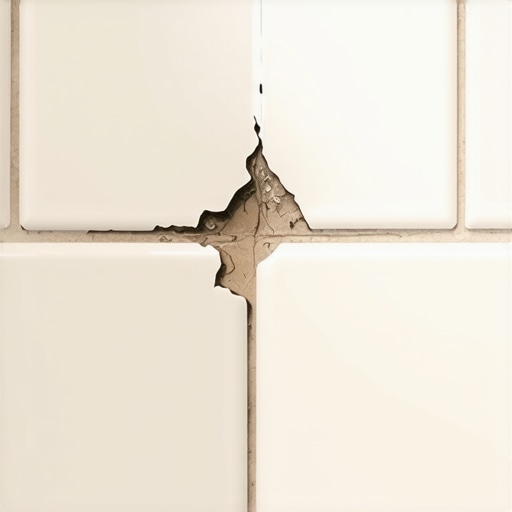
Shower tiles pop up because of a lack of perimeter expansion joints and structural deflection. When a house settles or temperatures fluctuate, the substrate expands and contracts. If the tile is installed tight against the walls without a soft joint of 100 percent silicone sealant, the expanding field of tile has nowhere to go but up. This creates a tenting effect where the bond is broken by sheer force. The chemistry of the thin-set is also a factor. If the mortar was allowed to skin over before the tile was set, the mechanical bond is nonexistent. You are essentially resting the tile on a bed of dry dust. This is why you can sometimes lift a popped tile and find the back of it is perfectly clean. That is a bond failure. It happens when the installer does not back-butter the tile or when the subfloor was not properly primed to manage the rate of moisture absorption from the mortar. If the dry concrete or backer board sucks the water out of the thin-set too fast, the cementitious crystals never grow into the pores of the tile. It is a dead bond from day one.
The lie of the level subfloor
A subfloor must be flat within 1/8 inch over 10 feet for large format tiles to prevent lippage and bond failure. Many installers confuse level with flat. A floor can be sloped toward a drain and still be perfectly flat. If there are high spots or birdbaths in the mud bed or the concrete slab, the tile will bridge those gaps. This creates a hollow spot. When you step on a bridged tile, you are applying hundreds of pounds of pressure per square inch to a brittle material with no support underneath. Eventually, the tile snaps or the bond fails. In my experience, guys try to fix this by using a thicker layer of thin-set. This is a rookie mistake. Thin-set is not a filler. It is an adhesive designed to be used in a thin layer, usually around 3/16 of an inch after the tile is beat in. When you pile it on an inch thick to level a floor, it shrinks as the water evaporates. This shrinkage pulls the tile downward, creates internal tension, and leads to the very popping issues you are trying to avoid. You need to use a dedicated floor leveling compound or a proper mortar bed to get the substrate flat before the first tile ever touches the ground.
“A floor is only as good as the subfloor beneath it; deflection is the enemy of every joint.” – Master Flooring Axiom
Chemical bonds that fail under pressure
Bond failure in shower floors often stems from using the wrong thin-set or failing to account for moisture vapor transmission. Not all mortars are created equal. You have unmodified thin-set, which is basically just Portland cement and sand, and you have modified thin-set, which contains polymers like ethylene-vinyl acetate. These polymers increase the shear strength and the flexibility of the bond. If you are installing tile over a waterproof membrane, you generally need a high-quality modified mortar that can cure without the help of the substrate absorbing water. However, if the slab is constantly damp from a high water table or a leaky pipe, that moisture can cause the polymers to emulsify. This turns the hardened adhesive back into a soft, gummy paste. Once the bond is compromised by moisture, the natural movement of the house will cause the tile to pop. We also have to look at the mil thickness of the wear layer on the subfloor materials. If you used a cheap, thin plywood or a non-rated backer board, the deflection will be too high. The TCNA requires a deflection limit of L over 360 for ceramic tile. That means if your floor span is 10 feet, it cannot bend more than a third of an inch under a heavy load. If it bends more than that, the grout cracks, the water gets in, and the tile pops.
The 1/8 inch that ruins everything
Small errors in movement joint placement lead to massive tile failures in large shower installations. The Tile Council of North America specifies in detail EJ171, which is the standard for movement joints. In a wet environment, you need these joints every 8 to 12 feet. If your shower is large or if the tile continues out into the bathroom floor, you cannot just grout every single line. Grout is rigid. It is basically concrete. It does not compress. When the house heats up in the summer, the tile expands. If every joint is filled with rigid grout, the pressure builds up until the tile explodes off the floor. I have seen entire bathroom floors lift two inches off the slab because the installer didn’t leave a 1/8 inch gap at the transition. This is especially true with laminate or LVP nearby. While people want the thickest underlayment, too much cushion actually causes the locking mechanisms on LVP to snap under pressure, and in the case of tile, too much flex in the subfloor leads to the same result. You need a rock-solid base.
| Material Type | Expansion Coefficient | Recommended Joint Size | Adhesive Requirement |
|---|---|---|---|
| Ceramic Tile | Low | 1/16 to 1/8 inch | Type 1 Organic or Thin-set |
| Porcelain Tile | Very Low | 1/8 to 3/16 inch | Modified Thin-set (High Polymer) |
| Natural Stone | Medium | 1/16 inch | Medium Bed Mortar |
| Glass Tile | High | 3/16 inch | Glass Grade White Thin-set |
Deflection and the brittle nature of ceramic
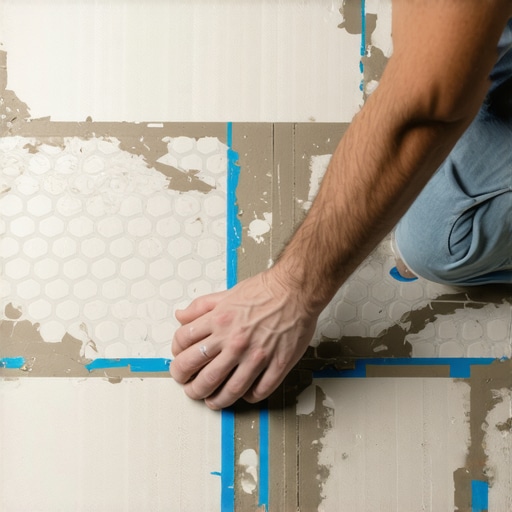
The stiffness of the floor assembly determines whether the tile remains bonded or shears off under stress. If you are working over a wood-framed floor, the joist spacing is the first thing I check. If you have 24 inch centers, you are asking for trouble. You need to add a second layer of exterior grade plywood, glued and screwed, to stiffen that assembly. You cannot just throw down some carpet install remnants and think a layer of tile will fix it. No. You need structural rigidity. When a tile pops, look at the back of it. If there is mortar stuck to the tile but not the floor, the floor was the problem. It was likely dusty or too porous. If there is mortar on the floor but not the tile, the installer did not achieve proper coverage. You want at least 95 percent coverage in a wet area. You get that by troweling in straight lines, not swirls. Swirls trap air. Straight lines allow the air to escape when you set the tile. Trapped air pockets are where water sits, and where water sits, the bond dies. It is pure physics.
“Tile is a finish, not a structural component; it will only be as stable as what it sits upon.” – Master Flooring Axiom
Moisture migration through the slab
Efflorescence and hydrostatic pressure are the silent killers of shower floor bonds on concrete slabs. In basement showers or ground-level slabs, moisture is always moving upward through the concrete. If you didn’t put down a moisture vapor barrier, that water carries minerals to the surface. This is called efflorescence. Those white, crusty deposits are actually salt crystals growing under your tile. As they grow, they exert incredible pressure, enough to literally lift the tile off the mortar bed. This is why floor leveling is so vital before you start. You need to treat the slab, seal it, and then build your shower on top of a controlled environment. If you treat your shower floor like a DIY project without understanding the moisture vapor transmission rate, you will be ripping it out in two years. I see it every single day. People buy the cheapest thin-set at the big box store and wonder why their $20 per square foot marble is cracking. You have to match the chemistry of the adhesive to the porosity of the stone and the conditions of the slab.
Checklist for a Permanent Shower Floor Installation
- Verify subfloor deflection meets L/360 standards for ceramic.
- Ensure the pre-slope under the liner is exactly 1/4 inch per foot.
- Clean all dust and debris from the substrate before thin-set application.
- Use a high-quality modified thin-set for porcelain or glass.
- Apply 100 percent silicone in all change-of-plane joints.
- Back-butter every single floor tile to ensure 95 percent coverage.
- Allow at least 24 hours of cure time before walking on the tile.
The reality of flooring is that the prep work takes five times longer than the actual tiling. If you spend your time on the floor leveling and the waterproofing, the tile will stay put for fifty years. If you rush the subfloor because you want to see the pretty pattern, you are going to be staring at a failure. The materials we use today are better than they were thirty years ago, but the physics of a house hasn’t changed. Wood still moves, concrete still breathes, and water still finds the path of least resistance. Respect the expansion gap. Respect the bond. And for the love of the craft, stop thinking a bag of cheap mortar can fix a crooked floor.
[IMAGE_PLACEHOLDER]