The ‘Sponge Test’ for Checking Tile Sealer Effectiveness
The ‘Sponge Test’ for Checking Tile Sealer Effectiveness
Look, I have seen every bargain-bin bottle of sealer that comes through those sliding doors at the big-box centers. They are mostly water and hope. Most homeowners, and quite a few rookie installers who should know better, treat tile sealing like an afterthought. They think a quick wipe with a damp rag and a spray-on product from a plastic bottle is enough to protect a five-thousand-dollar natural stone installation. It is not. I have spent decades in this trade, smelling floor wax and sawdust, and I can tell you that moisture is a patient predator. I once spent three days grinding concrete on a job last month just so the floor would not click like a castanet because the previous guy ignored the subfloor moisture and the sealer failure. If your sealer fails, your grout becomes a highway for bacteria and mold. The sponge test is the only way to know if you are actually protected.
The microscopic porous reality of your floor
Tile and grout surfaces contain millions of microscopic pores that act as capillary channels for liquids and stains. A sealer works by either filling these pores or changing the surface tension of the material to repel moisture. The sponge test validates whether this chemical barrier is intact by measuring absorption over time. Natural stone is a living, breathing entity in a structural sense. Even dense granites have a degree of porosity that will allow oils and water to migrate into the slab. When we talk about floor leveling and preparing a substrate, we often forget that the top layer is just as vulnerable to the physics of pressure. If you are doing a carpet install, you do not worry about liquid penetration the same way, but with tile and laminate, the interface between the surface and the core is where the battle is won or lost. In showers, this becomes a matter of structural integrity because a failed seal leads to saturated thin-set and eventually, a failed waterproof membrane.
Why your sealer is failing behind the scenes
Sealer failure occurs when the chemical bonds of the fluoropolymers or siloxanes break down due to UV exposure, abrasive cleaning, or poor initial application. When a sealer fails, the surface loses its hydrophobic properties, allowing contaminants to settle deep within the mineral structure of the tile. You see it all the time in high-traffic kitchens. The homeowner uses a harsh, acidic cleaner that eats the sealer alive. Then they wonder why their white grout is turning a muddy grey. It is because they have stripped away the silane-siloxane shield. I tell people in my shop that buying a cheap sealer is like buying a cheap umbrella in a hurricane. You might feel okay for the first thirty seconds, but eventually, you are going to get soaked. The chemistry of these products is fascinating. Penetrating sealers move into the stone and create a tension field that literally pushes water away. If that field is interrupted by chemical stripping, the stone is naked.
“A floor is only as good as the subfloor beneath it; deflection is the enemy of every joint.” – Master Flooring Axiom
The mechanics of the five minute sponge test
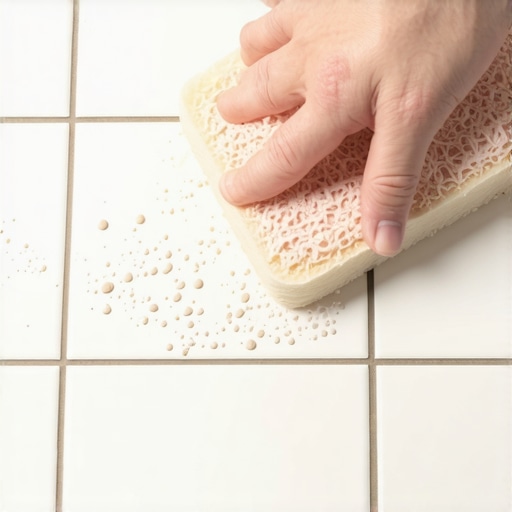
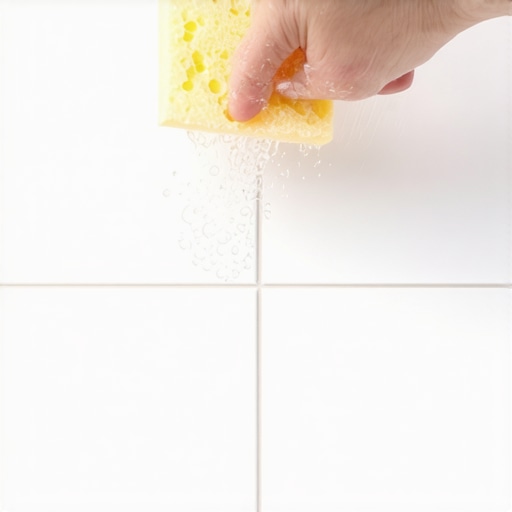
The sponge test requires a clean, dry tile surface and a saturated sponge placed on a representative area for exactly five minutes. After removing the sponge and wiping the surface dry, the installer looks for any darkening of the tile or grout which indicates water absorption. It sounds simple because it is simple. Physics does not lie. If the tile darkens, the water has moved from the surface into the body of the material. This means your sealer is either absent, expired, or was never applied correctly in the first place. You need to do this in multiple spots. Do not just test the corner where nobody walks. Test the center of the room. Test the area right outside the shower. Test the grout joints specifically. Grout is far more porous than most ceramic or porcelain tiles. If the grout absorbs the water, you have a vulnerability that will lead to staining and potential water damage to the subfloor.
Subfloor secrets that ruin expensive tile jobs
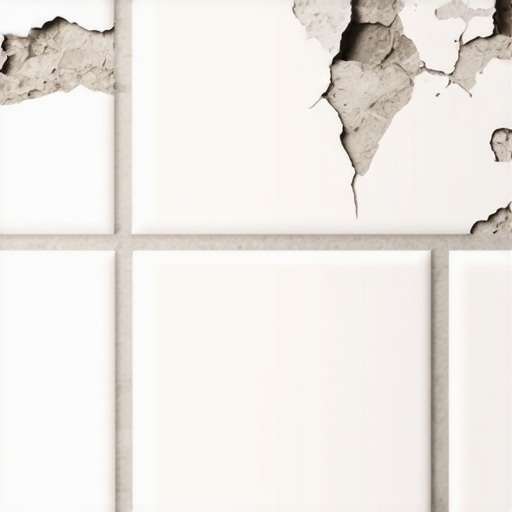
A stable subfloor prevents the micro-cracking of grout joints that allows moisture to bypass even the best sealers. If a subfloor has too much deflection, the movement will snap the chemical bonds of the sealer at the grout line interface. I have seen guys try to hide a bad subfloor with extra underlayment. It never works. While most people want the thickest underlayment, too much cushion actually causes the locking mechanisms on laminate or LVP to snap under pressure. The same logic applies to tile. If that floor flexes, the grout cracks. Once the grout cracks, the sponge test becomes irrelevant because the water is just going to bypass the surface and go straight to the thin-set. I tell my clients that if they do not want to pay for proper floor leveling, they should just get used to the idea of their floor failing in three years. You cannot build a skyscraper on a swamp, and you cannot put a high-end marble floor on a bouncy plywood subfloor.
| Material Type | Pore Density | Recommended Sealer Type | Expected Longevity |
|---|---|---|---|
| Carrara Marble | High | Solvent-Based Penetrating | 1 to 3 Years |
| Porcelain Tile | Low | Water-Based Topical (Grout Only) | 3 to 5 Years |
| Slate | Medium | Enhancing Penetrating | 2 to 4 Years |
| Sandstone | Extreme | High-Solids Solvent | 1 Year |
The chemical difference between topical and penetrating sealers
Topical sealers create a physical film on the surface of the tile while penetrating sealers reside below the surface to protect the internal structure. Topical sealers provide a gloss or matte finish but are susceptible to wear, whereas penetrating sealers do not change the look of the stone. In my shop, I see the DIY crowd go for the topical stuff because they like the shine. I try to warn them. A topical sealer is just a plastic skin. As soon as you drag a chair across it, you have a hole in your armor. Penetrating sealers are the professional choice. They use sub-micron particles to get inside the stone. They do not sit on top, so they do not wear off with foot traffic. But they are harder to apply. You have to let them dwell. You have to wipe off the excess before it hazes. It is a precise process that requires a steady hand and a lot of patience. If you rush it, you end up with a sticky mess that is a nightmare to clean up.
Shower enclosures and the moisture trap
Showers represent the most aggressive environment for tile sealers due to constant water exposure and the presence of surfactants in soaps and shampoos. A failed seal in a shower can lead to saturated backer boards and the growth of sub-surface mold colonies. People think tile is waterproof. Tile is not waterproof. Tile is water-resistant. The waterproofing happens behind the tile. But the sealer is the first line of defense. If the sealer is working, the water beads up and rolls down the drain. If the sealer is dead, the water stays in the grout. It stays in the stone. It creates a damp environment that never truly dries out. This is why your shower smells like a damp basement. Perform the sponge test on your shower floor every six months. If it fails, you need to deep clean and re-seal immediately. Do not wait until the grout starts falling out in chunks.
“All ceramic tile installations must be designed to resist the expected moisture and structural loads of the environment.” – TCNA Handbook Standards
- Clean the surface thoroughly with a pH-neutral cleaner before testing.
- Ensure the tile is completely dry for at least 24 hours.
- Place a dripping wet sponge on a grout joint and the tile face.
- Leave the sponge undisturbed for exactly five minutes.
- Remove the sponge and wipe the area with a dry microfiber cloth.
- Inspect for any color change or darkening of the material.
- If the area is darker than the surrounding tile, the sealer has failed.
Laminate and carpet installation versus tile longevity
While laminate and carpet involve different moisture management strategies, tile requires a chemical integration with the environment to ensure a multi-decade lifespan. Laminate relies on topical coatings and tight joints, while carpet acts as a filter for particulates. You cannot treat a tile floor like a laminate floor. Laminate is essentially a photograph glued to a wood-pulp board. It is fragile in the face of standing water. Tile is a tank, but only if the armor is maintained. When I do a carpet install, I am thinking about stretch and tack strips. When I do tile, I am thinking about chemistry and physics. The sponge test is part of that professional mindset. It is about verifying that the materials are performing as engineered. If you skip the test, you are just guessing. And in this business, guessing is the fastest way to a high-priced insurance claim.
Final inspection of the surface
Do not let a simple test keep you from protecting your investment. The sponge test takes five minutes and costs nothing but a little bit of water. It tells you more about the health of your floor than a hundred glossy brochures. If you see that dark spot under the sponge, it is time to get to work. Strip the old, contaminated layers. Clean the pores. Apply a high-quality, professional-grade penetrating sealer. Give it the time it needs to cure. Your floor will thank you for it, and your subfloor will stay dry and stable for years to come. In the world of flooring, the details are not just details. They are the entire job. Wear your knee pads, check your levels, and never trust a sealer that has not passed the test.