The Painter’s Tape Secret for Perfect Shower Silicone
I spent three days grinding concrete on a job last month just so the floor wouldn’t click like a castanet. Most guys skip the leveling compound. They think the underlayment will hide the dip. It won’t. I have spent twenty-five years on my knees with a moisture meter and a level. I have seen every shortcut in the book and I have seen every one of them fail eventually. A floor is a performance surface. It is a structural engineering challenge. If you treat it like a cosmetic choice you will be replacing it in five years. This is especially true in the bathroom where water is looking for any microscopic path to destroy your subfloor. The intersection of your flooring and your shower is the most vulnerable point in your home. Perfect silicone is not about vanity. It is about a structural seal that prevents subfloor rot. I have seen fifteen thousand dollar wide-plank walnut floors cup like potato chips because of a single failed bead of caulk. You do not need a designer. You need a moisture meter and the patience to do the prep work correctly.
The physics of the waterproof seal
A waterproof seal requires a clean substrate and a mechanical bond that accounts for structural movement and thermal expansion. Silicone is a polymer that remains flexible after curing. It allows for the inevitable shifting of your house without cracking. If you apply it incorrectly you create a pocket for mold to grow. This leads to subfloor failure and expensive remediation work. Most installers just squeeze a tube and hope for the best. They ignore the chemistry of the bond. They ignore the surface tension of the material. They ignore the fact that tile and tubs move at different rates. If you do not account for this movement your seal will pull away within eighteen months. I have seen it happen a thousand times. It is the difference between a professional result and a weekend disaster.
Why your subfloor is lying to you
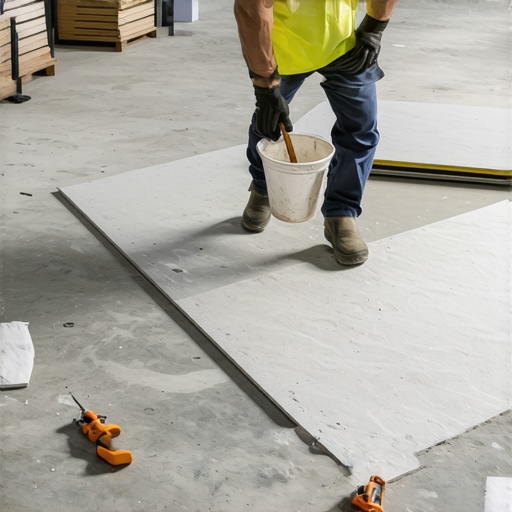
Subfloor levelness is the single most important factor in the longevity of any flooring installation including laminate and tile. You can have the most expensive porcelain in the world but if the subfloor has a dip your grout will crack and your silicone will fail. Most builders consider a floor level if it does not roll a marble. That is not good enough for me. I look for a deviation of less than one-eighth of an inch over ten feet. If I do not see that I start grinding. I use calcium aluminate based self-leveling underlayment because it has a higher compressive strength than Portland cement versions. It handles the weight of the water in a shower without compressing. When the subfloor moves the joints open up. When the joints open the water gets in. It is a simple chain reaction of failure that starts with a lazy installer who did not want to pick up a grinder.
“A floor is only as good as the subfloor beneath it; deflection is the enemy of every joint.” – Master Flooring Axiom
The painter’s tape secret for shower silicone
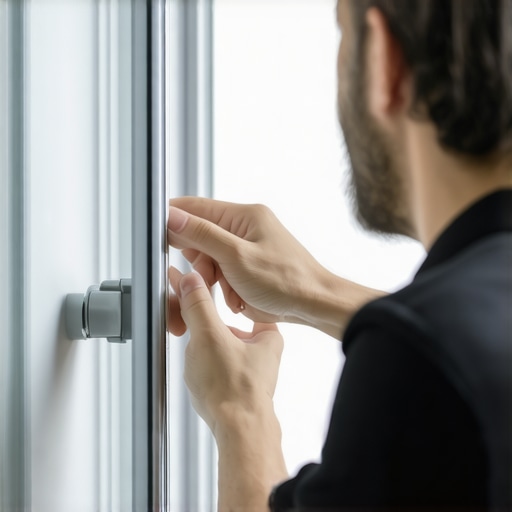
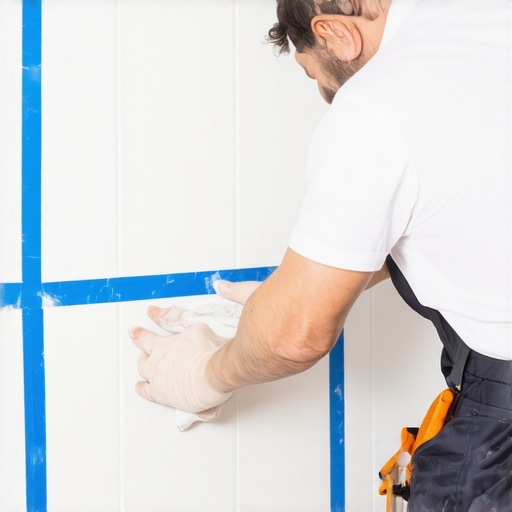
The painter’s tape secret involves masking off the joint to create a perfectly straight bead with controlled thickness and clean edges. You apply the tape precisely one-eighth of an inch away from the corner on both sides. This creates a channel. When you tool the silicone the tape catches the excess. You pull the tape while the silicone is still wet. This leaves a crisp line that looks like it was done by a machine. It also ensures that you have the correct volume of material in the joint. Too little silicone and it will snap under tension. Too much and it becomes a messy blob that traps soap scum. I have used this method on five-star hotel projects and humble basement remodels. It works every time if you have the patience to line up the tape correctly. It is the mark of a mechanic who cares about the details.
| Metric | Laminate Flooring | Solid Hardwood | LVP (Vinyl) |
|---|---|---|---|
| Acclimation Time | 48-72 Hours | 7-14 Days | 24-48 Hours |
| Expansion Gap | 3/8 Inch | 3/4 Inch | 1/4 Inch |
| Max Subfloor Dip | 1/8 Inch | 1/4 Inch | 3/16 Inch |
| Moisture Limit | 12% MC | 9% MC | No Limit (Waterproof) |
The chemistry of the bond
The bond between silicone and tile depends on the removal of all surface contaminants and the use of 100% silicone products. Do not use cheap acrylic caulk in a shower. It will fail. Acrylic is essentially a glue that dries hard and brittle. In a high-moisture environment it will shrink and pull away from the tile. You need 100% RTV (Room Temperature Vulcanizing) silicone. This material cross-links as it cures. It creates a rubberized gasket that is chemically resistant to bleach and soap. Before I even think about opening a tube I scrub the area with denatured alcohol. You have to remove the oils from your hands and the dust from the grout. If there is even a molecule of dust the silicone will bond to the dust instead of the tile. That is how leaks start. That is how your subfloor begins to rot. I take chemistry seriously because the water does too.
Laminate and moisture challenges
Laminate flooring is highly susceptible to moisture damage near showers because the high-density fiberboard core acts like a sponge. Even if the surface is waterproof the edges are not. If your shower seal fails the water will travel under the threshold and into the laminate core. Once that happens the floor is ruined. It will swell at the seams and look like a mountain range. This is why I insist on a heavy bead of silicone at every transition point. I also use a specialized edge sealant for the first three rows of laminate outside a bathroom. It is a secondary defense. Most people want the thickest underlayment they can find for comfort. This is a mistake. Too much cushion actually causes the locking mechanisms on laminate to snap under pressure. You want a firm high-density foam that does not exceed three millimeters. This protects the joints and keeps the floor stable.
- Check subfloor for moisture using a pin-less meter.
- Grind high spots and fill low spots with leveling compound.
- Vacuum the entire area to remove all grit.
- Apply painter’s tape to both sides of the joint.
- Use a high-quality 100% silicone.
- Tool the bead with a soapy finger or a profiling tool.
- Remove the tape immediately at a 45-degree angle.
The one eighth inch that ruins everything
A deviation of more than one-eighth of an inch in your floor leveling will lead to structural failure of the locking system. I see this most often in carpet install projects that are converted to hard surfaces. Carpet is forgiving. It hides a subfloor that looks like the surface of the moon. When you pull that carpet and try to lay laminate or LVP you are in for a nightmare. The floor will feel bouncy. It will click. Eventually the plastic tongues will snap off. I spend more time on my prep than I do on the actual installation. I use a straightedge to find every dip. If the floor is not flat I do not start. I have walked off jobs where the homeowner refused to pay for leveling. I would rather lose the job than put my name on a floor that is going to fail in six months. That is the difference between a pro and a hack.
“Deflection is the silent killer of modern flooring installations; measure twice or pay twice.” – NWFA Technical Guide
Carpet install in high moisture zones
Carpet installation near showers is generally discouraged unless a high-performance moisture barrier and microbial treatment are used. I hate seeing carpet right up against a shower door. It is a breeding ground for bacteria. If you must have it you need a synthetic backing. Natural jute will rot in months. You also need a transition strip that is mechanically fastened to the subfloor. I prefer a metal Z-bar because it provides a positive lock for the carpet stretch. If the carpet is loose it will bunch up at the bathroom door. This creates a trip hazard and allows water to seep further into the hallway. I always tell my clients to stick with tile for at least three feet outside the shower. It is the only way to be safe. It is the only way to protect the structure of the house. I have seen enough moldy subfloors to know that I am right.
The regional climate expert view
In regions with high humidity such as the Gulf Coast moisture barriers are mandatory to prevent subfloor expansion. If you live in a place where the air feels like soup you cannot install a floor the same way you would in the desert. The concrete slabs in humid climates are constantly transpiring. They are breathing out moisture. If you trap that moisture under a floor without a vapor barrier you are creating a greenhouse. The adhesive will emulsify. The wood will buckle. I use a six-mil polyethylene plastic or a liquid-applied moisture vapor epoxy. This creates a dead stop for the water. It protects your investment. In dry climates like Phoenix you have the opposite problem. The wood will shrink until you can see the subfloor through the gaps. You have to acclimate the material to the house for at least two weeks. Do not let a salesman tell you that forty-eight hours is enough. He is just trying to get paid. I am trying to make sure your floor lasts for thirty years.
Final structural assessment
The success of a flooring project is determined by the preparation of the subfloor and the integrity of the perimeter seals. Whether you are dealing with a shower silicone bead or a thousand feet of laminate the rules are the same. You must respect the materials. You must respect the physics of the house. A house is a moving object. It breathes and shifts and settles. Your flooring must be able to handle that movement without breaking. That is why we use expansion gaps. That is why we use flexible silicone. That is why we spend days leveling a slab that looks flat to the naked eye. If you take the time to do it right you will never have to think about your floor again. If you rush it you will think about it every time you hear a board creak or see a gap in your shower. Do the work. Use the tape. Level the floor. Your house will thank you for it in twenty years.