Why Your Floor Leveler Cracked Overnight
The chemistry of a failed bond
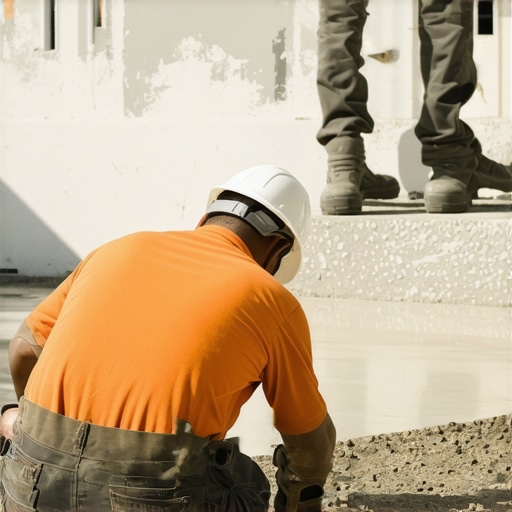
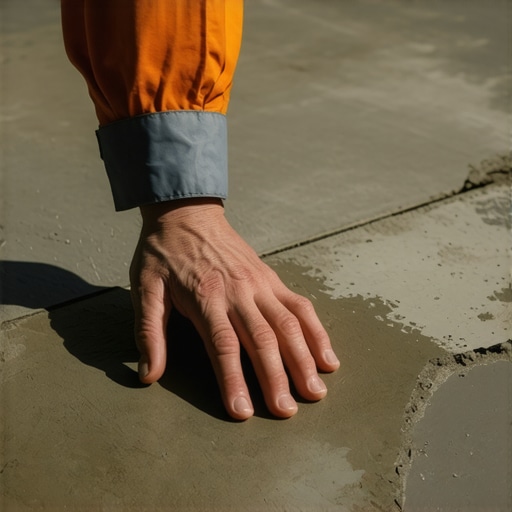
Floor leveler cracks overnight because of improper substrate preparation, excessive water in the mix, or skipping the essential primer step. When the substrate is too porous, it sucks the moisture out of the leveler too fast, which ruins the hydration process. The leveler shrinks, loses structural integrity, and eventually spiders. I spent three days grinding concrete on a job last month just so the floor wouldn’t click like a castanet. Most guys skip the leveling compound entirely or they rush the prep. They think the underlayment will hide the dip. It won’t. I have seen guys dump five gallons of leveler over a dusty slab without a drop of primer and then act surprised when it sounds like Rice Krispies under their boots the next morning. A floor is a structural performance surface. It is not just something you walk on. It is an engineering challenge that starts with the chemistry of the bond between the old slab and the new pour. If that bond fails, the whole system fails. This is especially true when you are preparing for a laminate or a high-end hardwood installation where flatness is the only thing that matters.
Why your subfloor is lying to you
Subfloor flatness is different from being level and most homeowners confuse the two concepts which leads to installation failure. A floor can be perfectly level but have a hump that will snap the tongue and groove of your laminate. Or it can be slightly out of level but perfectly flat. Most manufacturers require a floor to be flat within 1/8 inch over a 10 foot radius. If you ignore this, you are inviting disaster. I once walked into a house where a $15,000 wide-plank walnut floor was cupping so bad it looked like a potato chip because the installer didn’t check the crawlspace humidity or the subfloor flatness. The wood was fighting the subfloor and the wood won. When we talk about floor leveling, we are really talking about creating a plane. In showers, this is even more complex because you need a specific slope to the drain. You cannot just dump leveler and hope for the best. You have to understand the physics of the pour. Concrete is a thirsty sponge. If you do not seal the pores of that sponge with a high-quality primer, the concrete will steal the water required for the leveler to cure. This is called desiccation. It leads to a brittle, chalky finish that will crack under the weight of a single footstep. It is a avoidable tragedy that happens every day in the flooring world.
“A floor is only as good as the subfloor beneath it; deflection is the enemy of every joint.” – Master Flooring Axiom
The water to powder ratio trap
Mixing too much water into your self-leveling underlayment creates a weak surface layer known as laitance which will crack and peel. The chemistry of cement requires a very specific amount of water to create the crystalline structures that give the material its strength. When you add extra water to make it flow easier, you are diluting the polymers. The heavy particles sink to the bottom and the water rises to the top. This leaves a soft, dusty film on the surface. This film has no tensile strength. When it dries, it shrinks and pulls away from itself. This is why you see spiderweb cracks. It will buckle. You need to use a measuring bucket. Do not eyeball the water. Do not use a garden hose. Use a precise volume of clean, cool water. If the water is too hot, the chemical reaction happens too fast. This is called a flash set. The leveler gets hot, the polymers break down, and the whole thing turns into a mess of cracks and bubbles. I have seen $500 worth of product wasted because an apprentice thought he could mix it by feel. The physics of the bond do not care about your feelings. They care about the ratio. If you are preparing for a carpet install, you might get away with a minor crack, but under laminate or LVP, that crack will telegraph through or cause the locking mechanism to fail. It is a chain reaction of failure that starts in the mixing bucket.
| Leveler Type | Drying Time | Max Thickness | Best Use Case |
|---|---|---|---|
| Polymer-Modified | 4-24 Hours | 1.5 Inches | Laminate and Hardwood |
| Gypsum-Based | 12-48 Hours | 3 Inches | Radiant Heat Systems |
| Standard Portland | 24-72 Hours | 1 Inch | Basic Carpet Prep |
The ghost in the expansion gap
Internal stress within the curing leveler must be managed by perimeter isolation strips to prevent the material from cracking as it shrinks. All cementitious products shrink as they lose moisture. It is a fact of physics. If you pour leveler from wall to wall without an expansion gap, the leveler has nowhere to go. It will push against the walls and then it will buckle upward. This is the ghost that ruins your floor. You need to install foam sill sealer or a dedicated perimeter strip before you pour. This allows the leveler to move slightly as it cures. It also prevents the leveler from leaking into the wall cavities or down into the basement. I have seen leveler run through a hole in the subfloor and coat a furnace in the room below. It is a nightmare. This is part of the structural zooming you have to do before you even open a bag. You have to look at the perimeter. You have to look at the vents. You have to look at the transitions. If you are doing a carpet install, the tack strips need to be protected. If you are doing showers, the waterproofing membrane must be integrated with the leveler. It is all one system. If you treat it like separate parts, you are going to have a bad time. The bond is everything. The prep is everything. The patience to let it dry is the hardest part for most people.
- Check the subfloor for any loose boards or movement before pouring.
- Vacuum the entire surface to remove every speck of dust and sawdust.
- Apply the recommended primer with a soft-bristle brush or roller.
- Allow the primer to become tacky but not dry before pouring the leveler.
- Use a spiked roller to remove air bubbles from the wet pour.
- Maintain a consistent temperature in the room between 60 and 80 degrees.
The 1/8 inch that ruins everything
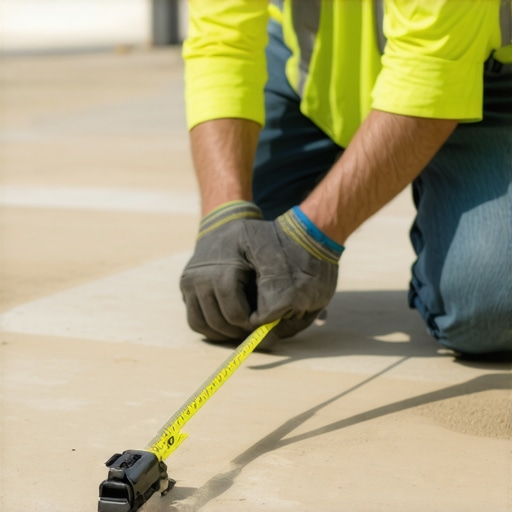
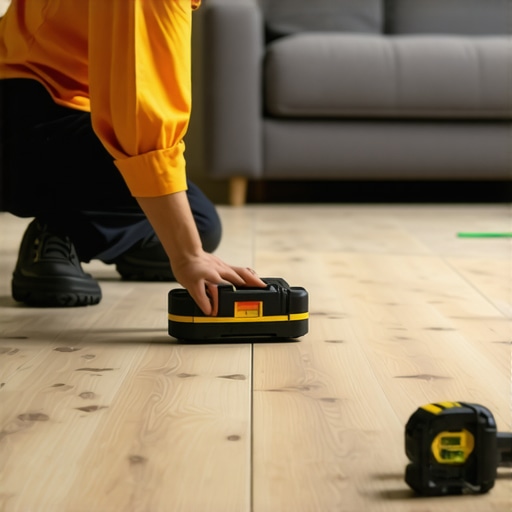
Small dips in the subfloor that seem insignificant will cause vertical movement in floating floors which leads to joint fatigue. When you walk across a floor and hear a clicking sound, that is the floor leveler or the subfloor failing. The floor is moving down into a void and the tongue of the board is rubbing against the groove. Eventually, that tongue will snap. Once it snaps, the floor is ruined. You cannot fix it without tearing the whole thing up. This is why I am obsessed with the 1/8 inch rule. You take a 10 foot straight edge and you slide it across the floor. If you see light under that straight edge, you have a problem. You need to fill that dip. But you cannot just fill it with anything. You need a product that has the compressive strength to handle the load. While most people want the thickest underlayment, too much cushion actually causes the locking mechanisms on LVP to snap under pressure. The same logic applies to leveler. If the leveler is too soft or it has cracked into a million pieces, it provides no support. It is like trying to build a house on sand. You need a solid, monolithic slab. This is why the NWFA has such strict guidelines. They know that wood is a living material that will move with the seasons. If the subfloor is not stable, the wood will destroy itself. The same goes for the tile in your showers. If the subfloor flexes, the grout will crack and the waterproofing will fail. It is a total system failure.
“Substrate preparation is 90 percent of the job; the finish flooring is only the last 10 percent.” – TCNA Handbook Principle