The ‘Chalk Line’ Secret for Getting Your Carpet Pattern Straight
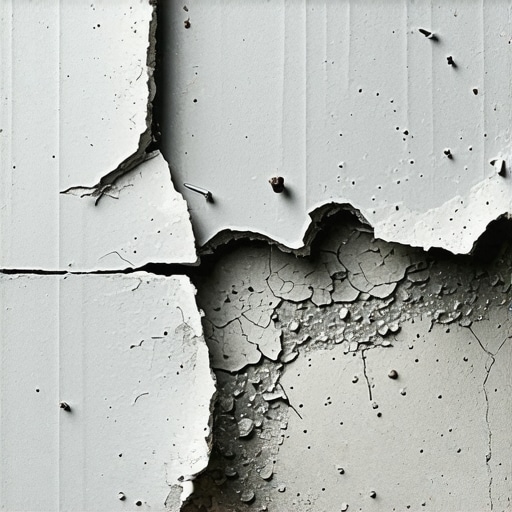
Most guys skip the leveling compound. They think the underlayment will hide the dip. It won’t. I spent three days grinding concrete on a job last month just so the floor wouldn’t click like a castanet because the foundation was more like a mountain range than a subfloor. This is the reality of the trade that most people ignore. You see a beautiful patterned carpet in a showroom and think it just falls into place. It does not. If your subfloor is out of level by even a quarter inch over ten feet, your pattern will start to walk. By the time you reach the far wall, that beautiful geometric lattice will look like a reflection in a funhouse mirror. Flooring is not an aesthetic choice, it is a structural engineering challenge that begins with the physics of the base layer. Every mistake you make at the level of the joists or the slab is magnified by the time it reaches the surface. I have seen fifteen thousand dollar installs ruined because the installer didn’t want to spend the time with a 30 grit diamond grinding cup and a vacuum. I refuse to be that guy. You should too.
The physics of the chalk line in textile alignment
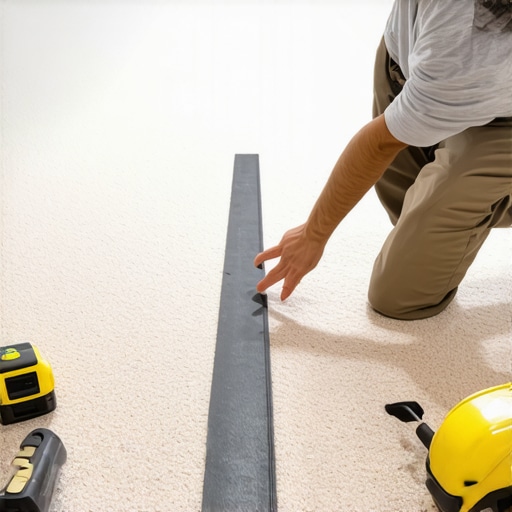
To get your carpet pattern straight, you must establish a master axis using a snapped chalk line that is perfectly perpendicular to the longest architectural run in the room. This line acts as a zero-point reference that allows you to calculate pattern skew and bow across the entire floor surface. The chalk line is not just a mark on the floor, it is a mathematical guide. When you are dealing with a patterned carpet, you are dealing with a weave that has been subjected to immense tension during the manufacturing and rolling process. This tension creates what we call bow and skew. Bow is when the pattern curves across the width of the roll. Skew is when the pattern runs at an angle rather than perfectly square to the edges. To combat this, you need a reference point that does not move. You start by finding the center point of two opposite walls. You snap a line between them. Then, you use a 3-4-5 triangle method to snap a second line perfectly perpendicular to the first. This crosshair is your bible. Without it, you are just guessing, and in this business, guessing is how you end up paying for a replacement roll out of your own pocket. The blue chalk is usually preferred over the red because red chalk often contains permanent dyes that can bleed through the primary backing if the carpet gets wet during a later cleaning. We focus on the calcium carbonate composition of the chalk to ensure it provides a crisp, thin line that does not pulverize into a cloud of dust the moment you step on it.
Why your subfloor is lying to you
Subfloor leveling requires a tolerance of no more than one eighth of an inch deviation over a six foot radius to prevent structural failure in the floor covering. You must use a straightedge and a feeler gauge to identify high and low spots before any carpet or laminate installation begins. Many installers believe that carpet padding is a magic sponge that absorbs subfloor imperfections. This is a lie. While a heavy eight pound rebond pad might mask a small dip, the mechanical stress on the carpet backing remains. When you walk over a dip, the carpet flexes. Over time, this constant micro-flexing breaks down the latex bond between the primary and secondary backings. This leads to delamination. If you are installing laminate or LVP, the stakes are even higher. Those click-lock joints are engineered to very tight tolerances. If the floor drops away beneath a joint, the tongue and groove will rub against each other every time someone steps there. Eventually, the locking mechanism snaps. Now you have a floor that gaps and moves. You need to use a high-quality Portland cement-based self-leveling underlayment. Avoid the cheap gypsum-based products if you are working over concrete, as they do not have the same compressive strength. You want something that hits at least 4,000 PSI after full cure. Grinding is equally important. If you have a high spot, a hump in the concrete, you must grind it down. This creates a massive amount of silica dust, so you need a HEPA-filtered vacuum system attached to your grinder. Your lungs and your client’s HVAC system will thank you.
“A floor is only as good as the subfloor beneath it; deflection is the enemy of every joint.” – Master Flooring Axiom
The ghost in the expansion gap
Expansion gaps at the perimeter of a room must be maintained at a minimum of one quarter inch to allow for the natural thermal and hygroscopic movement of the flooring material. Failure to provide this gap leads to buckling, peaking at the joints, and permanent structural deformation of the planks. I have walked into houses where the laminate was tight against the baseboards and the floor was literally lifting off the ground in the center of the room. It looked like a bubble. This happens because materials like laminate and hardwood are alive in a sense. They react to the relative humidity in the air. In a place like Houston, where the humidity is a constant weight, a floor will expand significantly. In a dry climate like Phoenix, the wood will shrink until you can see the tongues in the joints. You have to account for this. You cannot lock a floating floor down. This means no heavy kitchen islands sitting on top of the laminate. If you put a three hundred pound island on a floating floor, you have pinned it. When the floor tries to move, it can’t move under the island, so it buckles somewhere else. The same logic applies to T-moldings. If a room is longer than thirty feet, you need a transition. People hate the look of T-molding, but they hate a buckled floor even more. You have to explain the physics to the client. The floor needs to breathe. It needs to move as a single unit without being constricted by the walls or heavy furniture.
| Backing Type | Primary Material | Dimensional Stability | Moisture Rating |
|---|---|---|---|
| ActionBac | Polypropylene | High | Low |
| Unitary | Latex-coated | Moderate | Medium |
| Cushion Back | Polyurethane | Low | High |
| Woven Back | Natural Fiber | Very High | Low |
The 1/8 inch that ruins everything
Precision measurement in flooring requires accounting for the thickness of the blade and the compression of the material under load. A variance of one eighth of an inch in a transition or a pattern start can result in a cumulative error that destroys the visual symmetry of the entire installation. When you are setting up your carpet pattern, you need to look at the pattern repeat. Every roll has a specific repeat distance, perhaps eighteen inches by eighteen inches. You need to measure the room and decide where the most visible wall is. That is where you start your full pattern. You do not want a tiny sliver of a pattern at the entrance of a room. You want the eye to see the full geometric shape as you walk in. This requires calculating the layout before the first cut is made. If you are working in showers, the precision is even more vital. The slope of the shower pan must be exactly a quarter inch per foot toward the drain. If you are off, you get standing water. Standing water leads to biofilm, mold, and eventual failure of the waterproofing membrane. Whether you are using a topical membrane or a sheet-applied system, the integrity of the bond depends on the surface prep. You can’t have any bond breakers like paint, oil, or drywall mud on the substrate. It has to be virgin concrete or backer board. I use a thin-set mortar that is highly modified with polymers to ensure a flexible yet tenacious bond that can handle the thermal expansion of the tiles when the hot water hits them.
- Conduct a calcium chloride moisture test on all concrete slabs.
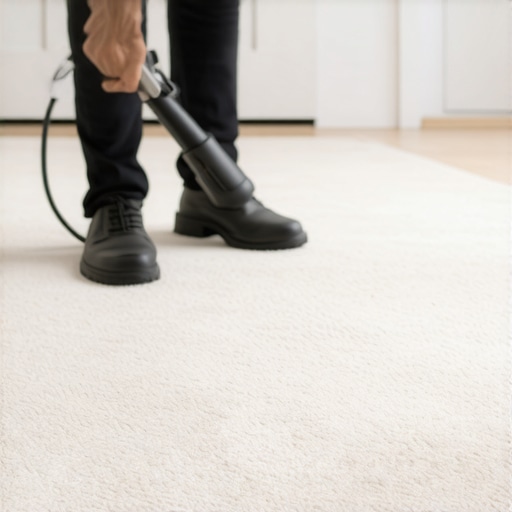
- Vacuum the subfloor twice to remove all microscopic debris.
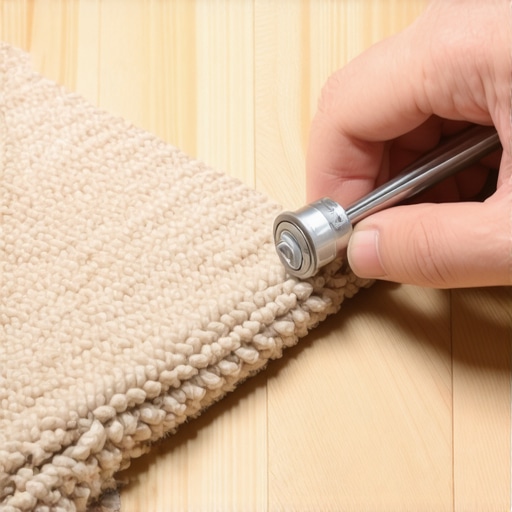
- Use a power stretcher for all carpet installs to prevent future ripples.
- Acclimate all wood and laminate for at least 48 hours in the room of install.
- Check the squareness of the room using the 3-4-5 rule before snapping lines.
Molecular chemistry of modern adhesives
Modern flooring adhesives rely on long-chain polymer cross-linking to create a bond that is resistant to both shear force and moisture vapor transmission. Selecting the correct trowel notch size is essential to ensure 100 percent transfer of the adhesive to the backing of the floor covering. When you spread glue, you are not just putting sticky stuff on the floor. You are creating a chemical interface. The ridges created by the trowel allow the solvents or water in the glue to evaporate at a controlled rate. This is called flash time. If you drop the floor too early, you trap the moisture and the glue never sets. If you wait too long, the glue skins over and you get no transfer. It is a delicate balance that depends on the temperature and humidity of the job site. In high humidity, the glue stays wet longer. In a dry, heated house, it might skin over in ten minutes. I always pull up a corner of the material after I lay it into the bed to check the transfer. If I don’t see 100 percent coverage on the backing, I change my trowel or my timing. For carpet, the adhesive must be compatible with the secondary backing. If you use a high-solvent glue on a carpet with a cheap latex backing, the solvent can actually soften the latex and cause the carpet to stretch and ripple. It is all chemistry. If you don’t understand the materials you are working with, you are just a guy with a trowel, not a craftsman. The final verdict on any job is the longevity of the bond. If it fails in two years, the installer failed on day one. Flooring is a permanent structural element, and it should be treated with the same respect as the foundation or the framing. Use the chalk line, respect the expansion gap, and never trust a subfloor you haven’t checked with a level.