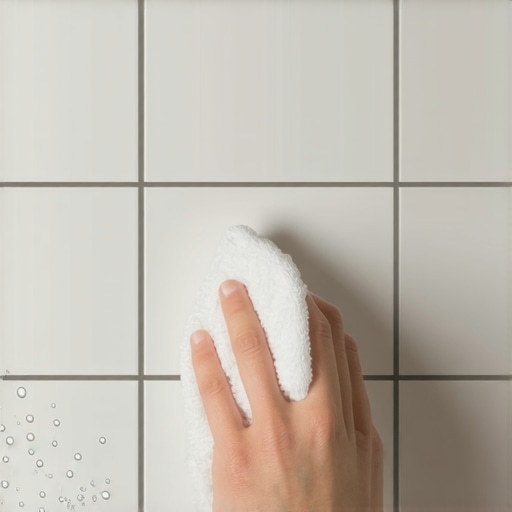
The ‘White Towel’ Test for Checking if Your Grout Sealer Actually Works
The White Towel Test and the Science of Grout Integrity
Most guys skip the leveling compound. They think the underlayment will hide the dip. It won’t. I spent three days grinding concrete on a job last month just so the floor wouldn’t click like a castanet. That job taught me that what you do before the finish floor goes down matters more than the wood or tile itself. If you ignore the subfloor, the surface fails. This same logic applies to your grout. People treat grout like a cosmetic filler, but in reality, it is a porous structural joint. Without a functioning sealer, your shower is just a slow-motion flood waiting to happen. The white towel test is the only way to know if your protection has vanished. It is a simple diagnostic tool that reveals the molecular reality of your tile installation. If the water penetrates, the sealer has failed. If the water beads, the chemical bond is still holding. We are going to look at why this happens and how to fix it before the moisture ruins your substrate.
The white towel test for grout protection
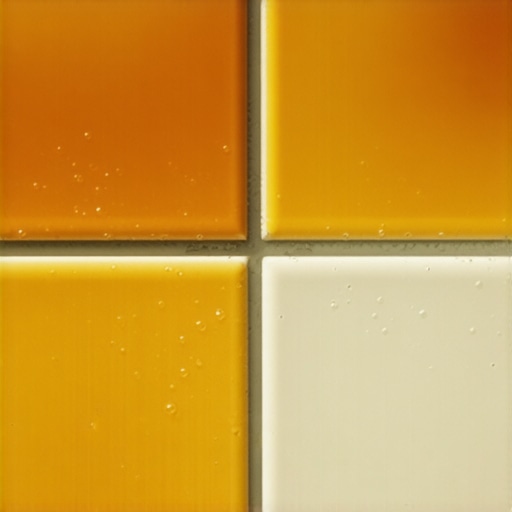
The white towel test is a diagnostic method where a small pool of water is placed on a grout joint for five minutes to see if it absorbs. If the water disappears or the grout darkens, the sealer is no longer effective and must be reapplied. You use a white towel to blot the area to ensure no residue or discoloration is coming from the tile itself. This test identifies if the surface tension of the grout has been compromised. In high moisture areas like showers, this test should be performed every six months to prevent water from reaching the thin-set and the backer board behind it. When grout is left unsealed, it acts like a wick. It pulls moisture into the wall cavity which leads to mold growth and the eventual failure of the adhesive bond. This is not about aesthetics. This is about structural preservation.
“A floor is only as good as the subfloor beneath it; deflection is the enemy of every joint.” – Master Flooring Axiom
The molecular reality of cementitious grout
Grout is essentially a hard sponge. It is made of Portland cement, sand, and pigments. When you look at grout under a microscope, you see a vast network of interconnected pores and capillaries. These capillaries are formed during the hydration process of the cement. As the water evaporates out of the wet grout, it leaves behind tiny tunnels. These tunnels are the perfect size for water molecules to travel through via capillary action. This is the same physics that allows a tree to pull water from its roots to its leaves. In a shower, this physics works against you. If the grout is not sealed, the water from your morning shower is sucked deep into the joint. Once the water is inside, it stays there. It creates a damp environment that encourages microbial growth. It also carries dissolved minerals and soaps into the grout which causes staining. This is why a carpet install requires a different mindset than a tile job. With carpet, you worry about the pad. With tile, you worry about the pores. Floor leveling is the first step, but grout sealing is the final defense. If you skip it, the water wins every time.
The chemistry of penetrating versus topical sealers
Penetrating sealers work by entering the pores of the grout and lining them with hydrophobic chemicals like silanes or siloxanes. Unlike topical sealers that sit on top like a plastic film, penetrating sealers allow the grout to breathe. This means moisture vapor can escape from behind the tile, but liquid water cannot enter from the front. This is a vital distinction in shower environments. If you use a topical sealer in a wet area, the moisture trapped behind the tile will eventually push the sealer off the surface in a process called delamination. The chemicals in a high-quality penetrating sealer are designed to lower the surface energy of the grout. When the surface energy of the grout is lower than the surface tension of the water, the water cannot spread out. Instead, it forms tight beads. This beading is what the white towel test is designed to verify. If the water beads, the chemistry is working. If the water flattens and soaks in, the chemical shield has been abraded or chemically stripped by harsh cleaners. Professional installers prefer solvent-based penetrators because they carry the active solids deeper into the cement matrix than water-based alternatives.
| Sealer Type | Chemical Base | Protection Level | Life Expectancy || :— | :— | :— | :— || Topical | Acrylic or Urethane | Water Resistant | 6 to 12 Months || Penetrating | Silane/Siloxane | High Water Repellency | 3 to 5 Years || Oleophobic | Fluoropolymers | Water and Oil Repellency | 5 to 10 Years |
The ghost in the expansion gap
Every floor needs room to move. Hardwood, laminate, and even tile expand and contract with temperature and humidity. I have seen laminate floors peak at the seams because the installer didn’t leave a 3/8 inch gap at the drywall. Grout joints are also under pressure. If a house settles even slightly, the grout can develop hairline cracks. These cracks are too small for the eye to see but large enough for water to enter. This is why the white towel test is so important. It can reveal if the sealer is failing or if there are structural micro-fissures in the grout. If you notice the grout darkening in a specific pattern, you are likely looking at a subfloor deflection issue. This is common when the joist spacing is too wide for the tile weight. A floor that bounces will always crack its grout. No amount of sealer can fix a bouncy floor. You must address the floor leveling and the structural rigidity before you can expect the grout to stay sealed. Professional flooring is a layering of systems. The subfloor is the foundation, the tile is the shield, and the grout sealer is the final waterproof skin.
How to perform the white towel test properly
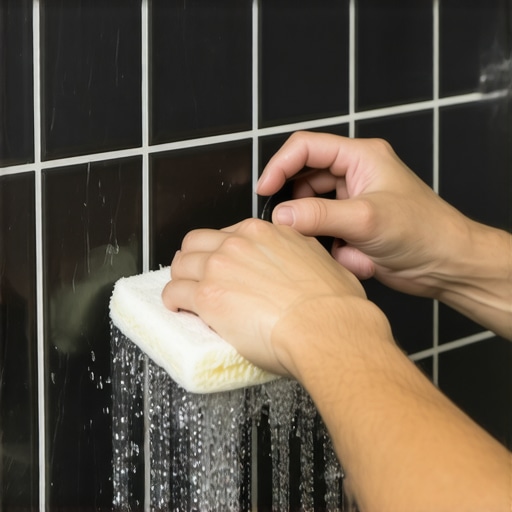
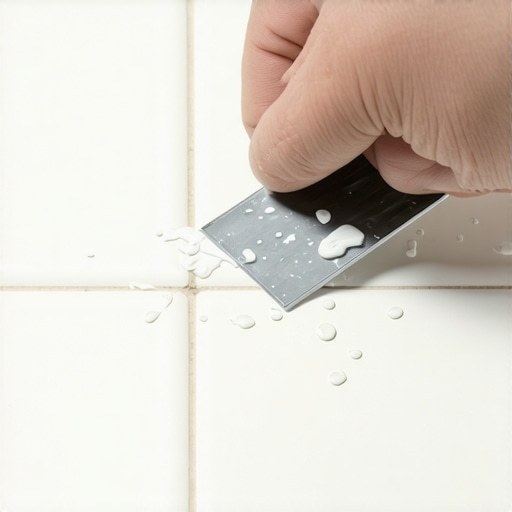
You cannot just throw water on a floor and call it a test. You need a controlled environment. First, ensure the area is clean. Soap scum and mineral deposits will skew the results. Scrub the grout with a pH-neutral cleaner and let it dry for at least twenty-four hours. Moisture already inside the grout will prevent the test water from soaking in, giving you a false sense of security. Once the grout is bone-dry, use a dropper or a teaspoon to place several large drops of water on different areas of the grout lines. Pick areas that get the most water exposure, like the floor of the shower or the area near the drain. Let the water sit. Do not touch it. Set a timer for five minutes. After five minutes, take a clean white cotton towel and gently blot the water. Do not scrub. Just press down. Look at the grout. If the grout looks exactly the same color as the surrounding dry grout, your sealer is intact. If the grout has turned a darker shade, the water has been absorbed. This indicates the sealer is gone. The white towel also shows you if there is hidden dirt or sediment that the water pulled out of the pores. This is a clear sign that the grout needs a deep cleaning before resealing.
- Ensure the grout is completely dry before starting.
- Test at least three different areas of the installation.
- Wait a full five minutes to allow for slow absorption.
- Blot with a white towel to check for color changes or dirt.
- Mark areas that fail the test for targeted resealing.
“Grout joints are not waterproof; they are merely a controlled crack between ceramic modules.” – TCNA Handbook Wisdom
The 1/8 inch that ruins everything
In flooring, precision is the difference between a lifetime floor and a five-year failure. A 1/8 inch dip in a subfloor will cause laminate to separate. The same 1/8 inch variance in a shower floor can cause water to pool in a corner. When water pools, it exerts constant hydrostatic pressure on the grout sealer. Even the best sealers will fail if they are submerged under standing water for hours. This is why floor leveling is a part of the grout conversation. If the installer didn’t slope the floor correctly toward the drain, the grout is under constant attack. This leads to the breakdown of the fluoropolymers in the sealer. Once those bonds break, the grout becomes a sponge. You can test this by looking for areas where the grout stays dark long after the shower is used. If the white towel test fails in those low spots, you must address the drainage as well as the sealer. Flooring is a system of water management. You want the water to hit the surface, bead up, and move toward the exit as quickly as possible. Anything that slows that movement is an enemy of the installation.
Why your subfloor is lying to you
Plywood and concrete look flat to the naked eye. They are not. I have walked onto jobs where the slab had a two-inch hump in the middle of the room. If you install tile over that without leveling it, the grout will crack within months. Those cracks are conduits for water. Even if you use a high-end sealer, the structural movement will tear the sealer molecules apart. When homeowners complain that their grout sealer didn’t work, the culprit is usually the subfloor. The sealer did its job, but the house moved and broke the grout. This is why we check for deflection. This is why we use moisture meters. If you have high moisture coming up through a concrete slab, it will push the sealer out of the grout from the bottom up. This is called hydrostatic vapor pressure. It is a powerful force that can ruin a carpet install by rotting the tack strips or cause laminate to swell. In a tile shower, it just makes the sealer fail. Always verify the moisture levels of your substrate before you even think about opening a bottle of sealer.
The regional impact of humidity and climate
The climate in your area dictates how often you should perform the white towel test. In a humid environment like Florida, the air is constantly saturated. This means grout stays damp longer, which accelerates the breakdown of sealers. In a dry climate like Arizona, the grout can become brittle and the sealers can dry out and flake away. You must adapt your maintenance schedule to your environment. A shower in a beach house needs to be tested and sealed twice as often as a guest bathroom in a mountain cabin. Salt air and high humidity are particularly aggressive toward the chemical bonds in sealers. If you are in a high-humidity zone, look for sealers specifically designed for extreme moisture. These often contain higher concentrations of active solids that can withstand the constant vapor drive. Regular testing ensures that your specific climate is not winning the battle against your grout joints.
Maintaining the chemical shield
The biggest killer of grout sealer is not water. It is cleaning chemicals. People use bleach, vinegar, or ammonia to clean their showers. These are all acids or bases that strip the sealer right out of the grout. If you use a harsh cleaner, you are effectively performing a chemical peel on your floor. To keep your sealer intact, use only pH-neutral cleaners designed for stone and tile. These cleaners lift the dirt without breaking the molecular bond of the sealer. If you have been using grocery store cleaners, do the white towel test today. I can almost guarantee your sealer is gone. Once the sealer is stripped, you must thoroughly rinse the grout to remove all chemical residue before applying a new coat. If you seal over old cleaner, the sealer won’t stick. It is like trying to paint over grease. Take the time to do the prep work. Clean it, dry it, test it, and then protect it. Your floor will thank you for it by lasting another twenty years. Flooring is not a decoration. It is an engineering challenge that requires constant vigilance and the right chemistry. Don’t let a simple thing like grout maintenance lead to a total floor failure. The white towel test is your first line of defense in the war against water damage.