How to Clean Grout Without Stripping Away the Protective Sealer
Mastering Grout Maintenance Without Stripping the Chemical Sealer Barrier
I once walked into a house where a homeowner had spent three weeks scrubbing their master shower with a high-acid vinegar solution. They thought they were being natural and clean. Instead, they had chemically melted the top three millimeters of their grout and completely dissolved the $200 sealer I had applied six months prior. The grout was so soft I could scrape it out with a fingernail. Most guys skip the leveling compound and then wonder why their grout cracks, but even a perfect subfloor cannot save a floor from a homeowner with a bottle of bleach and a wire brush. This is why I treat every floor as a structural engineering challenge, where the chemistry of the cleaner is just as important as the physics of the subfloor. If you do not understand the pH scale, you should not be cleaning a professional tile installation.
The molecular physics of grout porosity and chemical bonds
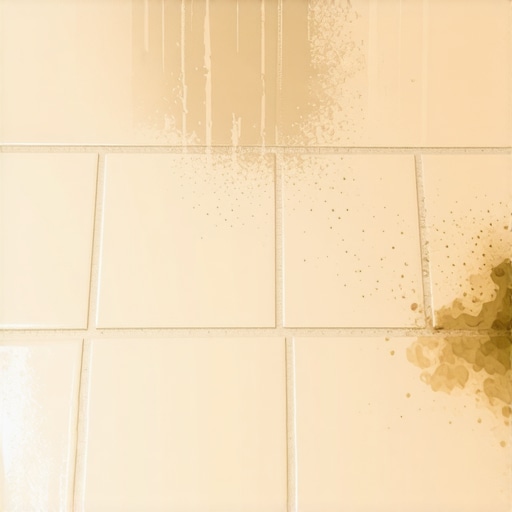
Cleaning grout without damaging the sealer requires a pH-neutral cleaner, a soft-bristled nylon brush, and distilled water to prevent mineral buildup. Avoiding acidic vinegar, harsh bleach, and abrasive scrubbing prevents the chemical breakdown of the fluorinated or silane-based sealer that sits within the porous structure of the grout joints. Grout is essentially a mixture of Portland cement and sand, which creates a microscopic landscape of peaks and valleys. When we apply a sealer, we are filling those voids with a hydrophobic resin. If you use a cleaner that is too acidic or too alkaline, you are not just lifting dirt, you are initiating a chemical reaction that breaks the bond between the sealer and the cementitious needles of the grout. This leaves the floor vulnerable to moisture, mold, and structural decay. I have spent 25 years on my knees with a moisture meter, and the most common cause of failure is improper maintenance chemistry.
“A floor is only as good as the subfloor beneath it; deflection is the enemy of every joint.” – Master Flooring Axiom
The 1/8 inch that ruins everything in floor leveling
Before you even think about cleaning your grout, you must acknowledge that many grout failures start with the subfloor. A dip of just one-eighth of an inch can cause the tile to flex, which creates micro-cracks in the grout that no sealer can protect. When a floor flexes, the sealer is stretched beyond its elastic limit. This allows water to bypass the surface and reach the thin-set below. In my shop, I see it all the time. People want to talk about the color of the tile, but they ignore the L/360 deflection rating of their joists. If your subfloor is not rigid, your grout will fail, and your cleaning efforts will only accelerate the process by washing away the loose particles. This is especially true in showers where the constant cycle of wet and dry creates thermal expansion stresses on the grout lines. You need to ensure the floor leveling was done with a high-flow, fiber-reinforced compound before the first tile was ever laid.
Why your subfloor is lying to you about moisture
Humidity is the silent killer of flooring installations. In the swampy humidity of the Gulf Coast, I would never install solid wood because the moisture would cup it within a month. The same logic applies to grout in high-moisture areas. If the subfloor is holding moisture, it will push upward through the grout, a process known as hydrostatic pressure. This pressure can pop the sealer right off the surface. When you clean the grout, you are adding more water to the equation. If that water is not removed immediately, it migrates into the pores and weakens the structural integrity of the installation. I always tell my clients that a wet vac is the most important tool for floor maintenance. You cannot just mop and let it air dry; you are just moving the dirt into the low points of the grout lines where it settles and bonds with the sealer residue.
The chemistry of the protective barrier and pH balance
Most people think grout sealer is like a coat of paint. It is not. Modern sealers are penetrating agents that use silane or siloxane molecules to line the pores of the grout. These molecules have a specific polarity that repels water and oils. However, this polarity is sensitive to the pH level of the cleaning solution. A neutral cleaner has a pH of 7.0. If you go down to a 3.0 with vinegar, you are essentially using an acid wash. This dissolves the calcium carbonate in the grout. If you go up to a 12.0 with bleach, you are stripping the organic polymers out of the sealer. You must use a dedicated stone and tile cleaner that is formulated to keep the sealer intact while emulsifying surface oils.
| Cleaning Agent | pH Level | Effect on Grout Sealer |
|---|---|---|
| White Vinegar | 2.5 | Dissolves cement and strips sealer |
| Lemon Juice | 2.0 | Rapidly breaks down protective barrier |
| Neutral Cleaner | 7.0 | Preserves sealer and structural bond |
| Ammonia | 11.0 | Causes sealer clouding and brittleness |
| Chlorine Bleach | 12.0 | Destroys polymer bonds and fades color |
The professional protocol for grout restoration
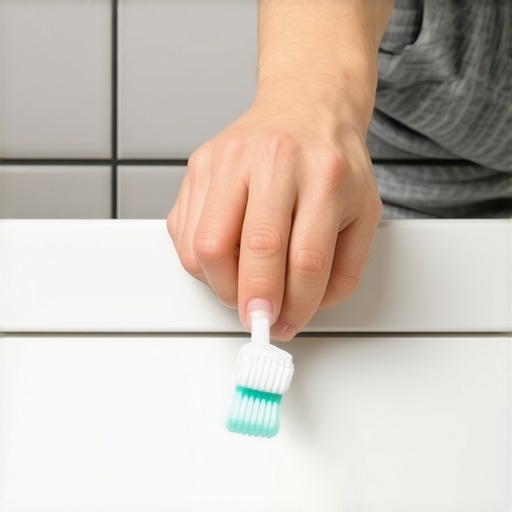
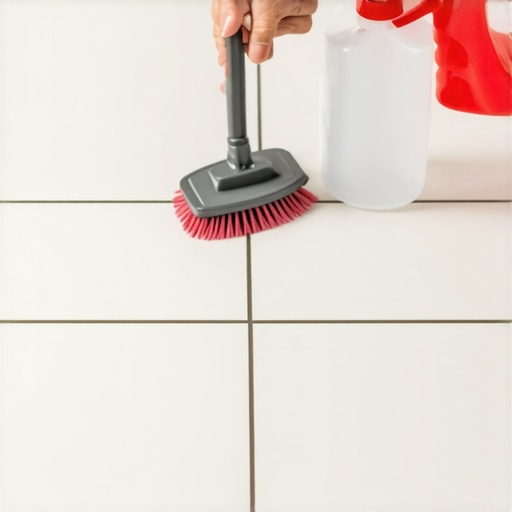
To clean grout properly, you must use a three-step process involving dry soil removal, chemical emulsification, and mechanical agitation with a nylon brush. This ensures that the dirt is lifted from the surface without the need for aggressive chemicals that would otherwise compromise the integrity of the sealer. First, vacuum the floor to remove any grit or sand. These particles act like sandpaper when you start scrubbing. Second, apply your pH-neutral cleaner and let it dwell for five to ten minutes. This dwelling time is where the chemistry happens. The surfactants in the cleaner surround the dirt molecules. Finally, use a soft brush to agitate the grout. Do not use a wire brush. A wire brush will scratch the tile and mechanically strip the sealer. Rinse with distilled water to ensure no mineral deposits are left behind, as the minerals in tap water can create a hazy film over your beautiful floor.
- Vacuum all loose debris to prevent surface abrasion.
- Apply a professional-grade pH-neutral cleaner to the joints.
- Allow for a 10-minute dwell time for chemical emulsification.
- Agitate gently using a soft-bristled nylon brush in circular motions.
- Extract the dirty solution using a wet-dry vacuum immediately.
- Rinse with distilled water to prevent hard water staining.
The ghost in the expansion gap and transitions
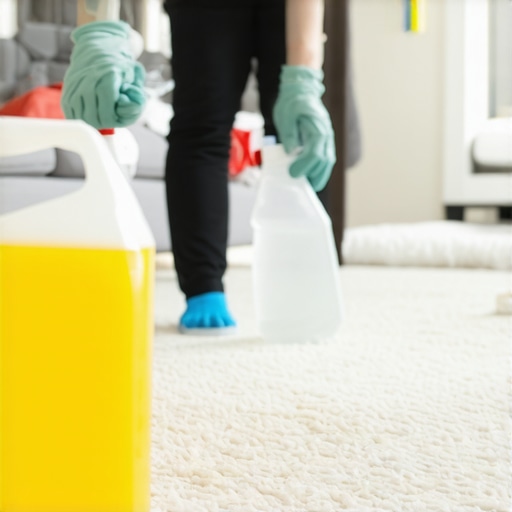
One area where grout always fails is at the transition between different flooring types. Whether it is a transition to carpet install or a laminate floor, you cannot use grout in a change of plane or a change of material. You must use a color-matched caulk. I see guys grout right up to the carpet tack strip all the time. It will crack. It will buckle. The movement of the different materials will pulverize the grout. When you are cleaning, you need to be especially careful around these transition points. If you soak a carpet transition with water, the moisture will wick into the carpet pad and create a mold farm. Likewise, with laminate, the water can get into the HDF core and cause the edges to swell. A professional floor is a system of integrated parts, and your cleaning routine must respect the boundaries of those parts.
“Grout is not a glue; it is a filler that requires a stable environment to survive.” – Tile Council of North America Guidelines
The shower pan disaster and weep hole physics
In showers, the stakes are much higher. A shower floor is a specialized environment with a pre-slope and a liner. If you use harsh chemicals to clean your shower grout, you are not just hurting the sealer. You are sending those chemicals down through the grout into the mud bed. These chemicals can corrode the drain assembly and clog the weep holes. Once those weep holes are clogged, the water stays in the mud bed. This is why some showers always smell like a wet dog. The sealer on the grout is the first line of defense to keep the mud bed from becoming saturated. By using a gentle cleaning protocol, you are protecting the entire drainage system of your bathroom. If you live in a high-humidity area like Florida, this is even more vital because the lack of evaporation means your shower stays wet longer, increasing the risk of microbial growth within the grout pores.
The myth of the steam cleaner in floor maintenance
While many people love their steam mops, they can be a death sentence for grout sealer. Most consumer sealers are not designed to withstand the 212-degree Fahrenheit steam produced by these machines. The heat can cause the sealer to soften and lift right out of the pores. I have seen floors where the steam cleaner literally blew the sealer out of the joints, leaving the grout looking white and chalky. While steam is great for killing bacteria, it is too aggressive for a sealed surface. If you must use steam, it should be done sparingly and only by a professional who can re-seal the floor immediately afterward. For regular weekly maintenance, stick to the neutral cleaner and a bucket of water. It is slower, but it will save you thousands of dollars in the long run.
The final protocol for long-term floor health
Maintaining a floor is about understanding the balance between cleanliness and chemical stability. You want a floor that looks new, but you cannot achieve that by being violent with it. Use the right tools, understand the pH of your cleaners, and always respect the subfloor. If you notice that water no longer beads up on your grout lines, that is your signal that the sealer has finally worn down through natural foot traffic and it is time to re-apply. Do not wait until the grout is stained. A proactive approach is the only way to keep a high-end tile installation looking like the day it was finished. Stop listening to the internet hacks who tell you to use baking soda and vinegar. Listen to the guy who has been fixing their mistakes for two and a half decades. Your floor will thank you for it.