The ‘Flashlight’ Check for Spotting Pinhole Leaks in Grout
Shadows do not lie about moisture
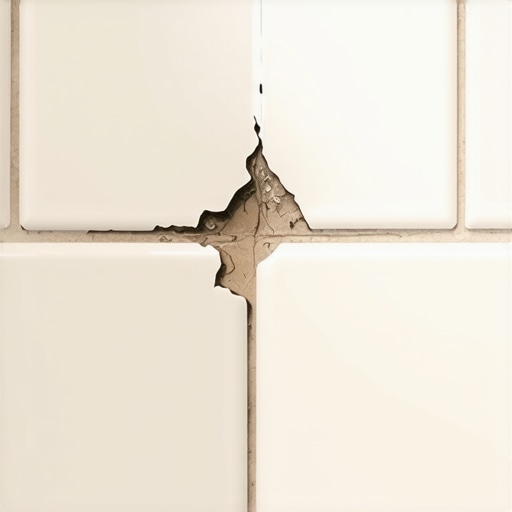
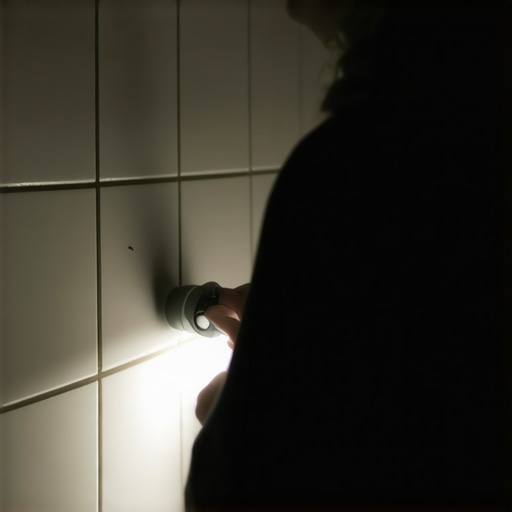
The flashlight check identifies pinhole leaks in grout by casting low-angle light across the surface to reveal shadows created by tiny craters or voids. This method relies on the physics of light refraction to find structural gaps that are invisible under direct overhead lighting. By placing a high-lumen light source parallel to the tile surface, you can see the texture of the grout in three dimensions. Any dip, crack, or pinhole will cast a distinct shadow that signals a failure in the moisture barrier. Most guys skip the leveling compound. They think the underlayment will hide the dip. It won’t. I spent three days grinding concrete on a job last month just so the floor wouldn’t click like a castanet. That job taught the client that you cannot hide a bad subfloor with expensive materials. The same logic applies to your shower. If the subfloor has the slightest deflection, the grout will crack. It starts as a pinhole. You won’t see it until the subfloor is already rotting. You need to be proactive. Turn off the overhead lights. Grab a heavy duty LED. Lay it flat against the tile. Look for the tiny eclipses. These are the entry points for water. Water is a patient invader. It finds the path of least resistance. In a shower, that path is usually a pinhole caused by improper mixing or air entrapment during the install. I have seen million dollar homes ruined by a five cent hole in the grout. The physics of water tension allows liquid to sit over a hole without entering, until the pressure of a footstep or heat expansion forces it through. This is why your shower might look fine but feel damp in the adjacent room.
The structural failure of builder grade grout
Builder grade grout fails because it lacks the polymer density required to resist the hydraulic pressure of a daily shower. Cheap cementitious grout is porous by nature, and when it is mixed with too much water, the evaporation process leaves behind microscopic tunnels called capillaries. These capillaries are the precursors to the pinholes you find with your flashlight. When I walk into a bathroom with a flashlight, I am looking for the ghosts of bad chemistry. The installer likely wanted the grout to flow easier, so he added an extra cup of water to the bucket. That decision ruined the floor. As the grout cures, that extra water must go somewhere. It evaporates, leaving a Swiss cheese structure behind. This is where the chemistry of adhesives meets the physics of structural engineering. If the grout is weak, the entire tile assembly is compromised. You might think laminate or LVP is easier, but even there, moisture is the enemy. A leak in a shower can travel under the baseboards and ruin a carpet install in the next room. I have seen it happen. The water wicks into the pad and stays there. It breeds mold while the homeowner thinks the shower is fine. You must treat the grout as a structural weld. If a weld has a pinhole, the bridge falls. If your grout has a pinhole, your subfloor rots.
“A floor is only as good as the subfloor beneath it; deflection is the enemy of every joint.” – Master Flooring Axiom
The molecular zoom into grout pinholes
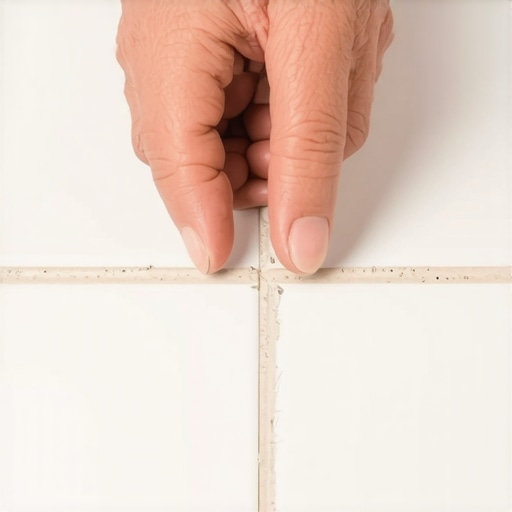
A pinhole in grout is a microscopic void that acts as a vacuum for soap scum and skin cells, which then feed mold colonies behind the tile. When you use your flashlight, you are looking for these molecular gateways. They often form at the intersection of the tile and the grout line where the bond is weakest. If the tile was not back-buttered, or if the thin-set was allowed to skin over, the grout will not have a solid backing. This leads to vibration. Every time you step in that shower, the tile moves a fraction of a millimeter. That movement snaps the brittle cement bond. You get a pinhole. Then you get a leak. It is a slow death for a house. I have seen floor leveling jobs where the contractor ignored the expansion gaps at the perimeter. The floor expanded, crushed the grout, and created thousands of these holes. It looked like a shotgun blast under the flashlight. You have to understand that tile is rigid but the house is alive. It moves. It breathes. If your grout cannot handle that movement because it is full of air pockets, you are in trouble. I recommend epoxy grout for this reason, though it is a nightmare to install. It does not have capillaries. It is essentially a plastic weld between your tiles. It is waterproof in the way people think regular grout is. Regular grout is merely water resistant. There is a massive difference between those two terms. One keeps the water out. The other just slows it down.
| Grout Type | Porosity Level | Flexibility Rating | Best Use Case |
|---|---|---|---|
| Sanded Cement | High | Low | Large joints over 1/8 inch |
| Unsanded Cement | Very High | Very Low | Narrow joints and polished stone |
| High Performance | Medium | Medium | Residential showers and high traffic |
| Epoxy Grout | Zero | High | Commercial kitchens and steam rooms |
Why floor leveling prevents grout disasters
Floor leveling is the foundational step that prevents the differential movement responsible for grout cracking and pinhole formation. If a subfloor is not flat to within 1/8 inch over 10 feet, the tiles will bridge the gaps, creating hollow spots that act like a trampoline. Every step on a hollow tile creates a puff of air that forces moisture through the grout. This is why I obsess over the concrete slab. If I am installing laminate or tile, the prep is eighty percent of the work. The actual laying of the floor is just the victory lap. I use a straightedge and a can of spray paint to mark every low spot. Then I prime the floor. People skip the primer. If you skip the primer, the dry concrete sucks the water out of the leveling compound before it can bond. The leveler then cracks. Now you have two layers of failing material instead of one. This is the stuff that keeps me up at night. I see guys throwing down carpet install over uneven plywood all the time. They think the pad will hide it. It does, until the tack strip starts to pull or the seams start to peak. In a shower, there is no carpet to hide the sins. There is only the grout. And the grout always tells the truth under a flashlight. If the subfloor moves, the grout gives up. It is that simple. The physics of deflection cannot be ignored by wishful thinking.
“Proper grout hydration requires a precise water ratio to prevent the formation of microscopic air pockets.” – TCNA Standard Guidelines
The flashlight check procedure for homeowners
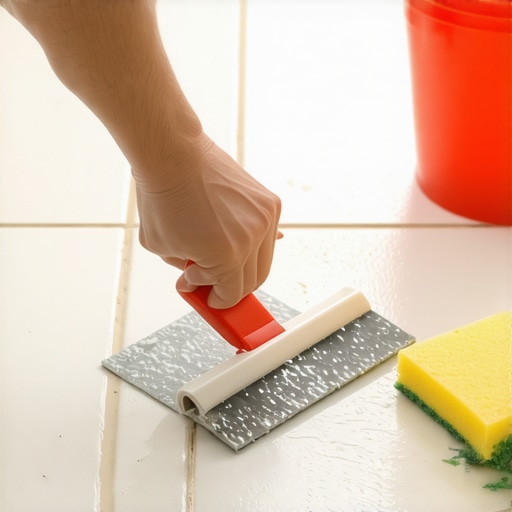
To perform a flashlight check, dim the room lights and hold a high intensity LED light source against the wall or floor at a thirty degree angle. You must move the light slowly across every grout line. You are looking for shadows that look like craters. If you see a dark spot, it is a hole. Do not mistake a bit of dirt for a hole. Use a toothpick to probe any suspicious area. If the toothpick sinks in, you have a leak point. You need to do this at least once a year. Houses settle. Grout ages. The sealant you put on three years ago is gone. Most people forget that sealant is a sacrificial layer. It is not permanent. It breaks down under the harsh chemicals of modern soaps. When the sealant goes, the grout is exposed. Then the pinholes start to grow. If you find a hole, do not just smear more grout over it. That is a band-aid on a gunshot wound. You need to scrape out the loose material, clean it with denatured alcohol, and then apply a high quality repair compound. If the hole is near a corner, use 100 percent silicone caulk. Never use grout in a change of plane. The walls move differently than the floor. Grout will crack there every single time. It is a physical certainty. Use the flashlight to check the corners especially. That is where most shower failures begin. The water hits the wall, runs down to the corner, and finds that tiny crack you missed because you were looking at the pretty tile and not the structural integrity of the joints.
- Turn off all overhead lighting and close any window blinds.
- Use an LED flashlight with at least 500 lumens for best shadow contrast.
- Hold the light parallel to the tile surface to exaggerate any surface imperfections.
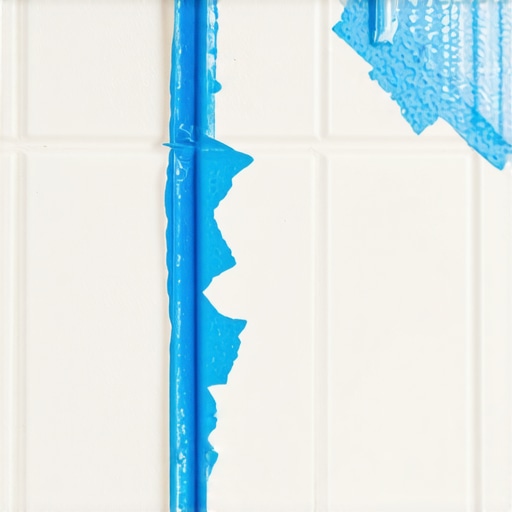
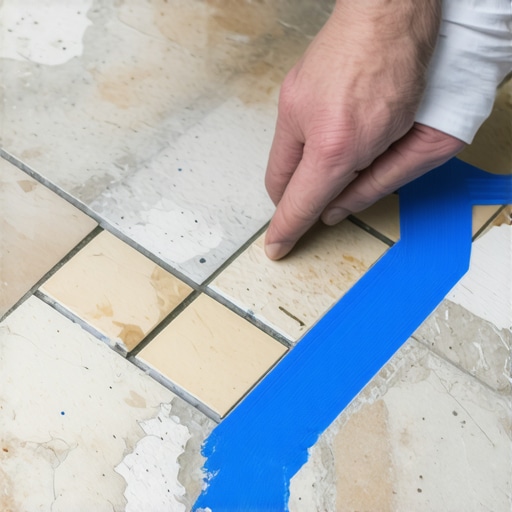
- Mark identified pinholes with a piece of blue painter tape for later repair.
- Inspect the transitions between the floor and the wall with extra care.
- Check the area around the drain where vibration is most common.
- Look for efflorescence which appears as white crusty salt near potential leaks.
The hidden link between laminate and shower leaks
Laminate flooring in adjacent rooms often acts as a moisture alarm for shower failures because the fiberboard core swells at the first sign of a subfloor leak. I have seen entire hallways of laminate ruined because a shower pinhole was leaking a half ounce of water a day. The water travels along the subfloor, stays hidden under the baseboards, and then hits the laminate. The edges of the boards start to peak. This is because the core of the laminate is basically compressed sawdust and glue. It is a sponge. If you have laminate near a bathroom, you need to be doing the flashlight check twice a year. You are protecting more than just your shower. You are protecting the rest of the house. I tell people that flooring is a system. It is not a series of isolated rooms. The subfloor connects everything. If you have a moisture problem in one spot, it will find its way elsewhere. This is especially true in humid climates like the Southeast. The humidity already has the wood at its limit. A little extra water from a grout leak is the tipping point. The boards will buckle. The locking mechanisms will snap. Once a laminate floor starts to peak from moisture, it is garbage. There is no fixing it. You can’t sand it. You can’t dry it out and hope it shrinks back. You have to rip it out and start over. All of that because someone didn’t check the grout with a flashlight. It is a tragedy of maintenance. Prevention is the only tool that works in the long run. Get on your knees and look at the shadows. The flashlight does not lie. It reveals the truth about your installer, your materials, and the health of your home.