The ‘Vacuum’ Test for Checking if Your Subfloor Is Truly Clean
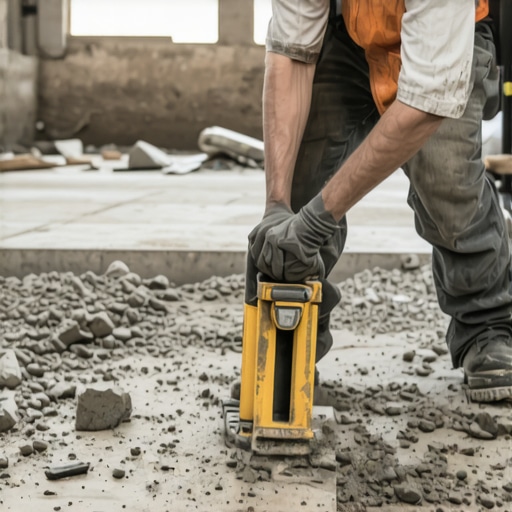
I spent three days grinding concrete on a job last month just so the floor wouldn’t click like a castanet. Most guys skip the leveling compound and they think the underlayment will hide the dip. It won’t. I was in a high-end condo where the owner had spent twenty thousand dollars on wide-plank white oak. The installer had rushed the prep. Within two weeks every step sounded like a dry twig snapping. I had to rip up the entire entryway because a layer of fine drywall dust had prevented the adhesive from ever touching the slab. I smell like WD-40 and oak dust most days and I have learned that if your subfloor is not surgical-grade clean you are just building a failure on top of a mess. Flooring is not a decoration. It is a structural engineering challenge that starts with the microscopic reality of the substrate.
The invisible grit that destroys a laminate locking system
Laminate flooring and thin-plank luxury vinyl require a subfloor that is free of all particulate matter and debris to prevent the failure of the locking mechanisms. When a single grain of sand or a fragment of dried floor leveling compound remains on the surface, it creates a pressure point that focuses the entire weight of a footfall onto a tiny area of the tongue and groove system. This pressure causes the click-lock joint to flex beyond its engineered capacity. Over time the friction between the debris and the underside of the plank will wear through the backing. Eventually the joint snaps. You will hear it before you see it. It is a sharp tick every time you walk across the room. This is not a product defect. It is an installation failure caused by poor sanitation of the workspace.
“A floor is only as good as the subfloor beneath it; deflection is the enemy of every joint.” – Master Flooring Axiom
Molecular bonding and the failure of floor leveling
Floor leveling compounds and patching mortars require a high-energy molecular bond with the original concrete slab or plywood substrate to ensure structural integrity. If there is a layer of microscopic dust or overspray from the painters, the leveling compound will bond to the dust instead of the floor. This creates a hollow spot or a delaminated layer that will eventually crack under the load of furniture or foot traffic. In my twenty-five years on my knees I have seen entire sections of self-leveler pop up like a scab because the installer used a broom instead of a high-powered vacuum. A broom just moves the fine dust around and pushes it deeper into the pores of the concrete. You need to pull that dust out of the pores to allow the primer to penetrate the surface and create a mechanical key for the leveler to grab onto.
The white glove reality of professional floor prep
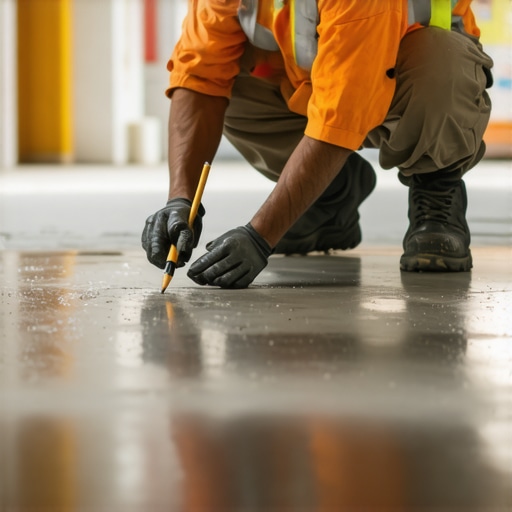
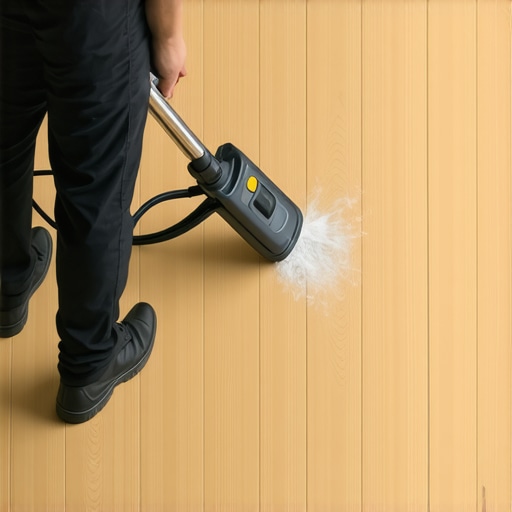
The vacuum test is the only definitive way to verify that a subfloor is clean enough for adhesive application or carpet install. You can sweep until your arms ache but a white glove or a dark microfiber cloth wiped across the surface will usually come up grey with calcium carbonate or silica dust. This dust acts as a bond breaker. To perform the test properly you must first use a HEPA-filtered shop vacuum with a wide floor tool that has brushes to agitate the surface. After vacuuming a 100-square-foot section you take a damp dark cloth and wipe the floor. If the cloth shows any visible residue the floor is not ready. You must repeat the process. This is especially critical in showers where waterproofing membranes must stick to the mud bed or cement board with 100 percent contact or the entire system will fail and cause rot in the wall studs.
| Debris Type | Particle Size | Impact on Laminate | Impact on Hardwood |
|---|---|---|---|
| Fine Drywall Dust | 1 to 10 microns | Joint friction and noise | Adhesive failure |
| Sawdust | 100 to 500 microns | Clicking sounds | Uneven plank seating |
| Concrete Grit | 1 to 2 millimeters | Locking system breakage | Dents in underlayment |
| Dried Thin-set | 2 to 5 millimeters | Plank crowning | Nailing obstructions |
Why showers require surgical cleanliness before waterproofing
Shower installations involve complex liquid-applied membranes or sheet membranes that must achieve a permanent chemical bond with the substrate to prevent leaks and mold growth. If you are prepping a shower for tile you cannot have even a hint of dust on the cementitious backer units. The chemistry of modified thin-set relies on hydration where the cement crystals grow into the pores of the board. If those pores are clogged with dust from cutting the boards or from sanding the ceiling above the crystals have nowhere to go. They grow into the dust and the bond is weak. I have seen 12-by-24 inch porcelain tiles fall right off a wall because the installer didn’t wipe the dust off with a damp sponge and then vacuum the floor of the pan. In a wet environment a weak bond is a death sentence for the home structure.
“Substrate preparation is the single most important factor in the success of any flooring installation.” – NWFA Technical Guidelines
The physics of suction and HEPA filtration
High-efficiency particulate air or HEPA filtration is mandatory because standard vacuum bags allow sub-micron particles to pass through the filter and back into the air. When you are prepping for a carpet install or laying down engineered hardwood those particles will eventually settle back onto your clean floor. A professional grade vacuum with at least 120 CFM (cubic feet per minute) of suction power is required to lift silica dust out of the heavy texture of a broom-finished slab. You have to understand the static pressure of the vacuum system. If the hose is too long or the filter is clogged the air speed drops and the heavy grit stays in the crevices. I always tell the apprentices that if they aren’t changing their filters every hour on a grinding job they aren’t actually cleaning anything. They are just making noise.
The 1/8 inch that ruins everything
Floor flatness and levelness are often confused but both are compromised by residual debris that hides the true topography of the subfloor. When we talk about a floor being flat to within 1/8 inch over 10 feet we are talking about a precision surface. If there are small mounds of drywall mud or plaster drips scattered across the room you cannot get an accurate reading with your 10-foot straightedge. You will think the floor is high in areas where it is actually just dirty. You spend half your day floor leveling based on false data. You must scrape the floor with a 4-inch floor scraper first then vacuum every square inch before you even pull out the level. This is the difference between a floor that lasts fifty years and one that needs to be replaced in five.
- Remove all baseboards and trim to expose the expansion gap area
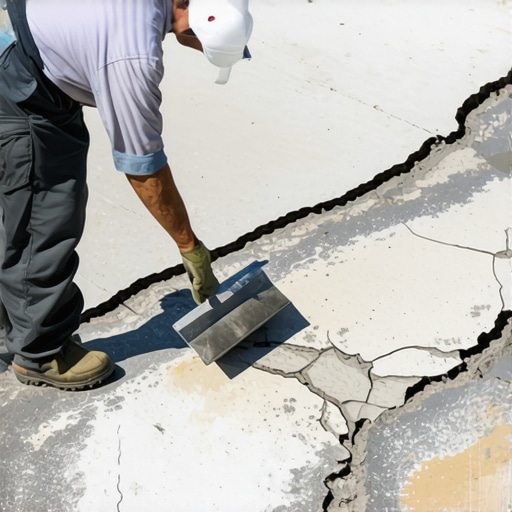
- Scrape the entire surface with a heavy-duty floor scraper to remove paint and mud
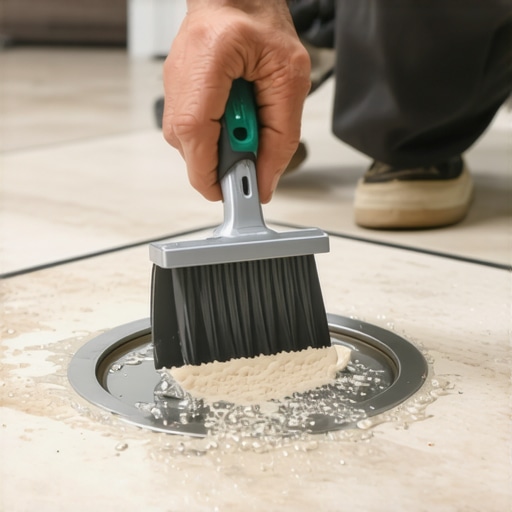
- Vacuum the perimeter twice because dust accumulates in the wall plate gaps
- Perform the dark cloth wipe test in at least five locations per room
- Seal the vacuumed surface immediately if you are not installing the same day
Carpet install requirements and the hidden dust trap
Carpet installation often gets a pass on subfloor cleanliness because people assume the padding will soak up the dirt. This is a massive mistake that leads to premature wear and poor indoor air quality. When you walk on a carpet that was installed over a dusty floor the padding acts like a bellows. It pushes air and dust up through the carpet fibers every time you take a step. This is called cushion-born dust. Over time the abrasive silica particles from the concrete rub against the synthetic fibers of the carpet backing. It acts like sandpaper. It will literally grind the carpet from the bottom up. If you want your carpet to last the full fifteen years of its warranty you need to treat that subfloor like it was going to be a hardwood surface. Cleanliness is not optional. It is the foundation of the craft.
The final verdict on substrate hygiene
Professional flooring installers know that the actual laying of the planks or setting of the tile is the easiest part of the job. The real work is the decontamination of the substrate and the mechanical preparation of the surface. If you skip the vacuum test you are gambling with the structural bond of your adhesives and the integrity of your locking joints. I have seen the heartbreak of a $15,000 floor failing because of $5 worth of dust. Don’t be the person who thinks a broom is enough. Get the shop vac out and make sure that subfloor is clean enough to eat off of before you even think about opening a box of flooring. Your knees and your reputation will thank you in the long run.