How to Transition Carpet to a Hardwood Staircase Without Visible Tacks
Most guys skip the leveling compound. They think the underlayment will hide the dip. It won’t. I spent three days grinding concrete on a job last month just so the floor wouldn’t click like a castanet. I have spent twenty five years on my knees with a moisture meter and a level. I smell like WD-40 and oak dust and I have seen every shortcut in the book. Homeowners want the look of a high end custom home but they often hire installers who use builder grade methods. One of the biggest eye sores is a carpet to hardwood stair transition where the installer just pounded in a row of silver tacks. It looks like a cheap motel. A real pro knows that the transition is a structural engineering challenge. It is about the physics of movement and the chemistry of the bond. If you do not respect the subfloor, the floor will not respect you. I have seen fifteen thousand dollar walnut floors cup like potato chips because the installer ignored the crawlspace humidity. In this guide, we are going to look at the microscopic reality of the installation. We will talk about the exact percentage of moisture in a slab and the chemical bond of modified thin set. We will ensure your carpet install at the stairs is integrated and invisible.
The silent failure of visible stair tacks
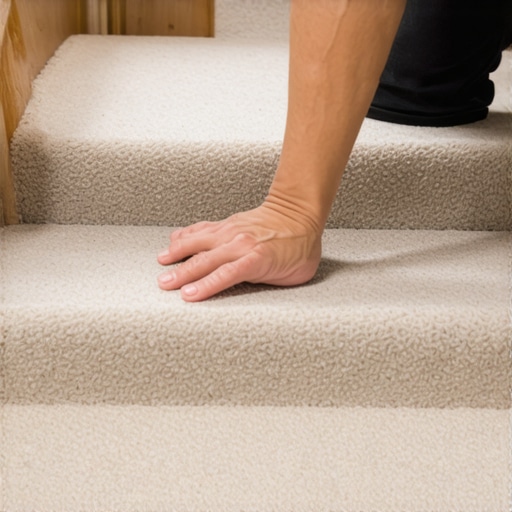
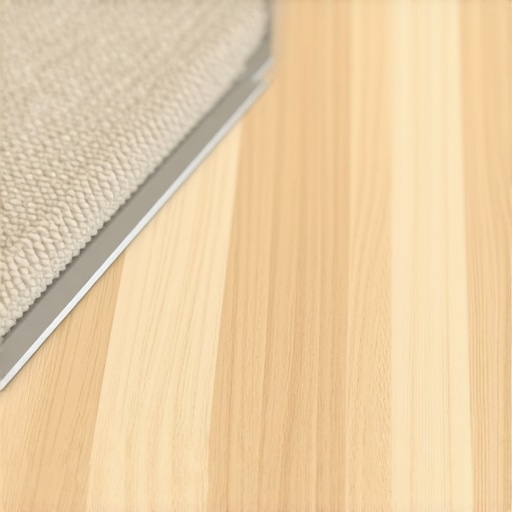
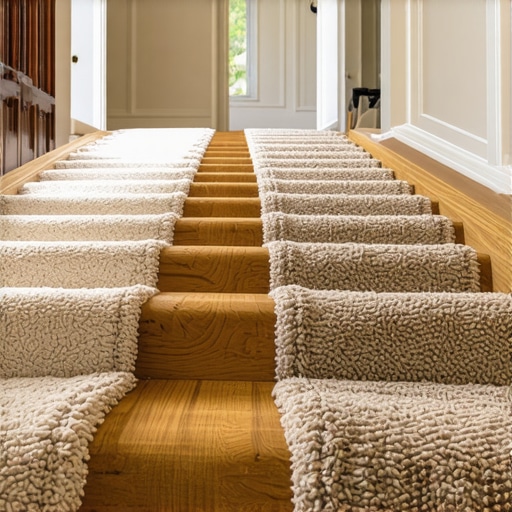
Invisible stair transitions require a precise mechanical tuck and a hidden tackless strip to ensure the carpet pile remains secure against the hardwood stair nose. The goal of a professional carpet install is to create a flush transition that resists lateral shear and delamination over time. When you see silver tacks, you are looking at a failure of imagination and effort. Those tacks eventually work their way loose. They snag socks. They hurt bare feet. More importantly, they do nothing to hold the carpet tension across the width of the tread. A proper transition uses the 1/8 inch gulley method. This involves leaving a specific gap between the hardwood transition piece and the tackless strip. The carpet is then stretched over the pins and tucked into that dark abyss. It creates a clean line that looks like the carpet is growing out of the wood. This is how you handle floor leveling issues at the landing while maintaining the aesthetic integrity of the laminate or hardwood materials.
The subfloor secret that prevents carpet movement
Subfloor preparation is the most essential phase of any stair transition project because deflection and moisture vapor transmission will destroy the adhesive bond between the wood treads and the risers. Most installers think they can hide a 1/4 inch dip with a bit of padding. They are wrong. If the subfloor is not flat to within 3/16 of an inch over a 10 foot span, the transition will move. Every time a person steps on that transition, the wood and the carpet move at different rates. This friction wears down the carpet fibers and eventually snaps the locking mechanisms on laminate nosings. I always check the moisture content of the subfloor with a pin meter. If the plywood is over 12 percent moisture, I do not install. You are asking for a callback. You are asking for the wood to swell and push the carpet out of the tuck.
“A floor is only as good as the subfloor beneath it; deflection is the enemy of every joint.” – Master Flooring Axiom
Physics of the stair nose interface
The hardwood stair nose acts as the primary anchor point for the staircase transition and must be mechanically fastened with 15 gauge finish nails and PL Premium adhesive to prevent vibrational loosening. The nose is the most abused part of the floor. It takes the full weight of a human body in motion. If you are using a laminate product, you must be even more careful. Laminate noses are often made of pressed MDF or thin aluminum wrapped in a photo layer. They do not have the structural integrity of solid white oak. When you transition carpet to these surfaces, you cannot rely on the carpet to stay put. You have to create a shelf. This shelf is a small relief cut into the back of the wood or a precisely placed shim that allows the carpet to sit at the exact same height as the wood. If the carpet is higher, it becomes a trip hazard. If it is lower, it looks unfinished. We are aiming for a zero threshold feel. We want the transition to be felt only as a change in texture, not a change in height.
Adhesive chemistry for permanent bonds
Urethane based adhesives and silane terminated polymers provide the tensile strength necessary to bond hardwood treads to concrete or plywood while allowing for hygroscopic expansion without bond failure. Many guys just grab a tube of cheap construction adhesive from the big box store. That stuff dries hard and brittle. Wood is a living material. It breathes. It expands in the summer and shrinks in the winter. If your adhesive does not have elongation properties, it will snap. I prefer a moisture cure urethane. It creates a waterproof barrier. This is vital if the stairs are near showers or bathrooms where humidity levels spike. The chemistry of the bond is what prevents that annoying squeak when you step on the edge of the carpet. We are looking for an adhesive with a Shore A hardness that provides both rigidity and flexibility. This is the zooming reality of flooring. It is not just about the color of the oak. It is about the molecular chain that holds your house together.
Comparison of stair transition methods
| Method Type | Visible Fasteners | Durability Rating | Skill Level Required | Best Use Case |
|---|---|---|---|---|
| Visible Tacks | Yes | Low | Beginner | Rental Grade Utility |
| Tuck and Roll | No | High | Professional | Custom Hardwood Treads |
| Z-Bar Transition | No | Medium | Intermediate | Laminate to Carpet |
| Direct Glue Down | No | Very High | Expert | Commercial High Traffic |
Mastery of the tuck and roll technique
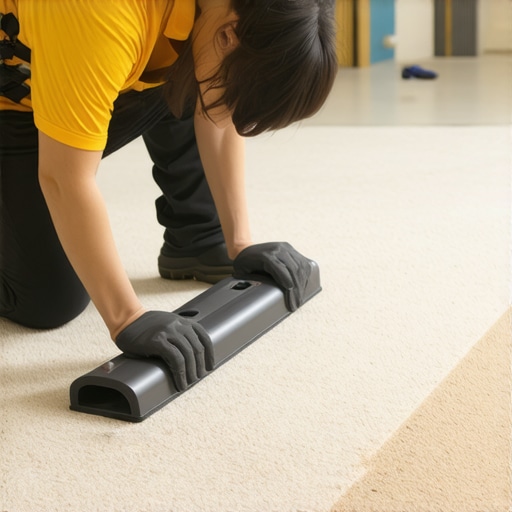
The tuck and roll technique is the industry standard for creating a hidden carpet transition by using a carpet bolster and stair tool to drive the carpet backing into a 1/8 inch architectural relief. This is not something you learn from a YouTube video in five minutes. It takes a feel for the tension. You have to stretch the carpet just enough so it stays tight, but not so much that you pull the tackless strip off the floor.
- Check subfloor for levelness and grind high spots.
- Install hardwood stair nose with 15 gauge finish nails and adhesive.
- Leave exactly 1/8 inch gap between the wood edge and the tackless strip.
- Cut the carpet approximately 1 inch longer than the landing.
- Use a power stretcher to hook the carpet onto the tackless pins.
- Drive the excess carpet into the 1/8 inch gap using a specialized stair tool.
- Trim the excess carefully with a wall trimmer or a sharp utility knife.
- Set the carpet pile with a soft mallet to hide the tuck line.
Why level floors matter for stair safety
Floor leveling compounds containing portland cement and high grade polymers are mandatory for ensuring that the stair landing provides a stable foundation for both hardwood and carpet components. If the landing is sloped, the stairs will feel off. The human brain is incredibly sensitive to variations in riser height. Even a 1/8 inch difference can cause someone to trip. This is why I am so obsessed with the prep work. I see guys trying to use carpet install techniques to hide poor framing. It never works. The carpet will eventually compress. The dip will reveal itself. You need to use a self leveling underlayment that has a high compressive strength. We are talking five thousand PSI or better. This creates a rock solid base that will not crumble under the pressure of the hidden tackless strip. When the strip is nailed into a level, solid surface, it holds the carpet under tension for decades.
“A floor is only as good as the subfloor beneath it; deflection is the enemy of every joint.” – Master Flooring Axiom
Thermal expansion in laminate and hardwood stairs
Thermal expansion and relative humidity cause laminate and solid hardwood to move at different coefficients, which requires an expansion gap that must be disguised by the carpet transition. Solid wood moves mostly in its width, not its length. Laminate moves in every direction. If you pin the laminate down too tight with a transition, it will buckle in the middle of the room. This is why the tuck method is so superior. The carpet acts as a flexible buffer. It allows the wood to move slightly underneath while the carpet maintains its tension. This is the ghost in the expansion gap. You are creating a space for the floor to breathe without showing the gap to the world. In dry climates like Phoenix, the wood will shrink. In the swampy humidity of Houston, it will swell. Your transition must be engineered to handle both extremes. If you ignore the science of wood movement, your beautiful staircase will be a clicking, gapping mess within six months.
The importance of high performance underlayment
Choosing the right underlayment density for the carpet landing is vital for matching the profile height of the hardwood stairs and preventing locking mechanism failure in adjacent laminate sections. Most homeowners think the thickest padding is the best. That is a lie. Too much cushion is the enemy of a good transition. If the pad is too soft, the carpet will dive down at the edge of the wood. This creates a valley that collects dirt and looks terrible. You want a high density pad, something in the 8 pound to 10 pound range. This provides a firm base that keeps the carpet pile level with the hardwood nose. It also provides better sound dampening. A staircase can act like a megaphone for footsteps. A dense rubber or felt underlayment absorbs those vibrations. This is the difference between a floor that feels solid and one that feels like a trampoline. Professional flooring is about controlling the environment. It is about moisture, levelness, and density. When you master these three things, the aesthetic part is easy. You are building a performance surface. You are building a floor that will outlast the house itself.