Why Your Floor Leveler Primer is Not Soaking Into the Concrete
Most guys skip the leveling compound. They think the underlayment will hide the dip. It won’t. I spent three days grinding concrete on a job last month just so the floor wouldn’t click like a castanet. That job was a nightmare because the previous installer had poured a self-leveling underlayment directly onto a burnished slab without checking for porosity. The leveler just peeled up in giant, brittle sheets. It looked like gray potato chips. You cannot trust a subfloor until you have tested its character. If your primer is sitting on top of the slab like beads of rain on a waxed car, you are looking at a future failure. The bond between the concrete and the leveler is the only thing keeping your laminate from bouncing or your shower tiles from cracking. When that primer fails to penetrate, the mechanical lock is nonexistent. You are essentially trying to glue a floor to a layer of dust and air. This is the structural engineering of flooring. It is not about how the wood looks. It is about whether the foundation stays put for twenty years.
The invisible barrier on your slab
Concrete floor leveler primer fails to soak into the slab because of low porosity, surface contaminants, or laitance. If the liquid beads on the surface, the mechanical bond cannot form. You must remove sealers, oils, or waxes to ensure the primer penetrates the concrete capillaries for a secure hold. When a concrete slab is finished with a power trowel, the surface becomes extremely dense. This is called burnishing. It closes the pores of the concrete. Think of it like a skin. If the pores are closed, the acrylic or epoxy particles in your primer have nowhere to go. They sit on top. They dry into a film that has no grip. You could walk in with a carpet install crew later and find the whole subfloor shifting under the weight of the furniture. I have seen laminate floors separate at the joints because the leveler underneath shifted. It happens more often than you think. You need to understand the physics of capillary action. Concrete is a sponge, but only if the pores are open. If those pores are clogged with curing compounds or old adhesive residue, your primer is just a puddle. It will never become part of the slab.
“A floor is only as good as the subfloor beneath it; deflection is the enemy of every joint.” – Master Flooring Axiom
The brutal reality of surface preparation
Preparing a concrete surface for primer requires mechanical abrasion or chemical cleaning to expose the open pore structure of the material. Use a diamond grinder or a shot blaster to achieve a Concrete Surface Profile of two or three. This allows the primer to sink deep into the slab. Without the right profile, you are gambling. I always tell my guys that the preparation is ninety percent of the job. The actual pouring of the leveler takes twenty minutes. The grinding takes hours. If you are prepping for a shower pan, this is even more vital. Water finds every weakness. If the leveler beneath your waterproofing membrane is loose, the whole system fails. You have to look at the slab under a bright light. Do you see a sheen? That is likely a sealer or laitance. Laitance is a weak, milky layer of cement and sand that rises to the top during the pour. It has no structural integrity. If you prime over it, the primer bonds to the laitance, and the laitance breaks away from the concrete. It is a chain reaction of failure. You must grind it off. There are no shortcuts here.
The 1/8 inch that ruins everything
Ignoring a dip of 1/8 inch over a ten foot span can lead to catastrophic failure in click-lock laminate and engineered hardwood floors. These systems rely on a flat substrate to prevent the locking mechanisms from snapping under the pressure of foot traffic and heavy furniture. A floor that is not level is a floor that is moving. Movement causes friction. Friction causes noise. Eventually, friction causes the plastic or wood tabs in your flooring to shear off. Most people buy the thickest underlayment they can find to hide the problem. This is a mistake. Too much cushion actually makes the problem worse. It allows for more deflection. You need a rock-solid, flat surface. The primer is the bridge that makes this possible. If the bridge is not anchored into the concrete, the whole structure is floating. I have seen five thousand dollar laminate jobs ruined because someone was too lazy to spend fifty dollars on a proper primer and a bag of leveler. Do not be that person. Check your floor with a straight edge. If you see light under that bar, you have work to do.
| Surface Condition | Absorption Rate | Preparation Required || :— | :— | :— || Burnished Concrete | Low | Mechanical Abrasion || Open Capped Concrete | High | Standard Priming || Contaminated (Oil/Wax) | Zero | Chemical Stripping || Laitance Present | Moderate | Grinding to CSP 3 |
The physics of the water drop test
The water drop test is the most effective way to determine if your concrete is ready to receive a primer and leveling compound. Place several drops of clean water on different areas of the slab and observe how long it takes for the liquid to disappear into the surface. If the water disappears in less than sixty seconds, the concrete is porous. You can proceed with standard priming. If the water beads up and stays there for several minutes, you have a problem. This means there is an invisible barrier. It could be a silicone-based sealer or just years of floor wax. I once worked on a grocery store conversion where the concrete had been treated with grease-resistant chemicals for decades. No primer would touch it. We had to use a planetary grinder with thirty-grit metals to even stand a chance. You cannot guess. You have to test. This is why I carry a spray bottle of water in my kit at all times. It is the cheapest insurance policy in the flooring industry. If the water does not go in, the primer won’t either. It is that simple.
The chemical bond of modified thin-set
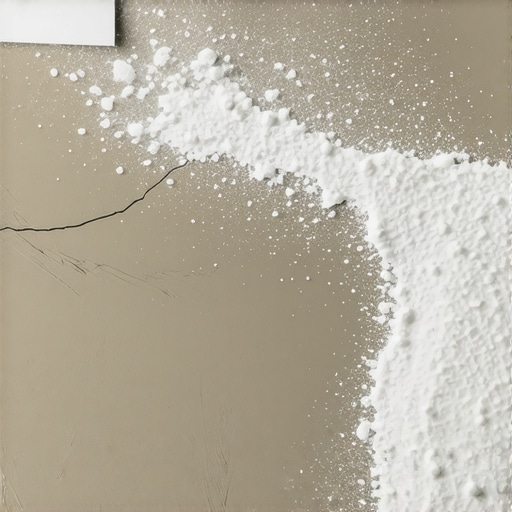
Modified thin-set and self-leveling primers use acrylic polymers to create a bridge between the inorganic concrete and the cementitious leveling material. These polymers must penetrate the surface of the concrete to create a mechanical interlocking web at the microscopic level for maximum adhesion. When the primer stays on the surface, those polymer chains have nothing to wrap around. They just lay there. As the leveler cures, it shrinks slightly. This shrinkage creates tension. If the primer is not anchored, that tension will pull the leveler right off the floor. This is especially dangerous in showers. You have heat, moisture, and weight constantly stressing the bond. I use a high-solids primer for everything. Some guys try to water it down to save a buck. That is a fool’s errand. You are thinning out the very glue that holds the floor together. The concentration of solids in the primer determines how strong that bond will be. If you see the primer turning white and chalky as it dries, it might be a sign that it was over-diluted or the slab was too cold. Watch the temperature. Concrete is a thermal mass. It takes a long time to warm up.
“A floor is only as good as the subfloor beneath it; deflection is the enemy of every joint.” – Master Flooring Axiom
Checklist for a perfect primer application
- Perform a water drop test on at least five areas of the room.
- Scrape off any paint, drywall mud, or old adhesive with a floor scraper.
- Grind any high spots and remove laitance with a diamond cup wheel.
- Vacuum the entire floor using a HEPA-filtered vacuum to remove fine dust.
- Check the temperature of the slab to ensure it is within the manufacturer’s range.
- Apply the primer using a soft-bristled brush or a long-nap roller.
- Work the primer into the pores using a circular motion rather than just painting it on.
- Allow the primer to dry until it is tacky but does not transfer to your finger.
The regional climate factor in subfloor prep
Humidity and ambient temperature play a significant role in how quickly a primer dries and how well it bonds to a concrete substrate. In high-humidity environments like Florida, the concrete may hold more moisture, which can slow down the absorption and curing of the primer significantly. You have to account for the dew point. If the slab is too cold and the air is too humid, you get condensation. Priming over condensation is a recipe for disaster. The water on the surface will act as a release agent. In dry climates like Arizona, the concrete might be so thirsty that it sucks the water out of the primer too fast. This prevents the polymers from forming a proper film. In those cases, I sometimes do a two-coat prime. The first coat is a dilute mixture to kill the thirst of the concrete. The second coat is full strength to provide the bond. You have to listen to what the slab is telling you. It is a living, breathing thing. It expands and contracts. It breathes vapor. If you ignore the environment, the environment will destroy your floor. I have seen solid wood floors buckle in Houston because the installer forgot the vapor barrier. I have seen tile crack in Denver because the slab was too dry and sucked the moisture out of the thin-set. Knowledge of your local climate is just as important as your choice of trowel.