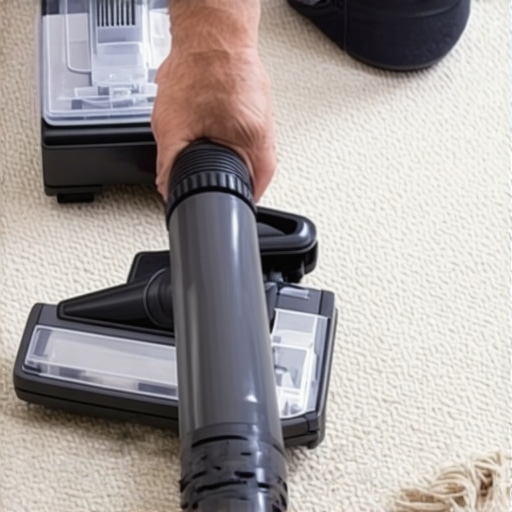
How to Stop Your Vacuum from Eating the Frayed Edges of Your Carpet
I spent three days grinding concrete on a job last month just so the floor wouldn’t click like a castanet. The homeowner thought a thick underlayment would hide the dips. It won’t. Most guys skip the leveling compound because it is messy and slow, but that is the difference between a floor that lasts forty years and one that fails in four. The grit of that concrete dust is still in my throat, and I smell like WD-40 and oak sawdust. That same lack of attention to detail is why vacuums eat carpets. When a carpet edge frays, it is not just a cosmetic nuisance. It is a structural failure of the primary and secondary backing systems. If you do not understand the physics of the floor, you cannot fix it. Most people think their vacuum is just a tool for cleaning, but it is a mechanical agitator that exerts massive shear force on vulnerable fibers. I have seen fifteen thousand dollar installations ruined because the transition strips were not seated correctly.
The mechanical violence of the vacuum brush
Stopping your vacuum from eating carpet edges requires adjusting the brush roll height and applying a bead of thermoplastic or latex seam sealer to the frayed perimeter. The vacuum beater bar creates a high speed vortex that catches loose loops and pulls them from the primary backing. This process is known as interfacial debonding. When the vacuum brush hits a loose thread, it does not just cut it. It pulls the thread with enough force to unzip the weave of the carpet. You need to understand the RPM of that brush. It is hitting the floor thousands of times per minute. If the edge is not secured by a transition strip or a proper tuck at the baseboard, the vacuum will win every time. I always tell my clients to check the pile height adjustment on their machines. If you have it set too low, you are essentially sandpapering your carpet fibers. You can see the damage under a microscope. the fibers look like they have been shredded by a wood chipper. To stop the carnage, you must create a mechanical barrier or a chemical bond that the vacuum cannot penetrate.
Why your subfloor is lying to you
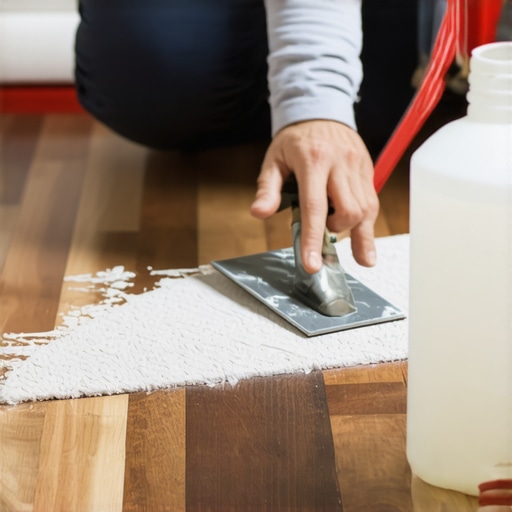
Floor leveling is the most overlooked aspect of carpet and laminate installation because it happens out of sight beneath the surface material. A dip of only one eighth of an inch can cause a carpet to ripple or a laminate joint to snap under the weight of a person. When your subfloor is not level, the carpet does not sit flat. This creates air pockets. When the vacuum passes over these pockets, the suction pulls the carpet upward, increasing the friction between the brush and the fibers. This is particularly dangerous at the edges near doorways. If the floor leveling was skipped, the transition strip will not sit flush. This creates a gap where the vacuum can catch the edge of the carpet. I use a ten foot straight edge on every job. If I see a gap, I reach for the self leveling compound. You have to understand the chemistry of these compounds. They are not just mud. They are high strength, polymer modified cements designed to bond to the substrate and provide a rigid, flat surface. Without this, your flooring is essentially floating over a series of traps.
“A floor is only as good as the subfloor beneath it; deflection is the enemy of every joint.” – Master Flooring Axiom
The chemical reality of carpet adhesives
Adhesives used in carpet installation and edge repair rely on polymer chains that create a cross linked bond between the backing material and the subfloor. When these bonds fail due to moisture or poor application, the edges of the carpet become loose and susceptible to fraying. Most people think any glue will work. They are wrong. You need a seam sealer with high solids content. When I am repairing a frayed edge, I use a latex based sealer that penetrates the fibers. This locks the yarn into the backing. You have to apply it with a precision tip. If you get it on the surface of the pile, it will dry hard and look like a mess. The goal is to weld the fibers together at the base. This is the same logic we use in showers where waterproofing is the priority. In a shower, you are stopping water. On a carpet edge, you are stopping mechanical force. Both require a perfect chemical seal. If the humidity in the room is too high, the adhesive will not cure properly. This is a major issue in places like Houston or Florida. The moisture in the air keeps the glue tacky, and the vacuum just pulls it apart.
Transition strips and the death of carpet edges
Transition strips are the primary defense against vacuum damage because they provide a hard physical barrier that covers the vulnerable cut edge of the carpet. When laminate or tile meets carpet, the transition must be secured into the subfloor with screws or track systems. I have seen installers just glue these down. That is a crime. A transition strip that is not anchored will move. When it moves, it rubs against the carpet edge like a saw. Eventually, the fibers break. You need to use a Z-bar or a transition that allows for a proper tuck. This hides the cut edge of the carpet under a metal or wood lip. The vacuum brush cannot reach the edge if it is buried under a solid transition. This is also where the mil thickness of your flooring comes into play. If you are using a cheap laminate with a thin wear layer, the transition strip will eventually wear through the surface. You need a heavy duty material that can withstand the constant foot traffic and the mechanical impact of the vacuum wheels.
| Repair Method | Durability Rating | Chemical Base | Required Tools |
|---|---|---|---|
| Latex Seam Sealer | High | Synthetic Latex | Precision Applicator |
| Thermoplastic Tape | Maximum | Hot Melt Polymer | Seaming Iron |
| Mechanical Transition | Extreme | Aluminum or Wood | Drill and Anchors |
| Fray Check Liquid | Moderate | Acrylic Resin | Bottle Applicator |
The physics of expansion and contraction
Flooring materials like hardwood and laminate require expansion gaps at the perimeter to account for changes in temperature and humidity throughout the seasons. If these gaps are not maintained or are improperly covered, the floor will buckle and force the edges into the path of the vacuum. I once walked into a house where a walnut floor was cupping so bad it looked like a potato chip. The installer did not check the crawlspace humidity. The floor expanded and hit the walls, which forced the transition strips to pop off. Once those strips were gone, the vacuum started eating the carpet in the adjacent room. You have to respect the material. Wood and carpet are organic. They react to the environment. Solid wood is a death wish in high humidity areas unless you have a climate controlled environment. You need engineered cores in those situations. The same applies to carpet. In high humidity, the primary backing can stretch, leading to ripples. Those ripples are the first thing a vacuum brush will destroy.
“Moisture is the single most common cause of flooring failure, affecting both structural integrity and surface aesthetics.” – NWFA Technical Publication
The 1/8 inch that ruins everything
A height difference of only one eighth of an inch between two flooring surfaces creates a trip hazard and a focal point for vacuum damage. Precision in floor leveling ensures that transitions are flush, preventing the vacuum from catching on the edge of the higher surface. I spend a lot of time with a grinder. If the concrete slab has a high spot, I take it down. If it has a low spot, I fill it. It is about geometry. A vacuum cleaner is a flat machine. It expects a flat surface. When it hits a change in elevation, the weight of the machine shifts. This puts extra pressure on the leading edge of the brush. If that brush is sitting on a carpet edge that is slightly higher than the surrounding floor, it will chew through it in seconds. This is why I hate builder grade carpet. It is too thin to hide any subfloor imperfections, yet the backing is so weak it frays if you look at it wrong. You need a high density carpet with a high tuft bind rating. That is the force required to pull a single loop of yarn out of the backing.
A checklist for carpet edge protection
- Inspect all doorways for loose carpet fibers or lifting transition strips.
- Apply a bead of latex seam sealer to any cut edges before installing transitions.
- Adjust the vacuum brush height to the highest setting that still cleans effectively.
- Ensure the subfloor is level within one eighth of an inch over a ten foot span.
- Use metal Z-bars for carpet to tile transitions to ensure a permanent mechanical tuck.
- Check the moisture content of the subfloor with a pinless meter before installation.
The reality is that flooring is an engineering challenge. You are building a surface that must withstand thousands of pounds of pressure and constant mechanical abrasion. If you skip the prep work, you are just waiting for a failure. I have seen it a thousand times. The homeowner wants to save a few hundred dollars on leveling or transition strips, and then they wonder why their five thousand dollar carpet is falling apart. It is about the chemistry of the glue, the physics of the vacuum, and the geometry of the subfloor. Keep your edges sealed, your transitions tight, and your subfloor flat. That is how you keep a floor looking like the day it was installed. I have to get back to my van now. I have a slab to prep and the smell of concrete dust is calling. It is a hard job, but someone has to do it right. If you follow these rules, you will not have to call me to fix a ruined carpet in two years.