Why Your Shower Grout is Cracking at the Internal Corners
The invisible movement ruining your shower walls
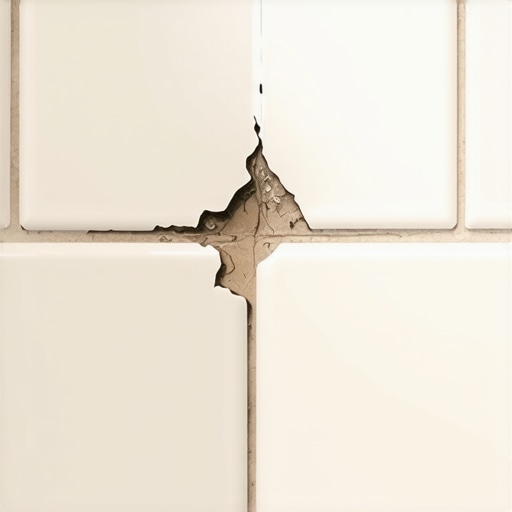
Cracked grout in shower corners occurs because of differential movement between two meeting planes where rigid cementitious materials fail to accommodate structural shifting. Internal corners are change-of-plane joints that require flexible 100 percent silicone sealant rather than hard grout to maintain a waterproof seal during building settlement and thermal expansion.
Most guys skip the leveling compound. They think the underlayment will hide the dip. It won’t. I spent three days grinding concrete on a job last month just so the floor wouldn’t click like a castanet. When it comes to showers, the logic is the same. People think tile and grout are a solid, immovable shell. They are wrong. A shower is a living, moving box of wet physics. I have spent twenty five years watching homeowners cry over cracked grout because their installer treated a ninety degree corner like it was a flat floor. It is not. Every house moves. Every stud breathes. If you fill a corner with cement, it will crack. It is a mathematical certainty, not a possibility. You cannot fight the structural torque of a house with a bag of sanded grout. It will lose every single time.
The physics of the change of plane
Internal shower corners represent a change of plane where vertical wall studs and horizontal floor joists meet, creating a pivot point for structural stress. When moisture levels fluctuate or the foundation settles, these planes move in opposing directions, causing rigid grout joints to shear and crumble. This is why TCNA standards mandate flexible movement joints at all plane transitions.
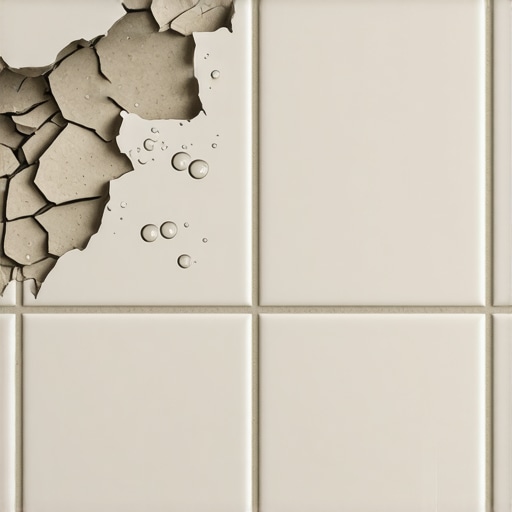
When you look at a shower, you see a finished surface. I see a skeletal system of wood or metal studs that are constantly reacting to the world around them. In the winter, the air dries out and the wood shrinks. In the summer, the humidity spikes and the wood swells. If you have a shower on a second floor, you also have the deflection of the floor joists to deal with. Every time you step into that basin, you are applying hundreds of pounds of pressure. That pressure travels. It hits the corner where the floor meets the wall, or where two walls meet. If that joint is filled with a rigid, brittle material like cement-based grout, it has nowhere to go. The energy of the movement has to be released, and it releases by snapping the bond between the grout and the tile edge. This is why you see those hairline fractures that eventually turn into missing chunks of mud.
Why cementitious grout is the wrong tool for the job
Cementitious grout is a brittle material with zero elasticity, making it incapable of absorbing movement at internal corners. While standard grout works well for flat fields of tile, it cannot handle the tensile strength required at stress points. Professionals must use color-matched caulk or silicone that meets ASTM C920 standards to ensure the waterproof integrity of the shower assembly.
“A floor is only as good as the subfloor beneath it; deflection is the enemy of every joint.” – Master Flooring Axiom
The chemistry of grout is fascinating if you actually care about why things fail. Grout is essentially a mixture of Portland cement, graded aggregates, and pigments. When it cures, it forms a crystalline structure. That structure is very strong under compression, meaning you can walk on it all day. But it is incredibly weak under tension. When the wall on the left wants to move a fraction of a millimeter to the north, and the wall on the right wants to stay put, that crystalline structure is pulled apart. It does not stretch. It breaks. This is the same reason we do not use grout to fill the gap between a laminate floor and a baseboard. We leave an expansion gap for a reason. In a shower, the internal corner is your expansion gap, but people insist on clogging it with cement. It is a recipe for a leak and a mold farm behind the thin-set.
The hidden danger of structural deflection
Structural deflection refers to the bending or sagging of floor joists under a live load, which translates into shearing forces at the shower corners. If the floor leveling was not performed to L/360 or L/720 standards, the tile assembly will experience excessive vibration. This movement is the primary cause of grout failure and water intrusion in modern shower installations.
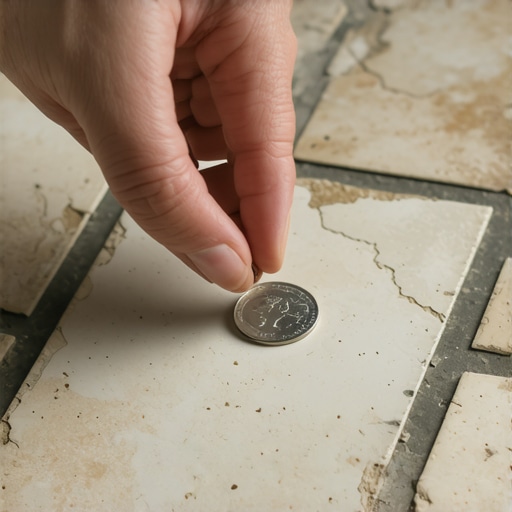
I have seen guys install beautiful showers over subfloors that had more bounce than a trampoline. They think because they used a cement board or a waterproof membrane that they are safe. They are not. If your subfloor deflects, your corners will scream. Think about it like a car. If you have bad struts, your whole frame takes the hit. If your floor joists are undersized or the subfloor is just one layer of three quarter inch plywood, that shower pan is going to move every time you shift your weight. That movement is magnified in the corners. It is the same reason why a carpet install over a rotting tack strip will eventually pull away. You cannot build a stable finish on an unstable base. If the floor leveling was skipped, you are just waiting for the grout to fail so the water can start rotting your rim joists.
Comparison of joint materials for internal corners
| Material Type | Elasticity | Water Resistance | Best Use Case |
|---|---|---|---|
| Sanded Grout | None | Low (Porous) | Flat floor tile joints |
| Unsanded Grout | None | Low (Porous) | Thin wall tile joints |
| Siliconized Latex | Medium | Medium | Dry areas, baseboards |
| 100% Silicone | High | High | Shower corners and pans |
The technical reality of the 1/8 inch rule
The National Tile Contractors Association and the TCNA are very clear about this. You need a movement joint at every internal corner. This joint should be at least one eighth of an inch wide and filled with a flexible sealant. This is not a suggestion. It is a structural requirement. If your installer shoved grout in there, they didn’t just make a mistake, they ignored the physics of the building. In some regions, like the swampy humidity of Houston, this movement is even more pronounced. The wood framing in a humid environment is constantly shifting. In a dry place like Phoenix, the wood shrinks so much that a grouted corner will literally fall out within a year. You need that 1/8 inch gap to act as a shock absorber. It allows the tile to move without the grout cracking. It keeps the water on the surface and out of the wall cavity.
How to fix a failing corner joint properly
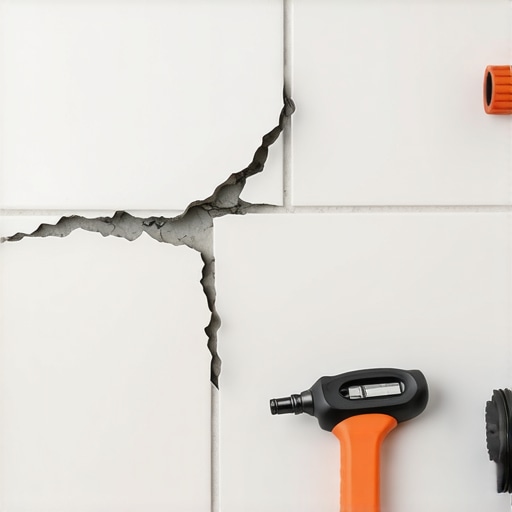
- Remove all existing cracked grout using a manual grout saw or a multi-tool with a diamond blade, being careful not to nick the waterproof membrane.
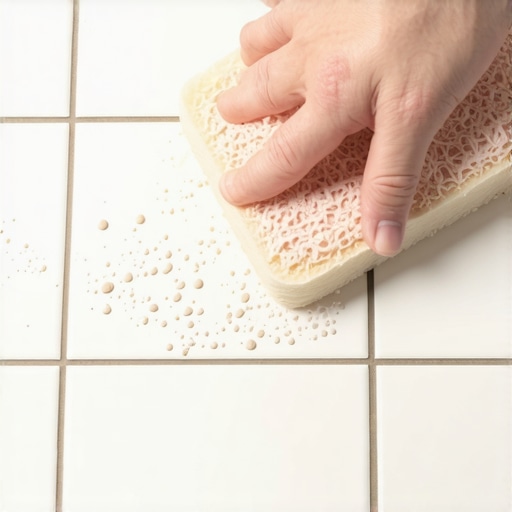
- Clean the joint thoroughly with denatured alcohol to remove any soap scum, dust, or moisture that will prevent adhesion.
- Ensure the joint is completely dry before applying any new materials, as moisture trapped behind tile will cause the new sealant to peel.
- Apply a high-quality 100 percent silicone sealant that is color-matched to your grout for a professional, integrated look.
- Tool the joint with a soapy finger or a specialized caulking tool to create a concave bead that sheds water effectively.
If you are dealing with a shower that is already cracking, do not just smear more grout over the top. That is a band-aid on a broken leg. You have to get the old stuff out. I tell people all the time that the hardest part of the job is the prep. People want the pretty tiles, but they don’t want to pay for the three hours of scraping out old, wet cement. If you don’t get the old grout out, the new silicone won’t have a deep enough well to bite into. You need that mechanical bond. You need the silicone to stick to the edges of the tile, not the surface of the old grout. This is about chemistry. Silicone is designed to bond to non-porous surfaces like glazed ceramic. It is not designed to bond to crumbling, sandy debris.
“Grout is for the field, but silicone is for the corners; never confuse the two if you want a dry house.” – TCNA Installation Handbook Paraphrased
The myth of waterproof grout
Let’s get one thing straight. Standard grout is not waterproof. It is water-resistant at best. It is a sponge. Water goes through it and hits the membrane behind the tile. If your corners are cracked, that water isn’t just trickling through, it is pouring through. This is how you get mold growing in your wall studs. This is how the subfloor under your shower starts to delaminate. I have seen laminate floors in hallways outside of bathrooms that were buckled and swollen because a shower corner two rooms away was leaking. Water is a traveler. It will find the path of least resistance, and a crack in your corner grout is a highway to your floor structure. When you use silicone, you are creating a true waterproof dam in that corner. It stays flexible, it stays bonded, and it keeps the water where it belongs, in the drain.
The connection between shower failure and floor leveling
People often ask me why I talk about floor leveling when they are asking about shower walls. It is because everything is connected. If your bathroom floor is not level, your shower pan is likely tilted. If the pan is tilted, the walls are under constant stress to remain plumb. This creates a geometric conflict. The more out of level your subfloor is, the more pressure there is on those internal corners. It is a chain reaction. You can’t have a stable shower without a level floor. Whether you are prepping for a carpet install or a high-end tile shower, the subfloor is the boss. If the boss is crooked, the whole job is crooked. Take the time to level the floor, use the right flexible materials in the transitions, and stop treating your shower like it is a static object. It moves. Let it move, and it won’t break.