The ‘Wet Paper’ Trick for Checking Carpet Pad Density
The ‘Wet Paper’ Trick for Checking Carpet Pad Density
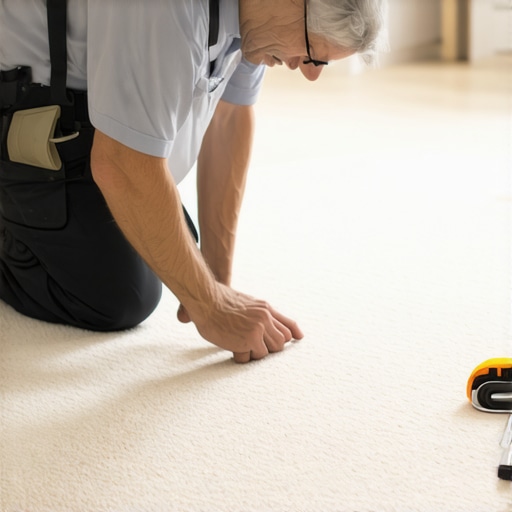
I spent three days grinding concrete on a job last month just so the floor wouldn’t click like a castanet. Most guys skip the leveling compound. They think the underlayment will hide the dip. It won’t. I have seen countless installations fail because the installer was too lazy to run a straightedge across the slab. If the subfloor is off by an eighth of an inch over ten feet, your new carpet or laminate is going to suffer. People focus on the fiber. They look at the color of the carpet. They forget that the pad is the actual engine of the floor. You can buy a fifty dollar per yard wool carpet, but if you put it over a cheap, low-density foam, it will feel like walking on a wet sponge within six months. This is why I use the wet paper test to verify what the supplier sent to the job site. Sometimes the labels lie. Sometimes the warehouse pulls the wrong roll. My knees and my reputation depend on the density of that polymer structure.
The science of carpet pad density
Carpet pad density is measured in pounds per cubic foot and represents the mass of the foam used in the manufacturing process. A high-density pad like an 8lb rebond provides better structural support and prevents the carpet backing from stretching or delaminating over time. When we talk about density, we are talking about the ability of the cells within the polyurethane to resist compression. A low-density pad has large, air-filled cells that collapse under the weight of a footfall. A high-density pad has tightly packed, cross-linked polymers that distribute the load across a wider surface area. This is the physics of rebound. If the pad does not push back, the carpet fibers take the full force of the impact. This causes the fibers to crush and the primary backing to buckle. You end up with those ugly ripples in the middle of the room that no power stretcher can ever fully fix.
“A floor is only as good as the subfloor beneath it; deflection is the enemy of every joint.” – Master Flooring Axiom
Testing pad density with wet paper
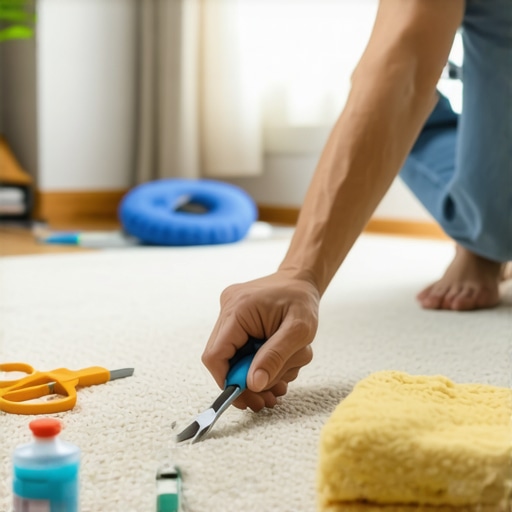
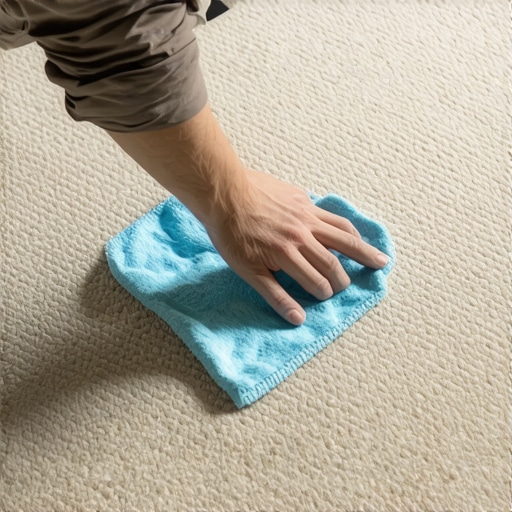
Testing carpet pad density using the wet paper method involves applying localized pressure and moisture to a sample to observe the capillary action and cell resistance. You take a standard brown paper towel, dampen it, and place it on the pad. You then apply exactly ten pounds of pressure, usually with a hand weight or a heavy boot, for thirty seconds. If the moisture is pushed deep into the pad and the paper towel comes up dry, you have an open-cell, low-density product that will fail under traffic. If the moisture stays trapped on the surface of the pad and the paper towel remains wet, it means the cell structure is dense enough to resist penetration. This is a quick field test for density and moisture resistance. High-density rebond pads are often made with scrap foam and a bonding agent. The quality of that bonding agent determines the density. If they used too much air in the mix, the pad will fail the wet paper test every single time.
The truth about subfloor leveling
Subfloor leveling requires a self-leveling underlayment and a mechanical bond to the concrete or plywood surface to ensure a flat installation plane. I have seen people try to use extra carpet pad to level out a dip in the floor. That is a recipe for disaster. When you have a dip, the carpet pad will compress more in that specific area. This creates a pocket of air. Every time someone walks over it, the carpet flexes. This flexing causes the tack strips to pull loose. If you are installing laminate or LVP, the locking mechanisms will snap because they are being forced to bend into a radius they weren’t designed for. You have to grind the high spots and fill the low spots. There is no shortcut. I use a ten foot straightedge. Anything over three sixteenths of an inch gets addressed with a grinder or a bag of leveler. It is dusty work, and it smells like a construction site, but it is the only way to guarantee a floor that doesn’t squeak or move.
| Pad Type | Density (lb) | Thickness (in) | Expected Lifespan |
|---|---|---|---|
| Rebond Foam | 6 – 8 | 0.4375 | 15 Years |
| Frothed Foam | 10 – 12 | 0.375 | 25 Years |
| Prime Foam | 3 – 5 | 0.5 | 5 Years |
| Fiber Pad | 12 – 20 | 0.375 | 20 Years |
Moisture barriers and shower transitions
Moisture barriers are mandatory in high-humidity areas or when transitioning from tiled showers to carpeted bedrooms to prevent subfloor rot. If you are finishing a basement, the concrete slab is breathing. It is releasing moisture vapor. If you put a carpet pad directly on that concrete without a vapor barrier, the pad acts like a sponge. It sucks up the moisture. Eventually, you get mold. You get that musty smell that never goes away. When I work near a bathroom or a shower, I pay extra attention to the transition. I use a moisture meter to check the perimeter of the tile. If the tile installer didn’t use a proper waterproofing membrane like Schulter-Kerdi, the moisture will migrate under the threshold and into the carpet pad. I always recommend a synthetic fiber pad or a closed-cell foam in these areas. They don’t hold water. They don’t support mold growth. While most people want the thickest underlayment, too much cushion actually causes the locking mechanisms on LVP to snap under pressure. This is a common mistake in modern renovations.
“Subfloor preparation is not an optional step; it is the foundation of the entire installation system.” – NWFA Professional Standards
The 1/8 inch that ruins everything
Precision installation relies on maintaining a consistent thickness across all flooring components to avoid threshold trip hazards. If your carpet pad is a fraction of an inch too thick, the transition to the hardwood or tile will be steep. It will look unprofessional. It will also wear out faster because the edge of the carpet is exposed to more foot traffic. I see this a lot with laminate installs too. People buy the cheap laminate with the pre-attached pad, and then they add another layer of underlayment thinking it will make the floor softer. It makes the floor a trampoline. You want a floor that is solid. You want a floor that feels like it is part of the house, not something floating on top of it. Always check your heights at the door casings. If you have to undercut the casing, do it right with a jamb saw. Don’t hack at it with a wood chisel and leave a gap. The details are what separate a pro from a handyman with a truck.
- Check subfloor for levelness using a 10-foot straightedge.
- Perform the wet paper test on every new roll of padding.
- Ensure the moisture content of the slab is below 4 percent.
- Vacuum the subfloor twice to remove any grit or sawdust.
- Seam the padding with high-quality duct tape or specialized pad tape.
The chemistry of carpet install adhesives
Carpet adhesives utilize polymer-based resins to create a pressure-sensitive bond between the subfloor and the floor covering. When we are doing a direct glue-down install, the chemistry matters. You have to wait for the adhesive to flash off. If you drop the carpet too soon, you trap the moisture from the glue. This causes the backing to swell. If you wait too long, the glue skins over and won’t grab. It is a delicate balance of temperature and humidity. I have been on jobs where the HVAC wasn’t running, and the glue took six hours to set. That ruins the schedule. You have to understand the VOC ratings and the open time of the product you are using. Every bucket of glue has a specific trowel notch requirement. If you use the wrong trowel, you either get too much glue which causes ridges, or too little glue which causes bubbles. Neither is acceptable. A pro knows the sound of the trowel on the floor. It should be a consistent scrape. If it sounds different, you have debris on the floor. Stop and clean it up immediately.