The Toothbrush Secret for Cleaning Sanded Grout Lines
The microscopic reality of sanded grout maintenance
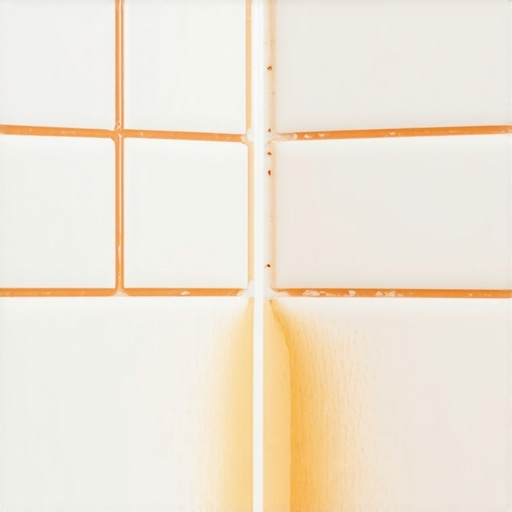
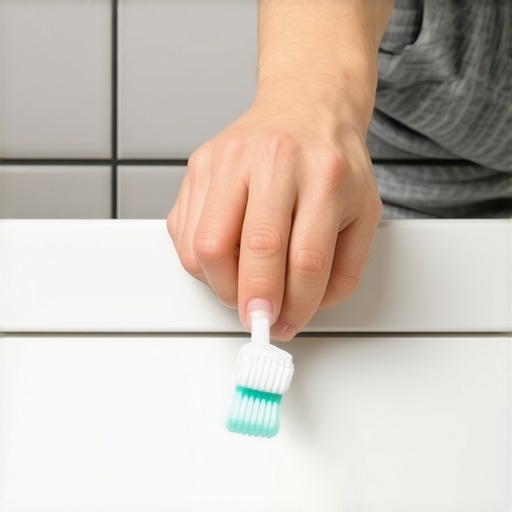
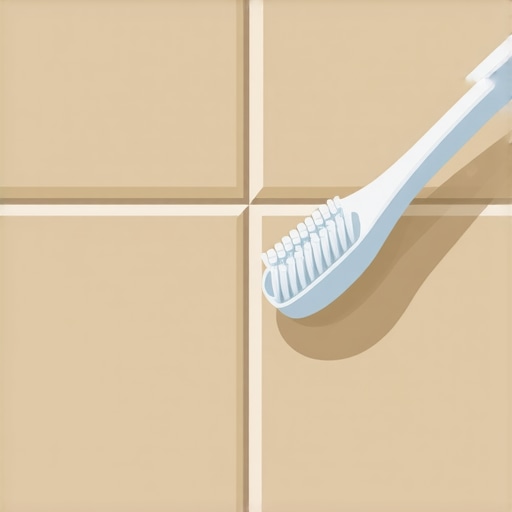
Sanded grout consists of a Portland cement base mixed with silica sand aggregates to provide structural integrity for joints wider than one eighth of an inch. Cleaning it requires a medium-stiffness toothbrush to reach into the granular valleys of the grout line without scratching the surrounding tile or eroding the cementitious bond. This process is not about scrubbing but about the precise mechanical displacement of soil from the silica peaks. Most guys skip the leveling compound. They think the underlayment will hide the dip. It won’t. I spent three days grinding concrete on a job last month just so the floor wouldn’t click like a castanet. That job taught me that whether you are dealing with a shower or a carpet install, the physics of the surface beneath your feet dictate the life of the finish. People want the toothbrush secret because their grout looks like a coal mine, but the secret is actually about the chemistry of the sealer and the mechanical action of the bristles. Sanded grout is porous by nature. It is a series of tiny canyons and mountain ranges at a microscopic level. When you use a mop, you are just pushing dirty water into those canyons. A toothbrush allows you to agitate the specific area where the dirt has bonded with the cement. Use a pH neutral cleaner. Acidic cleaners will eat the lime in the cement and leave your grout brittle and sandy. It will fail. You will be looking at a regrouting job within two years if you keep using vinegar.
The structural secret hidden in your subfloor
Floor leveling is the most overlooked phase of a renovation because it happens behind the scenes and requires expensive polymers and grinding time. A floor must be flat to within three sixteenths of an inch over a ten foot radius to prevent the failure of locking mechanisms in laminate or the cracking of tiles in showers. I have seen fifteen thousand dollar floors ruined because the installer thought a thick pad would fix a low spot. It does not work that way. When a person walks across a floor with a void underneath, the plank flexes. That flex puts immense pressure on the tongue and groove. Eventually, the friction causes the HDF core to powder and the joint snaps. Then you have a bouncing floor that sounds like a drum. I always tell clients that if we do not spend the time on the concrete slab now, we will be ripping it out in three years. We use a ten foot straight edge. We mark the dips. We fill them with high-flow calcium aluminate underlayment. It is a science of levels and physics. You cannot cheat the law of gravity or the rigidity of a ceramic tile. If the floor moves, the grout cracks. If the grout cracks, water gets in. If water gets in, the subfloor rots. It is a domino effect that starts with a lazy guy and a bag of thin-set.
“A floor is only as good as the subfloor beneath it; deflection is the enemy of every joint.” – Master Flooring Axiom
The physics of shower tile and moisture barriers
Showers require a waterproof assembly that manages moisture through a combination of sloped subfloors and topical membranes to prevent mold growth and structural decay. The transition between the sanded grout and the drain flange is a critical failure point where capillary action often pulls water into the substrate. When I build a shower, I am thinking about hydrostatic pressure. Sanded grout is not waterproof. It is a filter. Water goes through it. That is why the membrane behind the tile is the real hero. If you are cleaning grout with a toothbrush and you see the grout starting to turn mushy, you have a major saturation problem. The sand aggregate is literally losing its binder. This usually happens because the pre-slope was done incorrectly or the weep holes in the drain are clogged. You are not just cleaning a surface. You are maintaining a hydraulic system. If you want your shower to last forty years, you need to treat the grout as a sacrificial layer and the membrane as the fortress. This is why I prefer epoxy grout for showers, even though it is a nightmare to install. It does not have the porosity of sanded cement. It is basically plastic. But if you have sanded grout, the toothbrush is your best friend to keep the surface tension high and the bacteria low.
Why your laminate floor is expanding
Laminate flooring is a wood based product that reacts to changes in relative humidity by expanding and contracting across its width and length. An expansion gap of at least one quarter of an inch must be maintained at all perimeters to prevent the floor from peaking or buckling during seasonal shifts. I once walked into a house where the laminate was rising up in the middle of the room like a mountain range. The installer had tucked the planks tight against the baseboards. There was no room for the floor to breathe. When the humidity hit seventy percent in July, the floor had nowhere to go but up. People think laminate is plastic. It is not. It is mostly sawdust and resin. It acts like a sponge. You need to acclimate the boxes for at least forty eight hours in the room where they will be installed. Do not put them in the garage. Do not put them in the basement. Put them in the living room. If the moisture content of the subfloor is too high, you need a six mil poly film barrier. Without it, the moisture will migrate into the planks and cause the edges to swell. Once those edges swell, they are done. You cannot sand laminate. You cannot fix it. You can only replace it. This is why the prep work is more important than the actual clicking of the boards.
| Material Type | Janka Hardness | Acclimation Time | Max Deflection |
|---|---|---|---|
| Solid White Oak | 1360 | 7-10 Days | L/360 |
| Engineered Maple | 1450 | 48 Hours | L/360 |
| Laminate HDF | N/A | 48 Hours | 3/16″ over 10′ |
| Luxury Vinyl Plank | N/A | 24 Hours | 1/8″ over 10′ |
The mechanics of a proper carpet install
Carpet installation relies on the tension created by power stretching the backing onto tack strips to prevent ripples and premature wear. A carpet that is only knee-kicked will eventually lose its stretch and develop bubbles that act as trip hazards and dirt traps. I see guys using knee kickers for whole rooms all the time. It is lazy. A knee kicker is for positioning. A power stretcher is for the actual install. When you stretch a carpet, you are engaging the secondary backing. You are pulling it to its structural limit so that it stays flat under foot traffic. The pad underneath also matters. Too soft of a pad and the carpet will stretch too much. Too firm and it feels like walking on concrete. It is about balance. If you are doing a carpet install in a high traffic area, you need a high density pad. Think about the friction. Every time you walk, the carpet fibers rub against each other. If the carpet is loose, that friction increases. The fibers break down. The carpet looks ugly and old within two years. A tight carpet is a long-lasting carpet. It is basic mechanical engineering applied to textiles.
“The integrity of a tile installation is directly proportional to the rigidity of the substrate; movement equals failure.” – Master Flooring Axiom
- Check subfloor moisture with a pin-type meter before any wood or laminate install.
- Use a self-leveling compound for any dip greater than one eighth of an inch.
- Maintain a consistent indoor climate to prevent extreme floor movement.
- Always use a power stretcher for wall-to-wall carpet installations.
- Seal sanded grout twice a year to maintain its hydrophobic properties.
The ghost in the expansion gap
Perimeter gaps are often hidden by baseboards but they are the most functional part of a floating floor system. Debris or stray nails in these gaps can lock the floor in place and cause the entire surface to fail during a humidity spike. I have seen floors buckle because a single finish nail went through the baseboard and into the flooring plank. That one nail became an anchor. When the floor tried to expand, it could not. The force has to go somewhere. Usually, it goes into the locking joints, snapping them like dry twigs. You have to be surgical. You leave the gap. You install the trim. You make sure the trim is nailed to the wall, not the floor. It sounds simple but it is where most DIY jobs go sideways. The floor needs to move as a single unit. It is a raft floating on a sea of subfloor. If you anchor the raft to the dock, the waves will tear it apart. This is the structural reality of modern flooring. We are not just laying pretty boards. We are building a dynamic system that must coexist with the house. If you ignore the physics, the house will win every time.