Why your self-leveling compound didn’t actually level the floor
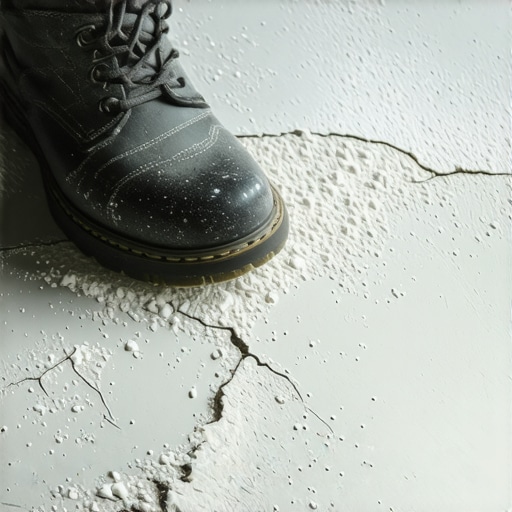
Most guys skip the leveling compound because they think the underlayment will hide the dip. It won’t. I spent three days grinding concrete on a job last month just so the floor wouldn’t click like a castanet. That client had hired a cut-rate crew who dumped five bags of self-leveler onto a dusty slab and walked away. Within forty-eight hours, the product had cracked like a dried-up lake bed. It looked like a topographic map of the Rockies instead of a flat substrate. If you think pouring a bag of liquid cement on the floor is going to fix your problems without some serious sweat equity, you are dead wrong. Flooring is a structural engineering challenge. It is not a DIY craft project.
The concrete lie that ruins your installation
Self-leveling compound often fails because installers confuse the term level with the term flat. A floor can be perfectly level while still having hundreds of micro-dips that cause laminate click-locks to snap. Gravity is the primary force at play. If the substrate is not prepped to receive the liquid, the surface tension of the mix will prevent it from flowing into the low spots. You end up with a high spot right next to a birdbath. It is a disaster. You must understand that these products are technically self-smoothing, not self-leveling. They need help. They need a gauge rake and a spiked roller. Without mechanical agitation, the polymers stay clumped. The liquid will just sit there like a puddle of thick gravy. It won’t move. It won’t find the low spots. It will just harden exactly where you poured it.
The primer mistake you probably made
Primer acts as the chemical bridge between the existing porous slab and the new cementitious overlay. If you skip the primer, the dry concrete beneath will suck the moisture out of the self-leveler before it has time to find its own level. This leads to a flash cure. The product dries while it is still trying to move. This creates a surface full of pinholes and craters. I have seen guys try to use water as a primer. That is a fool’s errand. You need a high-solids acrylic primer that seals the pores of the concrete. This prevents air from escaping the slab. When air bubbles rise through your wet leveler, they leave behind tiny volcanoes. These volcanoes are hard as rock. They will telegraph through your luxury vinyl plank or your thin carpet install. You will feel every single one of them under your feet for the next twenty years.
“A floor is only as good as the subfloor beneath it; deflection is the enemy of every joint.” – Master Flooring Axiom
The physics of surface tension and viscosity
The chemistry of a self-leveling pour involves a delicate balance of water molecules and Portland cement. If you add too much water, the sand settles to the bottom and the polymers float to the top. This creates a weak, chalky surface that will delaminate. If you add too little water, the viscosity is too high. It becomes like cold honey. It won’t flow. It won’t find the dip in the corner. You need to measure your water to the exact milliliter. Do not eyeball it. I see guys at the big-box stores grabbing a random bucket and filling it to a mark they made with a Sharpie. That is how you ruin a floor. I use graduated cylinders. I want to know the exact hydration levels. High humidity in places like New Orleans will slow your dry time. Arid climates like Phoenix will suck the life out of the mix. You have to adjust your strategy based on the room temperature and the slab temperature. They are rarely the same thing.
Why gravity is not your friend in showers
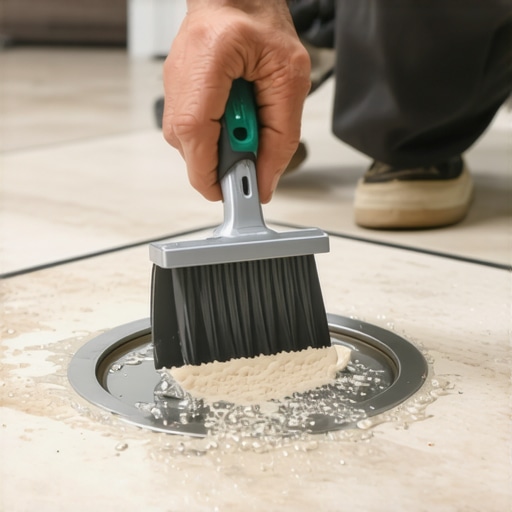
Showers require a specific pitch toward the drain which makes traditional self-leveling compounds difficult to use without a damming system. If you pour a standard leveler in a shower pan, it will seek a flat plane and eliminate the slope you need for drainage. This results in standing water. Standing water results in mold. I have ripped out countless tile jobs because the installer didn’t understand the Tile Council of North America standards for slope. In a wet environment, you need a dry pack mortar bed or a specialized high-flow leveler that can be manipulated into a slope. It is a technical dance. You are fighting the natural tendency of the liquid to stay flat while trying to force it to move toward the drain. Most people fail this test. They end up with a shower floor that holds an inch of water in the corner. [image_placeholder]
The phantom dips that laminate cannot hide
Laminate flooring is notorious for highlighting subfloor imperfections because of its rigid core and click-lock joinery. If the floor has a dip of more than 3/16 of an inch over a 10-foot radius, that laminate will bounce. Every time you walk on it, the joint is stressed. Eventually, the tongue snaps. Then you have a floating floor that is actually floating. It feels like walking on a trampoline. People think the foam underlayment will fill the hole. It will not. Foam is compressible. It provides zero structural support. If there is a void under the plank, the plank will move into that void. The only way to fix it is to ensure the subfloor is flat before the first plank is laid. This requires a 10-foot straight edge and a lot of patience. You have to map the floor. You have to find the valleys and the peaks. You have to be an architect of the substrate.
Technical comparison of leveling methods
| Method | Typical Thickness | Drying Time | Best Use Case |
|---|---|---|---|
| Self-Leveling Cement | 1/8 to 1 inch | 4 to 24 hours | LVP, Tile, Hardwood |
| Dry Pack Mortar | 1 to 3 inches | 24 to 72 hours | Shower pans, Thick beds |
| Patching Compound | 0 to 1/2 inch | 30 to 90 minutes | Minor dips, Seams |
| Plywood Underlayment | 1/4 to 1/2 inch | Instant | Carpet install, Vinyl sheet |
Why carpet hides sins but does not fix them
Carpet is the only flooring material that can mask a poorly leveled subfloor, yet the underlying issues will still cause premature wear. When you have a dip under a carpet, the padding stretches and compresses unevenly. This creates a shadow line. Over time, the carpet backing will break down because it is being flexed in ways it was never designed to handle. I have pulled up old carpet to find slabs that looked like the moon’s surface. The previous installer just threw down a thick pad and called it a day. That is lazy. It is unprofessional. Even for a basic carpet install, you should patch the major cracks. You should grind down the high spots. The floor should be a consistent plane. If it isn’t, the carpet will look old and wrinkled within three years. You are just hiding the problem for the next guy to find.
“Substrate preparation is not a suggestion; it is the foundation of every successful flooring warranty.” – NWFA Technical Guidelines
The 1/8 inch that ruins everything
Precision is the difference between a floor that lasts fifty years and one that fails in five. When I talk about an 1/8 inch, people roll their eyes. They think I am being a perfectionist. I am. Because that 1/8 inch is where the air gap lives. That air gap is where moisture collects. It is where mold grows. It is where the clicking sound comes from. If you are installing a glue-down hardwood, that gap means the adhesive won’t make contact with the board. You get a hollow spot. You can hear it when you walk. It sounds like a drum. It drives homeowners crazy. They call me to fix it, but by then, it is too late. You can’t inject glue into every hollow spot. You have to tear it up. You have to start over. All because someone was too lazy to spend an extra hour with a bag of leveler and a flat trowel.
Checklist for a successful subfloor pour
- Clean the slab until you can eat off it.
- Test the moisture content with a calcium chloride test.
- Seal all cracks with a rapid-set epoxy to prevent the leveler from leaking into the basement.
- Apply the manufacturer-recommended primer with a 3/8 inch nap roller.
- Measure water with a precision bucket.
- Mix with a high-torque drill to avoid introducing too much air.
- Use a spiked roller to break the surface tension and release bubbles.
- Keep the HVAC off to prevent the surface from drying too fast.
The moisture threshold for a successful cure
Concrete slabs are like sponges that hold onto water for months after they are poured. If you pour a self-leveling compound over a wet slab, the hydrostatic pressure will push the leveler right off the floor. I have seen entire rooms where the leveler just popped up in giant sheets. You could slide a putty knife right under it. It didn’t bond because the water in the slab had nowhere to go. You must use a moisture meter. If the relative humidity in the slab is over 80 percent, you need a moisture vapor barrier. This is a specialized epoxy coating that stops the water from moving upward. Only then can you pour your leveler. It adds cost. It adds time. But it is the only way to ensure the floor doesn’t fail. Anyone who tells you otherwise is trying to sell you a bridge. They don’t have to live with the floor. You do. Don’t let a contractor talk you out of proper prep work. It is the most important part of the job. The pretty stuff on top is just the finishing touch. The real work happens on your knees with the dust and the chemicals.