The ‘Dime Test’ for checking carpet stretch tension
I spent three days grinding concrete on a job last month just so the floor wouldn’t click like a castanet. Most guys skip the floor leveling process. They think the underlayment will hide the dip. It won’t. I’ve spent twenty five years on my knees with a moisture meter and a level, and I can tell you that a floor is a performance surface, not a decoration. I have the smell of WD-40 and oak dust permanently etched into my skin, and nothing makes me angrier than a loose carpet. I once walked into a luxury suite where the carpet was waving like the Atlantic Ocean because some hack used a knee kicker instead of a power stretcher. That is why we use the dime test. It is the final word in installation quality. If you want a floor that lasts twenty years, you stop looking at the color and start looking at the physics of the stretch.
The physics of the carpet dime test
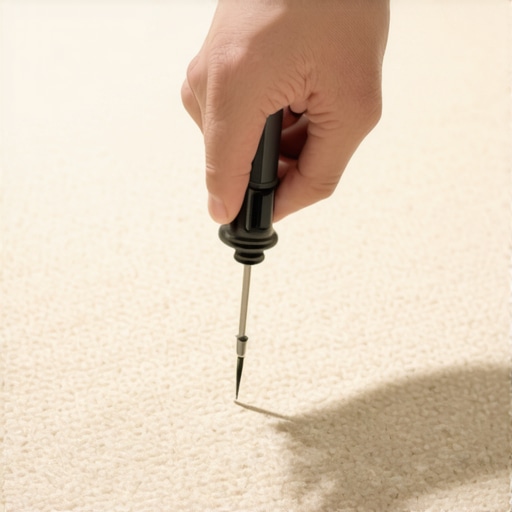
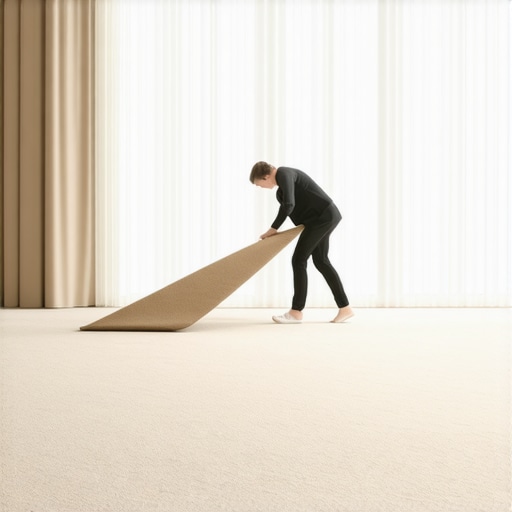
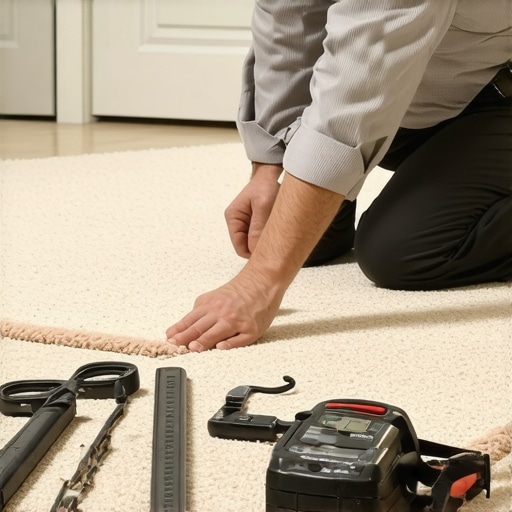
The dime test is a manual diagnostic tool used to verify the mechanical tension of a carpet installation. It involves pulling the carpet upward in the center of the room to ensure the backing is properly engaged with the tack strips. If the carpet lifts high enough to fit a dime vertically, the stretch is insufficient. Proper carpet install requires a mechanical power stretcher to achieve the one to one and a half percent stretch required by industry standards. Without this tension, the latex adhesive in the secondary backing will eventually break down, leading to permanent ripples and delamination. You cannot skip this step. If your installer shows up with only a knee kicker, send them home. A knee kicker is for positioning, not for stretching a room. The sheer force required to lock a synthetic backing onto the pins of a tack strip is significant. We are talking about hundreds of pounds of pressure distributed across the perimeter. When that tension is missing, the carpet acts like a loose sheet of paper. It will slide, it will bunch, and it will eventually wear out in the high traffic areas because the pile is not being supported by a taut backing.
“A floor is only as good as the subfloor beneath it; deflection is the enemy of every joint.” – Master Flooring Axiom
The ghost in the ripples
Ripples in a carpet are not just an aesthetic failure but a sign of structural collapse in the installation. These waves appear when the carpet backing expands due to humidity or mechanical stress and has nowhere to go because it was never properly tensioned. In regions where you have high humidity, like a bathroom area with frequent showers, the moisture in the air penetrates the synthetic fibers and softens the latex. If the carpet was just kicked in, those fibers will relax. I have seen floors in coastal homes that looked like a topographical map because the installer didn’t account for the hygroscopic nature of the material. You have to understand the molecular reality of what you are walking on. Most modern carpets use a dual layer backing system. The primary backing holds the tufts, and the secondary backing provides the stability. These are held together by a layer of calcium carbonate filled SBR latex. If that latex is not kept under constant tension, it loses its dimensional stability. This is why floor leveling is so vital. If the floor is not level, the carpet will bridge over the low spots. When you walk on that bridge, you are stretching the latex beyond its elastic limit. Every step is a micro-tear. Over a year, that bridge becomes a permanent wrinkle. You can’t just steam it out. You have to pull the whole thing up, fix the subfloor, and re-stretch it properly.
Why your subfloor is lying to you
Subfloor prep is the most ignored phase of any flooring project despite being the most important for long term durability. Whether you are putting down laminate or carpet, the flat surface is your only insurance against failure. I have seen installers try to hide a half inch dip with double padding. It never works. The padding eventually compresses, and you are left with a hole that eats the carpet backing. You need to use a high quality leveling compound and a long straightedge. I don’t care if it takes an extra day. I’d rather spend twelve hours grinding concrete than one hour listening to a homeowner complain about a floor that clicks or a carpet that shifts. Concrete slabs are notorious for moisture emission. You need to check the calcium chloride levels before you even think about bringing the roll inside. If the slab is too wet, the glue on the tack strips will fail. The pins will rust. The whole system will migrate toward the center of the room. This is the structural engineering of flooring. It is not about picking a pretty gray or a soft beige. It is about the bond between the wood or concrete and the finish material. If that bond is weak, the floor is junk.
“The carpet must be stretched one to one and a half percent in both width and length to prevent future wrinkling.” – Flooring Installation Standard
The math of the power stretcher
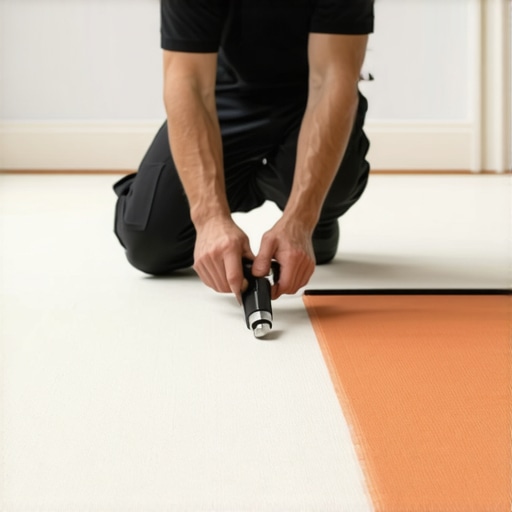
A power stretcher uses a leveraged head and long poles to push against one wall and pull the carpet toward the opposite wall. This tool allows an installer to apply thousands of pounds of force that a human knee simply cannot replicate. Think about the physics of a 20 foot room. To get a one percent stretch, you need to pull that carpet 2.4 inches. You aren’t doing that with a knee kicker unless you are a professional athlete with no regard for your patella. The power stretcher ensures the tension is uniform. Uniform tension is what keeps the seams from peaking. If you have uneven tension across a seam, one side will pull harder than the other. This creates a visible line that no amount of seam sealer can hide. I have seen guys try to blame the carpet mill for a bad seam when the reality was they just didn’t know how to use their stretchers. You start in one corner, lock your three point anchor, and work your way around. It is a systematic process. It is like tuning a guitar. If one string is off, the whole thing sounds like garbage. If one wall is loose, the whole floor will eventually fail.
| Backing Material | Required Stretch Percentage | Humidity Response |
|---|---|---|
| ActionBac Polypropylene | 1.5 percent | Moderate expansion |
| Jute Natural Fiber | 2.0 percent | High shrinkage when wet |
| Kanga Foam Back | 0.5 percent | Minimal movement |
| Unitary Commercial | 1.0 percent | Very stiff resistance |
The simple checklist for a professional install
- Verify subfloor flatness within 3/16 inch over 10 feet
- Acclimate the carpet roll in the environment for 48 hours
- Install architectural tack strips with three rows of pins
- Use a power stretcher for all areas larger than 10 by 10 feet
- Perform the dime test in at least four locations per room
- Seal all seams with a high quality thermoplastic tape
- Ensure transition strips are anchored into the subfloor not the carpet
Comparing laminate and carpet stability
Laminate flooring and carpet share a common enemy in the form of subfloor irregularities and moisture. While laminate requires an expansion gap at the perimeter to breathe, carpet requires the exact opposite. Carpet needs to be anchored and under tension. However, if the floor leveling was skipped, both will fail. Laminate will see its locking mechanisms snap under the vertical deflection. Carpet will see its backing delaminate. If you are choosing between the two for a high moisture area, remember that neither likes standing water. People think laminate is a safe bet near showers, but if water gets into those joints, the core will swell like a sponge. Carpet is even worse because it holds the moisture against the subfloor, inviting mold to the party. The transition between these two materials is where most hacks fail. They use a cheap plastic T-molding that sits too high. A real pro will use a shimmed transition that creates a flush surface. No one wants to trip on their way to the bathroom because an installer was too lazy to height match the floors.
The final word on tension
Listen, I’ve seen it all. I’ve seen the cheap big box store installs that fall apart in two years. I’ve seen the homeowners who try to save five hundred bucks by doing it themselves and end up ruining three thousand dollars worth of material. Flooring is a trade of precision. The dime test is a small part of a larger discipline. It is about respecting the materials. It is about understanding that the house is a living thing that moves and breathes. If you don’t account for that movement with proper floor leveling and mechanical stretching, you are just throwing money into a hole. Keep your tools clean, keep your moisture meter calibrated, and never trust a subfloor that you haven’t checked with a straightedge yourself. That is how you build a floor that lasts. That is how you maintain the reputation of a master. Don’t call me to fix a floor that was installed with a knee kicker and a prayer. I’m too old for that. Do it right the first time or don’t do it at all.