The shower drain mistake that causes hidden mold growth
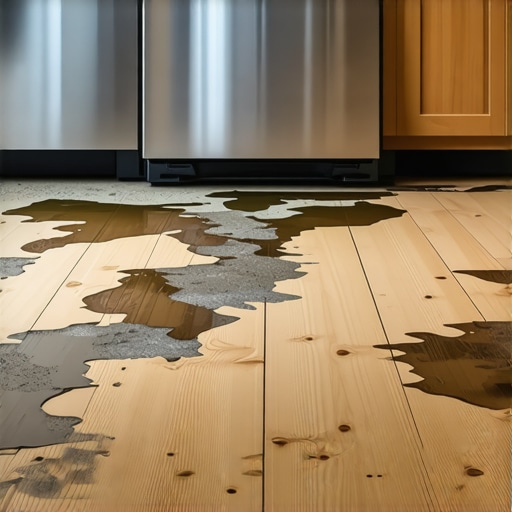
I spent three days grinding concrete on a job last month just so the floor wouldn’t click like a castanet. Most guys skip the leveling compound. They think the underlayment will hide the dip. It won’t. When you are dealing with a shower drain, that dip becomes a pond. That pond becomes a mold factory. I once walked into a house where a custom shower looked perfect on the surface, but the homeowner complained of a musty smell. I pulled one tile near the drain and found a black, gelatinous sludge. The installer had blocked the weep holes with thin-set. It is the most common, expensive mistake in the industry. I have seen it in high-end mansions and budget remodels alike. People focus on the grout color while their subfloor is literally rotting from the inside out. My hands are still stained with the waterproofing membrane from yesterday. I have spent 25 years smelling damp oak and wet concrete. You learn to respect the water. If you do not give it a path out, it will find its own path through your joists and into your lungs.
The hidden failure of clogged weep holes
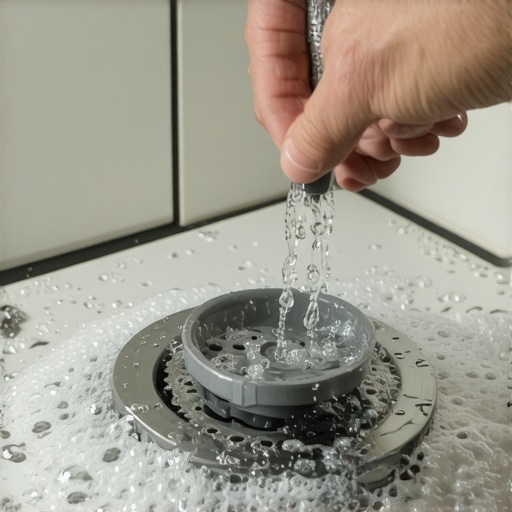
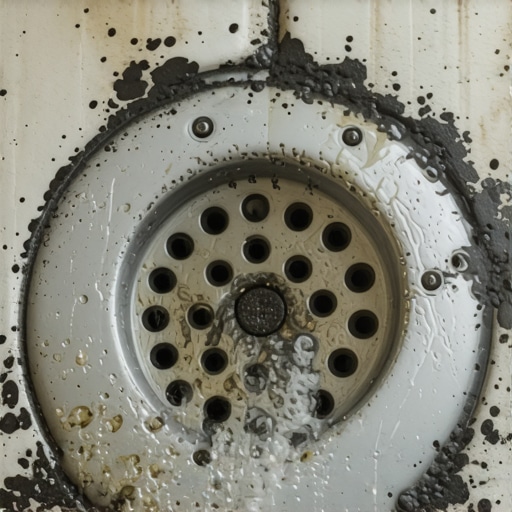
Clogged weep holes in a shower drain assembly prevent the secondary drainage system from functioning, leading to stagnant water trapped beneath the tile. This moisture eventually wicks into the subfloor and wall studs, creating a perfect environment for black mold to proliferate without being visible to the homeowner. You have to understand the physics of a three-piece drain. The top grate is only for the water you see. The real work happens at the liner level. Water permeates through the grout and the mortar bed by design. It hits the waterproof liner and is supposed to flow down into small holes in the drain base. When a lazy installer goops thin-set over those holes, the water stays there. It sits in a dark, warm space. It cannot evaporate. It cannot drain. This is not a slow process. Within weeks, the bacteria start to colonize. Within months, you have structural rot. If your shower smells like a swamp even after you scrub the tiles, your weep holes are probably dead. It is a fundamental violation of plumbing and flooring standards.
Why floor leveling is not a suggestion
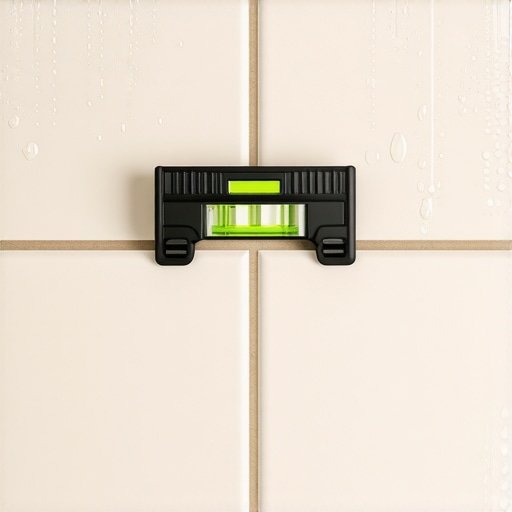
Floor leveling is a mandatory structural requirement for any hard surface installation to prevent joint failure and moisture accumulation in low spots. A subfloor that is not flat within 1/8 inch over a 10-foot span will cause click-lock laminate and LVP to bounce, eventually snapping the tongues. Gravity is the boss of your flooring. If you have a dip in the concrete, the water from a nearby shower leak will find it. It will sit in that pocket like a subterranean lake. I have seen guys try to shim a floor with scraps of carpet or cardboard. It is pathetic. You use self-leveling underlayment or you don’t do the job. The chemical bond of a high-quality primer and a polymer-modified leveler is the only thing standing between you and a floor that sounds like a haunted house. When the subfloor is uneven, every step you take creates a vacuum effect. It sucks air and moisture up through the seams. This accelerates the degradation of the core material in your laminate. It is a mechanical failure that masquerades as a material defect. Stop blaming the product and start looking at your slab.
“A floor is only as good as the subfloor beneath it; deflection is the enemy of every joint.” – Master Flooring Axiom
The chemistry of the adhesive bond
The molecular reality of flooring often comes down to the surfactant levels and the evaporation rate of the adhesive. When we talk about modified thin-set, we are talking about long-chain polymers that create a bridge between the substrate and the tile. If the substrate is contaminated with old carpet glue or drywall dust, that bond never happens. You get a cold joint. Moisture travels through these cold joints with ease. Capillary action is a powerful force. It can pull water uphill if the gap is tight enough. This is why back-buttering your tile is not optional for wet areas. You need 95 percent coverage to prevent voids. Voids are where the mold lives. I use a 1/2 inch square-notched trowel for almost everything now because the ridge collapse is better. You have to push the tile in and move it to collapse the ridges. If you just drop it on top, you are leaving highways for water to travel. It is basic fluid dynamics applied to construction. Most installers are too rushed to care about the microscopic gaps, but those gaps are where the lawsuits start.
Carpet install near wet areas is a recipe for disaster
Installing carpet near a shower or bathroom transition creates a moisture wick that pulls humidity into the padding and holds it against the subfloor. Traditional carpet pads act like sponges, absorbing airborne steam and minor splashes, which eventually leads to delamination of the primary backing and fungal growth. I hate carpet in master bedrooms that lead directly into a wet room without a proper transition. You see the black lines along the tack strips. That is not just dirt. That is filtration soiling combined with mold. The tack strip itself is usually made of cheap plywood that rots at the first sign of water. Once those pins are loose, the carpet ripples. Then you have a trip hazard and a biohazard. If you must have carpet, you need a synthetic, moisture-resistant pad with an antimicrobial treatment. But even then, you are playing with fire. The transition should always be a hard surface with a proper moisture barrier. I have pulled up carpet that looked clean on top but was a literal garden of fungus underneath because of one tiny leak in a shower curb.
Laminate failure in high moisture environments
Laminate flooring fails in high moisture environments because its high-density fiberboard core is susceptible to hygroscopic expansion, causing the edges to swell and the wear layer to peel. Even water-resistant laminate has a limit to how much hydrostatic pressure it can withstand before the locking mechanisms fail. People buy the stuff from big-box stores because it says waterproof on the box. It is a lie. The surface might be waterproof, but the joints are the weak point. If your shower drain is leaking and water is migrating under the laminate, the HDF core will drink that water. It will expand up to 20 percent of its original volume. You get peaking. You get buckling. Once that core swells, it never goes back down. It is a one-way trip to the dumpster. The physics of wood fiber means it wants to reach equilibrium with its environment. In a bathroom, that equilibrium is way too high. I tell people to use LVP with a stone-plastic composite core if they want that look. At least the SPC core won’t rot, though it still won’t save your subfloor from the mold underneath.
“The tile professional must ensure that the substrate is clean, dry, and flat to within 1/8 inch over 10 feet.” – TCNA Handbook Summary
The technical comparison of flooring durability
| Material Type | Janka Rating | Wear Layer (mil) | Moisture Tolerance |
|---|---|---|---|
| Solid White Oak | 1360 | N/A | Low |
| Engineered Maple | 1450 | 4mm (Top) | Medium |
| SPC Luxury Vinyl | N/A | 20 mil | High |
| AC4 Laminate | N/A | N/A | Medium-Low |
The moisture readiness checklist
- Test concrete slabs with a Calcium Chloride test (ASTM F1869).
- Ensure the shower pre-slope is exactly 1/4 inch per foot toward the drain.
- Verify weep holes are clear of mortar using a plastic spacer or gravel.
- Check that subfloor moisture content is within 2 percent of the flooring material.
- Apply a liquid-applied waterproofing membrane to all wet area transitions.
- Confirm the expansion gap at the perimeter is at least 1/4 inch for floating floors.
The ghost in the expansion gap
The expansion gap is the most misunderstood part of any floor. People think it is a mistake. They want the floor to go tight against the baseboard. They are wrong. A floor is a living thing. It moves with the seasons. It breathes. If you lock it in, it will scream. That scream is the sound of a buckling joint. In the summer, the humidity rises and the floor grows. If there is no gap, the force of that expansion has nowhere to go but up. I have seen floors lift three inches off the subfloor in the middle of a room. It looks like a bubble. This movement also affects the seal around your shower. If the floor moves and the shower is stationary, the caulk joint breaks. Now you have a highway for water to get under the floor. Every time you step out of the shower, a little bit of water goes into that crack. It is a slow death. You need the gap, and you need a high-quality 100 percent silicone sealant that stays flexible. Do not use cheap acrylic caulk. It will crack in six months and leave you vulnerable. The final word on subfloors is simple. Respect the water or it will destroy your work. You can buy the most expensive tile in the world, but if your drain is a mess, your house is a ticking time bomb of mold and rot. Take the time to clear the weep holes. Level the slab. Use the right chemistry. Anything less is just a temporary decoration.