The ‘Double Primer’ Secret for Leveling Over Old Tile
The Double Primer Secret for Leveling Over Old Tile
Most guys skip the leveling compound. They think the underlayment will hide the dip. It won’t. I spent three days grinding concrete on a job last month just so the floor wouldn’t click like a castanet. The dust was everywhere, even in my coffee, but that slab was flat to one eighth of an inch over ten feet when I was done. I have seen the same mistake repeated for twenty five years. Installers walk into a bathroom or a kitchen with old, dated ceramic tile and they assume they can just float a laminate floor right over the top. Then the homeowner wonders why their new floor feels like a trampoline or why the locking joints start snapping six months later. If you want to install a modern surface over old tile, you have to respect the chemistry of the bond. You are dealing with glazed surfaces that were designed to repel liquid. Putting a water-based leveler on top of a glazed ceramic tile is like trying to paint a window with watercolors. It will look fine for an hour, then it will peel off in sheets once it dries. The secret to a permanent bond lies in a double primer system that creates a mechanical key where none exists. This is the difference between a floor that lasts decades and a failure that costs you fifteen thousand dollars in callbacks.
The structural lie of a flat surface
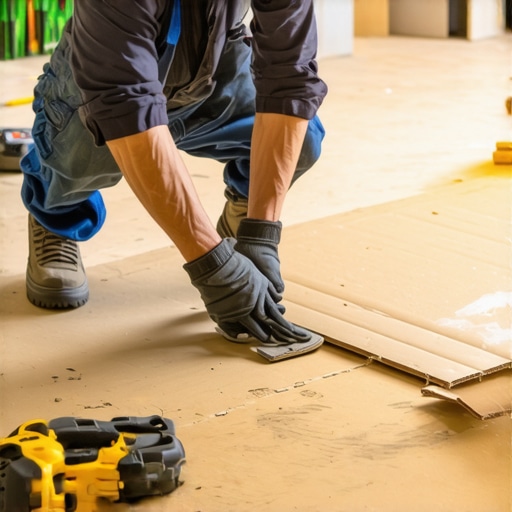
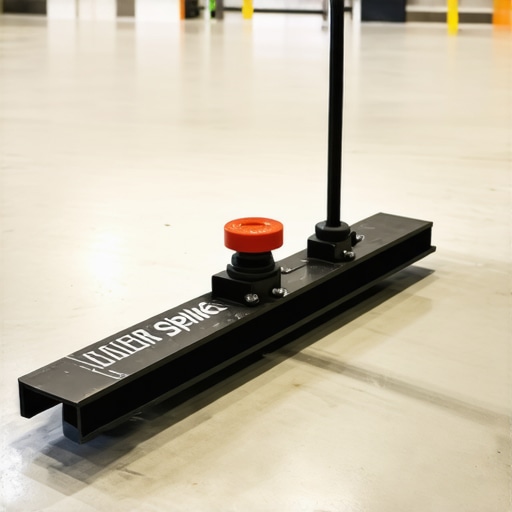
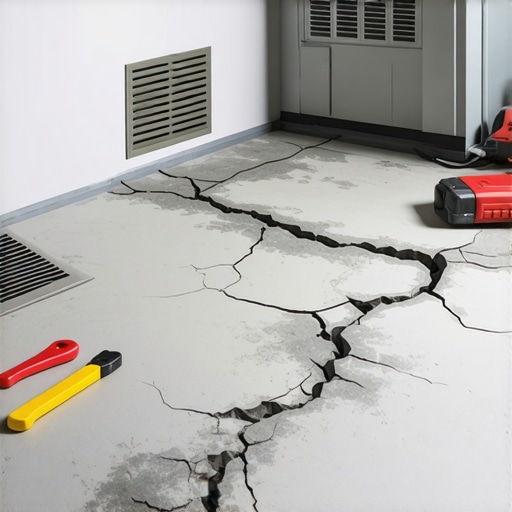
A flat subfloor is the foundation of every successful flooring project including laminate and carpet install applications. When you look at an old tile floor, your eyes deceive you because the grout lines create a grid that masks dips and humps. You need a ten foot straightedge to see the reality of the deflection. If the subfloor deviates more than three sixteenths of an inch over ten feet, your new floor is doomed. This is especially true for modern click-lock laminate which relies on a rigid joint. If the floor flexes into a dip, the tongue and groove will rub against each other until they disintegrate into sawdust. You must treat the existing tile not as a finished floor, but as a structural substrate. This means checking for loose tiles by tapping them with a mallet and listening for a hollow thud. A hollow sound means the thin-set has failed. If the tile is loose, no amount of primer will save you. You have to pull the loose ones and fill the void with a rapid setting patch before you even think about the leveling process.
“A floor is only as good as the subfloor beneath it; deflection is the enemy of every joint.” – Master Flooring Axiom
The chemistry of bonding to non porous ceramic
Standard primers are designed for porous surfaces like plywood or concrete where the liquid can soak into the fibers or pores to create a bond. Ceramic tile is a non-porous material, specifically if it has been glazed and fired at high temperatures. The molecular structure of the glaze is too tight for standard acrylic primers to penetrate. If you use a basic primer, the self leveling underlayment will simply sit on top like a giant pancake. When the leveler cures, it undergoes a minor amount of shrinkage. That tension is enough to pull the leveler away from the smooth tile, creating a hollow layer that will eventually crack under the weight of furniture or foot traffic. You need a primer that contains a high concentration of synthetic resins and a suspended aggregate like silica sand. This creates a rough, sandpaper-like texture that the leveling compound can grab onto. This is the first step of the double primer secret, turning a glass-smooth surface into a high-friction landscape.
Why standard primers fail on glazed surfaces
Standard primers lack the solids content and the chemical tackiness required to adhere to the mineral-heavy surface of a ceramic glaze. Most big-box store primers are mostly water with a small amount of polymer. On a porous slab, this is fine because the water carries the polymer into the concrete. On tile, the water just sits there. When it evaporates, the polymer remains as a thin, brittle film. Professional-grade bonding agents for non-porous substrates use a different chemical logic. They often involve a two-component epoxy or a specialized acrylic with a very high pH resistance. This allows the primer to resist the alkaline nature of the cement-based leveler that will be poured over it. Without this chemical resistance, the bond will degrade over time through a process called saponification, which is essentially the chemical breakdown of the adhesive layer due to moisture and alkalinity.
The first coat of grit and resin
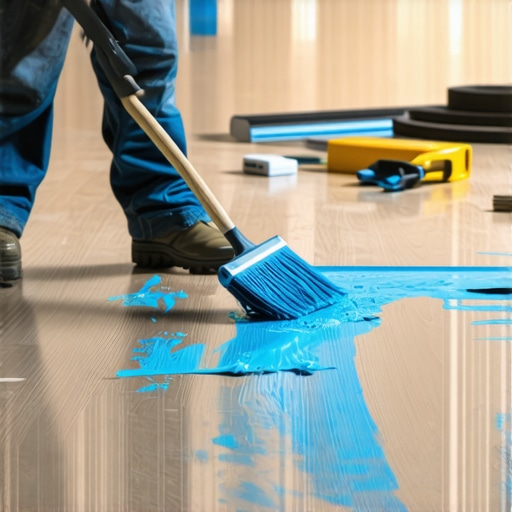
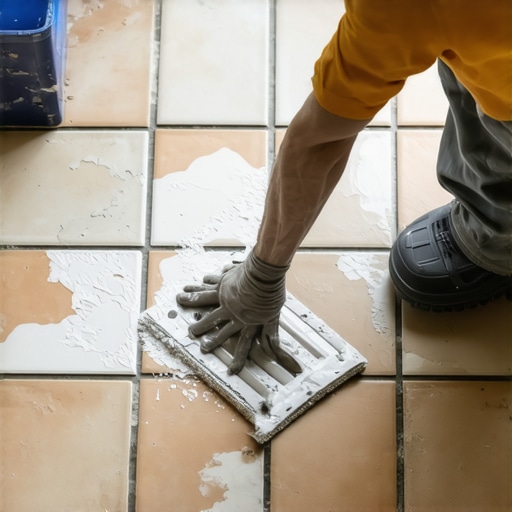
The first layer of the double primer system must consist of a high-performance bonding agent specifically rated for non-porous substrates. You apply this with a nap roller, making sure you get 100 percent coverage. You are not just painting the floor; you are creating a new surface. This primer usually contains a fine quartz sand. As the resin dries, the sand becomes locked into a hard matrix. When you walk on it after it has cured, it should feel like walking on eighty-grit sandpaper. This provides the mechanical bond. The leveler will flow into the tiny valleys between the sand grains and wrap around them as it hardens. This prevents the lateral movement of the underlayment. If you skip this, the leveler can slide across the tile surface, leading to edge curling and joint failure in your final flooring material.
Sand broadcast and the second mechanical bond
The second stage of the double primer secret involves a sand broadcast technique if you are dealing with extreme moisture or heavy commercial loads. In this method, you apply a neat epoxy resin and while it is still wet, you broadcast dry, kiln-dried sand until the floor is completely covered. Once the epoxy is cured, you sweep and vacuum the excess sand. This leaves you with a surface that is essentially a layer of solid rock bonded to the tile. This is the most aggressive bonding method known in the flooring industry. It is overkill for a standard bedroom laminate install, but if you are leveling a shower floor or a high-traffic kitchen, it is the only way to ensure the leveler never moves. The sheer strength of an epoxy sand-broadcast system can exceed the internal strength of the tile itself. If the floor fails, it will be because the tile pulled away from the slab, not because the leveler pulled away from the tile.
“Surface preparation is the most critical part of any installation; more floors fail from poor prep than from bad product.” – TCNA Handbook Principle
Managing the expansion of self leveling underlayment
Self leveling underlayment exerts significant force on the perimeter of a room as it cures and goes through thermal cycles. Even though we call it self-leveling, it is actually a highly engineered cementitious product. It needs space to move. You must install foam expansion strips around the entire perimeter of the room before you pour. If the leveler is poured tight against the drywall or the baseplates, it will have nowhere to go when it expands. This leads to tenting, where the floor literally lifts off the substrate in the center of the room. This is a common failure in showers where the transition between the floor and the wall is rigid. By using the double primer secret along with proper expansion joints, you create a floating raft of leveler that is bonded to the tile but isolated from the walls. This allows the entire assembly to breathe without cracking the grout lines or the laminate joints above it.
| Substrate Type | Primer Requirement | Drying Time | Mechanical Bond Strength |
|---|---|---|---|
| Porous Concrete | Standard Acrylic | 2-4 Hours | Moderate |
| Glazed Ceramic Tile | Grit-Infused Non-Porous | 6-12 Hours | High |
| Old Vinyl / LVP | Epoxy Bonding Agent | 12-24 Hours | Extreme |
| Plywood Subfloor | Modified Latex Primer | 3-5 Hours | Moderate |
From old tile to perfect laminate installation
Once the leveler has cured over the primed tile, you have a blank slate that is perfectly flat and ready for laminate. You still need a high-quality underlayment, but its job is now much easier. Instead of trying to bridge gaps and hide humps, the underlayment only needs to provide sound dampening and a moisture barrier. Many people think that a thick underlayment can replace a leveling compound. This is a dangerous myth. Too much cushion under a laminate floor causes the locking mechanisms to snap under pressure. When you step on a joint that has too much give, the tongue is forced downward while the groove stays put. Eventually, the thin HDF core of the laminate will shear off. By leveling the floor properly with the double primer method, you ensure that the laminate sits on a rock-solid plane. This eliminates the vertical movement that kills click-lock floors.
The physics of thin set and polymer modification
The leveler you choose must be compatible with the primer and the intended top-layer flooring. Most modern self-leveling compounds are polymer-modified, meaning they contain powdered resins that re-hydrate when you add water. These polymers improve the flexural strength of the cement. Cement is great at handling compression, you can park a truck on it, but it is terrible at handling tension or bending. The polymers allow the leveler to bend slightly without snapping. When you apply this over old tile, that flexibility is vital. The old tile and the new leveler have different coefficients of thermal expansion. They will grow and shrink at different rates when the sun hits the floor or the heater turns on. The polymer-modified bond created by the double primer system acts as a shock absorber between these two layers.
Why your shower floor requires a different logic
Leveling a shower floor over old tile requires absolute moisture management and a specific type of waterproof primer. You cannot use a standard water-soluble primer in a wet area. If moisture gets past the new tile and hits a standard primer, it will emulsify and the whole floor will delaminate. For showers, the double primer secret usually involves a waterproof membrane that acts as both the primer and the moisture barrier. You apply the membrane over the old tile, then a specialized grit-primer, then your pitch-corrected leveler or mortar bed. This creates a multi-layered defense. You also have to ensure the drain is integrated correctly. You cannot just pour leveler up to an old drain; you need a flange adapter that sits at the new height of the floor. This is where most DIY projects fail and where a pro earns his money.
Avoiding the carpet install trap on uneven slabs
Even for a carpet install, a level subfloor is necessary to prevent premature wear and unsightly shadows. People think carpet is forgiving. While it is true that carpet will hide a small dip, a major hump in the old tile will cause the carpet fibers to wear down faster in that specific spot. It creates a high point that takes more friction from foot traffic. Furthermore, if you are tacking down carpet strips, you cannot nail them into ceramic tile. You will shatter the tile and the strip will not hold. You have to use a construction adhesive to bond the tack strips to the tile. If the floor is leveled first using the double primer secret, you can embed your tack strips or use specialized masonry nails into the leveler, making the carpet install much more secure and professional.
A checklist for subfloor perfection
- Clean the old tile with a heavy duty degreaser or TSP to remove all waxes and oils.
- Check every single tile for hollow sounds or movement and repair as needed.
- Apply the first coat of grit-infused non-porous primer using a long handle roller.
- Allow the first coat to dry completely until it is no longer tacky to the touch.
- Install foam perimeter expansion strips to prevent the leveler from touching the walls.
- Mix the self-leveling underlayment with a high-speed mixer to ensure no dry clumps remain.
- Pour the leveler starting from the furthest corner and use a spike roller to release air bubbles.
- Wait at least twenty four hours before walking on the surface or installing laminate.
The double primer secret is about more than just making a floor flat. It is about understanding that you are building a structural sandwich. Each layer must be chemically and mechanically locked to the one below it. If you treat the subfloor like an afterthought, the finished floor will eventually fail. I have seen it a hundred times. But if you take the time to prep the tile, use the right bonding agents, and respect the drying times, you can create a floor that is flatter and stronger than the original slab. That is the mark of a master installer. It is not about the pretty boards you put on top. It is about the grit and the chemistry that you never see once the baseboards are installed.