The ‘Tape Measure’ Trick for Squaring Up a Room Before Carpet Install
I smell like WD-40 and oak dust most days. It is a scent that comes from twenty-five years of refusing to accept a subfloor that is anything less than a laboratory-grade flat surface. When you walk into a room to start a carpet install or lay down laminate, you are not just putting a pretty cover on a house. You are completing a structural assembly. If that assembly is out of square, the entire visual field of the room will eventually fail. I have seen guys try to hide a three-inch run-off in a forty-foot room by stretching the carpet harder on one side. It never works. The patterns will skew. The seams will eventually pull. You cannot fight physics with a power stretcher. You have to start with the math.
The math of a perfect corner and why it matters
Squaring a room involves using the Pythagorean theorem or the 3-4-5 rule to ensure that your layout lines are perfectly perpendicular. This process identifies wall deviations, prevents pattern skewing in carpets, and ensures that laminate planks do not result in awkward, thin slivers at the perimeter. Most installers skip this, assuming walls are square. They are wrong. I spent three days grinding concrete on a job last month just so the floor would not click like a castanet because the previous crew thought a bag of underlayment could hide a two-inch dip. It did not. The subfloor is the foundation of your reputation. If you do not square the room before you start, you are just guessing where the floor ends. This is especially true when transitioning into showers or tiled areas where the grout lines act as a visual grid that exposes every flaw in your initial layout.
The subfloor secret that most installers ignore
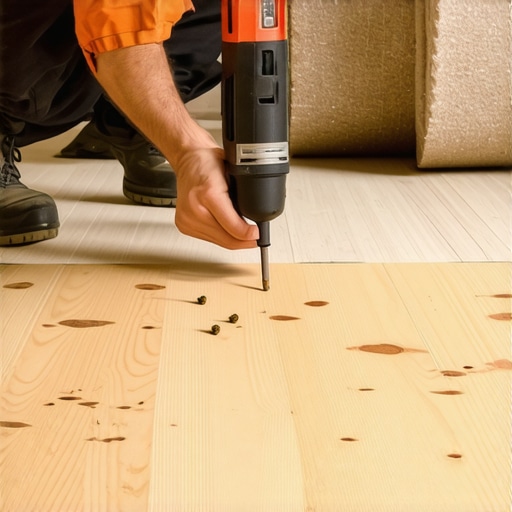
Floor leveling is a chemical and mechanical process that requires moisture testing, surface profiling, and the use of high-flow self-leveling compounds. You must achieve a subfloor flatness of 1/8 inch over a 10-foot radius to meet NWFA standards and prevent locking mechanism failure in floating floors. I once walked into a house where a $15,000 wide-plank walnut floor was cupping so bad it looked like a potato chip because the installer did not check the crawlspace humidity. The wood was gasping for air and had nowhere to go. It is the same with carpet. People think carpet is forgiving. It is not. If your subfloor has a hump, your carpet will wear out in that specific spot within two years. You are not just laying a floor. You are managing the friction between the building and the earth. [image_placeholder_1]
“A floor is only as good as the subfloor beneath it; deflection is the enemy of every joint.” – Master Flooring Axiom
The physics of the tape measure trick
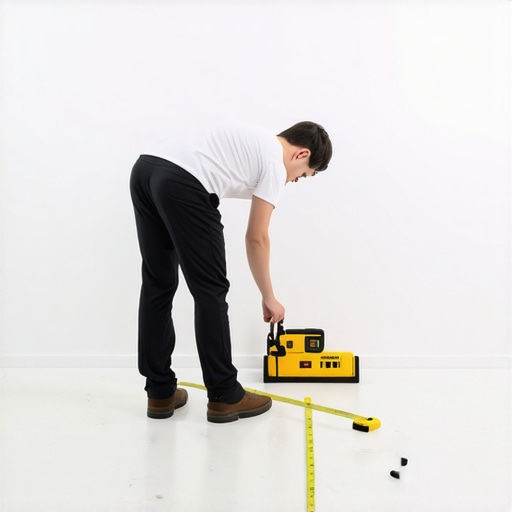
The 3-4-5 rule utilizes the geometry of a right triangle where the square of the hypotenuse equals the sum of the squares of the legs. By marking three feet on one wall and four feet on the adjacent wall, the diagonal distance must be exactly five feet for the corner to be perfectly square. This is the only way to verify if your baseboards will cover the gaps. I use a high-tension steel tape. I do not use the cheap ones with the loose rivets. If that hook at the end of your tape has even a millimeter of play that is not calibrated for both inside and outside measurements, your whole room is a lie. You need to pull your lines from the center of the room, not the walls. Walls move. Walls bow. The center of the slab is the only truth you have. When you are doing a carpet install, knowing exactly where the room squares up allows you to cut your drops with precision, saving thousands in waste over a large project.
Comparing flooring tolerances and structural requirements
| Flooring Type | Max Subfloor Deviation | Acclimation Time | Expansion Gap Requirement |
|---|---|---|---|
| Solid Hardwood | 1/8″ per 10 feet | 7 to 14 days | 3/4″ at perimeters |
| Engineered Wood | 3/16″ per 10 feet | 3 to 5 days | 1/2″ at perimeters |
| Laminate Flooring | 1/8″ per 8 feet | 48 hours | 3/8″ to 1/2″ |
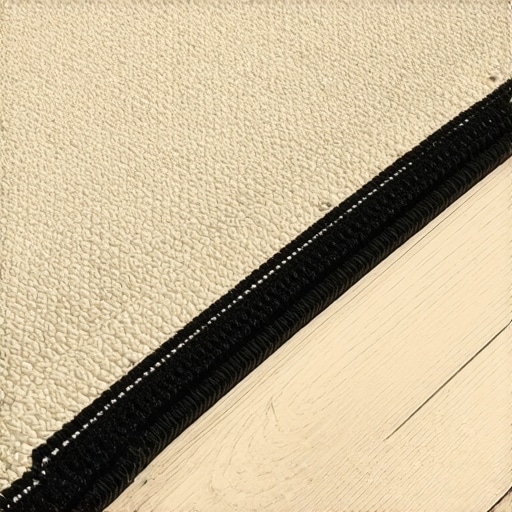
| Broadloom Carpet | 1/4″ per 10 feet | 24 hours | N/A (Tack strip used) |
| Luxury Vinyl Plank | 3/16″ per 10 feet | 48 hours | 1/4″ to 3/8″ |
The ghost in the expansion gap
Expansion gaps are the perimeter buffers required to allow for thermal expansion and hygroscopic movement of flooring materials. Without these gaps, laminate will buckle, hardwood will cup, and even carpet tack strips can fail if the subfloor expands and pushes against the plate. I have seen floors literally lift off the ground because a homeowner wanted a “seamless” look and caulked the gap between the floor and the baseboard. You cannot trap a floor. It is a living thing, especially wood. It breathes. It moves with the seasons. In the swampy humidity of places like Houston, those gaps are the only thing keeping your floor from becoming a mountain range. In dry climates like Phoenix, the wood will shrink so much that if you did not square the room perfectly, you will see massive gaps on one side and nothing on the other. Precision is not an aesthetic choice. It is a survival strategy for the materials.
A checklist for squaring and subfloor preparation
- Calibrate your tape measure by checking it against a known steel rule.
- Clear the subfloor of all drywall mud, staples, and debris using a floor scraper.
- Perform a calcium chloride moisture test on concrete slabs to check MVER (Moisture Vapor Emission Rate).
- Mark your primary 3-4-5 triangle in the center of the largest space.
- Snap chalk lines that extend into adjacent rooms to maintain a continuous grid.
- Inspect the joist spacing to ensure deflection limits meet L/360 requirements.
- Check that the hook on your tape measure is not bent or clogged with adhesive.
Why your subfloor is lying to you
Concrete slabs are rarely flat because trowel finishing often creates dishes and birdbaths during the curing process. You must use a straightedge to identify low spots and fill them with a cementitious patch or grind down high spots using a diamond cup wheel. Most guys think the underlayment will hide the dip. It won’t. If you are prepping for showers, the subfloor needs to be even more precise to handle the waterproofing membrane. While most people want the thickest underlayment for a laminate floor, too much cushion actually causes the locking mechanisms to snap under pressure. You want a high-density, low-compression underlayment. It should feel like firm rubber, not a sponge. If the subfloor is not flat to within an eighth of an inch, your floating floor will eventually separate at the joints. I have spent decades fixing the mistakes of installers who thought they could “feel” if a floor was flat without a 10-foot straightedge. You cannot. The human eye is easily fooled by shadows and light patterns. The level does not lie.
“Deflection is the silent killer of the modern floor; if the wood bends, the finish breaks.” – NWFA Technical Guide
The final word on layout and material integrity
Success in flooring is found in the preparation. When you are squaring up a room for a carpet install, you are setting the stage for every other trade that follows. If the carpet is crooked, the furniture looks crooked. If the laminate is not started on a square line, the hallways will look like they are tapering. Stop looking at the surface. Start looking at the chemistry of the adhesive and the physics of the joists. Use your tape measure as a tool of verification, not just a way to cut material. Square your lines, check your moisture, and treat every subfloor like it is the most important part of the house. Because it is. Everything else just sits on top of your work.