How to Fix a Carpet Seam That’s Starting to Fray
I spent three days grinding concrete on a job last month just so the floor would not click like a castanet, and that same level of obsession applies to every inch of a carpet install. Most guys skip the sealer. They think the underlayment will hide the dip or the tape will hold the edge forever. It will not. I once walked into a luxury suite where a high-end wool carpet was unraveling at the doorway because the installer did not seal the edges. That tiny oversight turned a ten thousand dollar project into a liability. A fraying seam is not just a cosmetic eyesore, it is a structural failure of the floor system. When the primary backing loses its grip on the yarn, the entire integrity of the weave is compromised.
The structural anatomy of a failing seam
Fixing a fraying carpet seam requires the removal of damaged yarns, the application of a high-solids thermoplastic sealer to the backing edges, and the precision reactivation of the seam tape using a professional iron at three hundred fifty degrees. This repair ensures that the secondary backing remains bonded to the primary layer. Most homeowners try to use household glue, which is a disaster. You need to understand the physics of the carpet. Carpet is a composite material held together by synthetic latex. When that latex dries out or is sheared by improper cutting, the yarns lose their anchor point. Repairing this involves re-establishing that chemical bond at the molecular level. You are not just sticking two things together. You are fusing them.
The microscopic war between latex and moisture
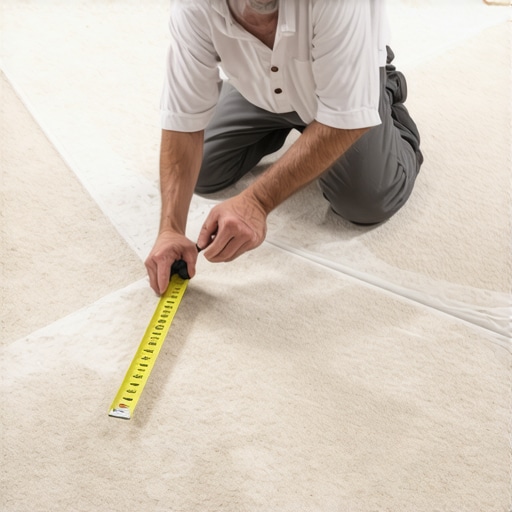
The degradation of a carpet seam often begins with the evaporation of plasticizers in the latex binder which leads to a brittle edge that cracks under the pressure of foot traffic. Once the edge is brittle, the mechanical action of walking pulls the face yarns away from the backing. This is often exacerbated by improper floor leveling. If there is a dip in the subfloor beneath the seam, the carpet flexes every time someone steps on it. That constant vertical movement acts like a pair of scissors on the seam tape. I always check the subfloor with a ten foot straight edge before I even roll out the padding. If the floor is not flat within three sixteenths of an inch over ten feet, your seam is doomed from the start. You might think the padding cushions the blow, but it actually allows more deflection, which stresses the joint.
“A floor is only as good as the subfloor beneath it; deflection is the enemy of every joint.” – Master Flooring Axiom
The precise heat of the seam iron
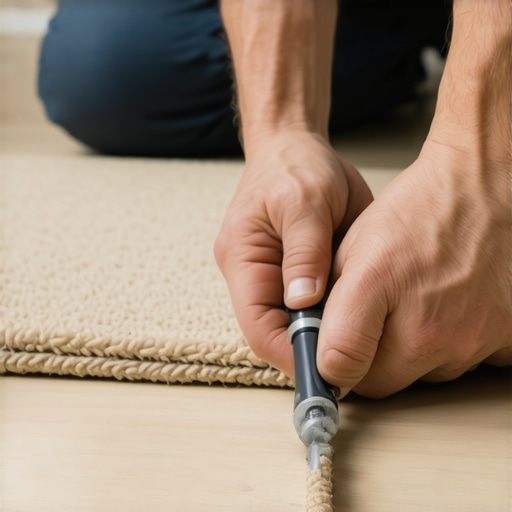
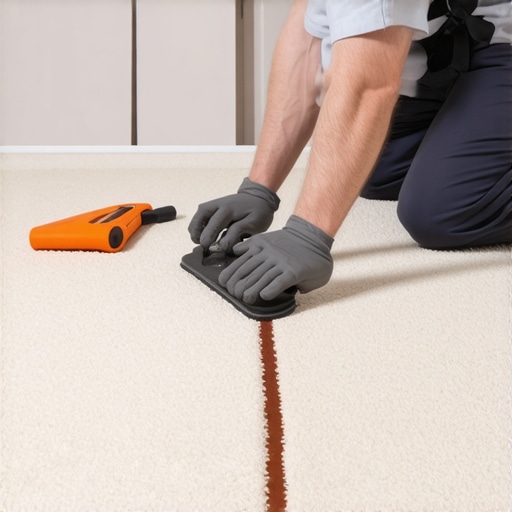
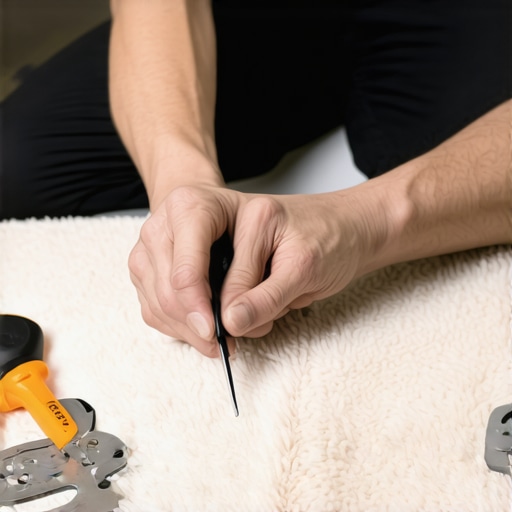
Success in seam repair depends on the thermal profile of the adhesive tape and the speed at which the iron moves across the backing to prevent scorching the face fibers. If the iron is too cold, the adhesive does not penetrate the backing. If it is too hot, you melt the polypropylene. You have to find that sweet spot. I use a professional grade iron with a heat shield. The goal is to liquify the adhesive so it flows into the nooks and crannies of the carpet backing. This creates a mechanical lock. When you are dealing with a fraying edge, you must trim the loose fibers with a row cutter or a sharp cushion back cutter. Never use a dull blade. A dull blade pulls the fiber instead of cutting it, which starts the fraying process all over again.
| Tape Type | Adhesive Weight | Recommended Temperature | Application |
|---|---|---|---|
| Standard Bond | High | 350 Degrees | Residential Cut Pile |
| Low Melt | Medium | 250 Degrees | Sensitive Synthetics |
| Heavy Duty | Ultra High | 375 Degrees | High Traffic Commercial |
The chemicals that bond a room together
Modern carpet adhesives are composed of complex polymers that require a clean and stable environment to cure properly without losing their tensile strength. When I see a seam pulling apart, the first thing I look for is contamination. Was there floor leveling compound dust left on the subfloor? Was the slab tested for moisture? A concrete slab emitting more than five pounds of vapor per thousand square feet will eventually delaminate any adhesive. For a fraying seam, the repair involves injecting a specialized seam sealer. This is a liquid plastic that hardens to reinforce the edge. You apply it to the edge of the carpet, just below the face yarns. It creates a dam that prevents further unraveling. It is a slow, tedious process that requires a steady hand and a lot of patience.
- Inspect the subfloor for moisture and levelness
- Trim the frayed edges using a fresh surgical steel blade
- Apply a bead of professional seam sealer to both edges
- Re-heat the existing tape or install a new section of premium tape
- Stay off the area for at least six hours to allow full crystallization
The ghost in the expansion gap
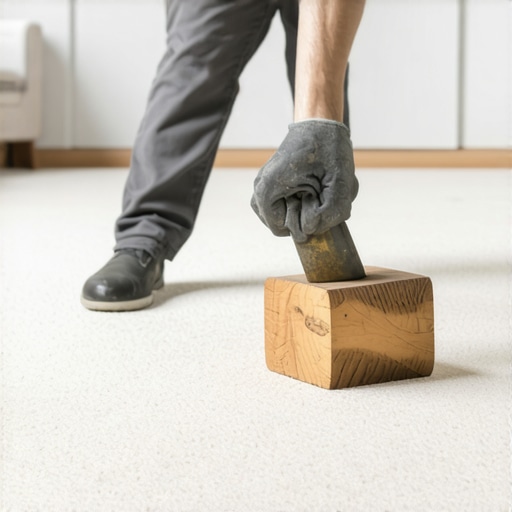
Expansion gaps are not just for hardwood floors because even carpet experiences dimensional changes based on the humidity and temperature of the room. A carpet that is stretched too tight will pull at the seams. A carpet that is too loose will ripple and cause the seams to rub against the transition strips. I have seen laminate and showers installers think they can just tuck the carpet into a gap and call it a day. It does not work like that. You need to use a power stretcher to distribute the tension evenly across the entire room. If you only use a knee kicker, you are creating localized high tension zones that will eventually cause the seam to fail. The fraying you see is often the symptom of a tension imbalance. Fixing the fray without addressing the stretch is like painting over rust.
The checklist for a permanent fix
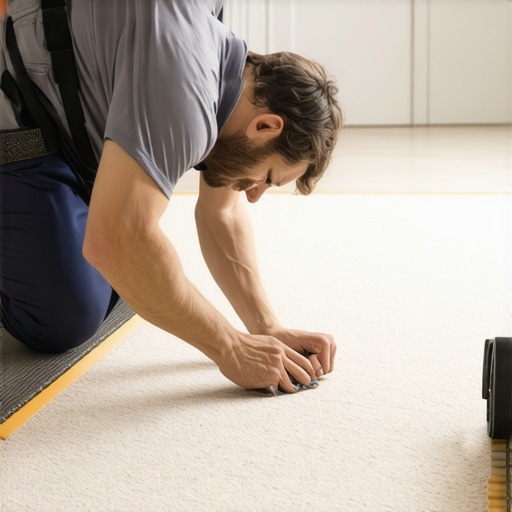
A permanent repair requires a systematic approach that addresses the root cause of the fraying while restoring the aesthetic continuity of the pile. You must ensure the two pieces of carpet are from the same dye lot, though in a repair, you are usually working with the original material. The key is the row match. Every carpet has a natural grain. If you do not align the rows, the seam will be visible even if it is structurally sound. I spend more time looking at the backing than the top. The backing tells the truth. The top is just the cover. If the backing is healthy, the seam can be saved. If the backing is crumbling, you are looking at a patch job, which is a whole different level of surgery.
“True mastery is found in the hidden layers; what the eye cannot see, the structure must support.” – Master Flooring Axiom