How to Fix a Squeaky Subfloor Without Pulling Up the Whole Room
Most guys skip the leveling compound. They think the underlayment will hide the dip. It won’t. I spent three days grinding concrete on a job last month just so the floor wouldn’t click like a castanet. That job reminded me that a squeaky floor is rarely about the surface material and almost always about the structural failure happening inches below your feet. When you hear that high-pitched groan every time you walk to the kitchen, you are hearing the sound of friction between a metal fastener and a wood fiber. It is a mechanical failure. I have seen fifteen thousand dollar wide-plank walnut floors ruined because the installer ignored the subfloor prep. You do not always have to rip up the whole room to fix this, but you do have to understand the physics of what is happening under the rug. I am going to walk you through the structural zooming of subfloor repair, focusing on the chemistry of the bond and the exact mechanics of the joist interface.
The mechanical failure of the fastener bond
Subfloor squeaks are caused by the movement of the subfloor panels against the floor joists or the nails. This movement occurs when there is a gap between the plywood and the supporting structure, allowing the wood to slide up and down the shaft of a nail. When the wood moves, it rubs against the metal, creating that piercing sound. This usually happens because of seasonal humidity cycles that cause the wood to expand and contract, eventually loosening the grip of the original builder-grade nails. In many cases, the home has settled, and the joists have slightly bowed, leaving a void. To fix this without a total teardown, you must re-establish a tight, static connection between the subfloor and the framing. This requires surgical precision and the right hardware. You cannot just hammer a nail into the carpet and hope for the best. You need to identify the exact coordinate of the deflection and use a fastener that can bridge the gap while remaining hidden.
Locating the friction point in the plywood
Finding the exact source of a squeak requires a two-person team and a systematic grid search of the room. One person needs to walk slowly across the floor while the other remains in the crawlspace or basement, if accessible, to mark the spots where the subfloor is lifting away from the joists. If you do not have access to the underside, you have to use a stud finder or the old-fashioned knock-and-listen method to find the center of the joists. Most modern homes use joists spaced sixteen inches on center. Once you find one, you can map the rest. If you are dealing with a carpet install, the task is slightly easier because you can use specialized tools that drive screws through the carpet without snagging the fibers. The goal is to pin the subfloor back down to the joist so that no vertical movement is possible. Any movement over a sixteenth of an inch is enough to create a persistent noise that will eventually wear down the locking mechanisms of a laminate or vinyl floor.
“A floor is only as good as the subfloor beneath it; deflection is the enemy of every joint.” – Master Flooring Axiom
The physics of the breakaway screw
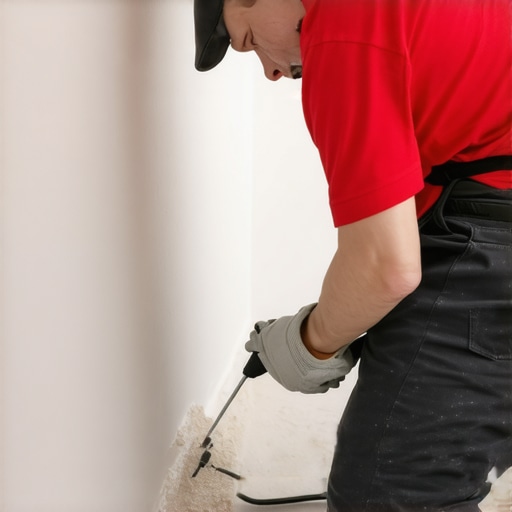
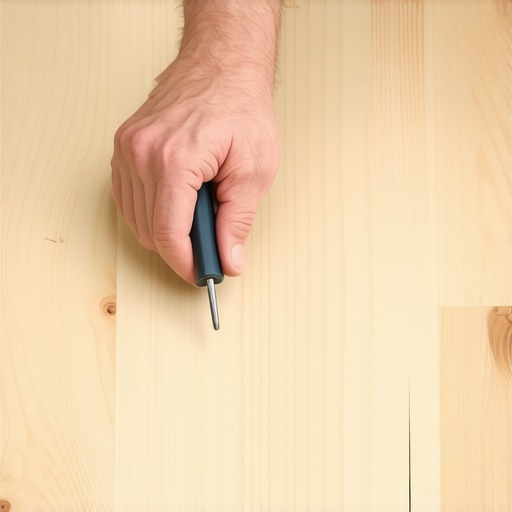
Breakaway screws are the primary weapon for fixing squeaks through finished surfaces like carpet or hardwood. These fasteners are engineered with a specific weak point in the shaft that allows the head of the screw to be snapped off once it has reached a certain depth. This leaves the threaded portion of the screw embedded in the joist and the subfloor, pulling them together with hundreds of pounds of force, while the top of the screw disappears below the surface. This is particularly effective for carpeted areas where you do not want to pull up the padding. For hardwood, you use a much smaller version of this technology and fill the tiny hole with a matching wood putty. The chemistry of the wood fibers will eventually close around the fastener, locking it in place. You have to ensure the screw penetrates at least one inch into the solid wood of the joist. If you miss the joist, you are just spinning metal into thin air and you will likely make the squeak worse by creating more friction points.
| Fastener Type | Pull-out Strength | Best Use Case |
|---|---|---|
| Ring Shank Nail | Moderate | New construction subfloors |
| Structural Screw | High | Open subfloor repairs |
| Breakaway Screw | Moderate | Repairs through finished carpet |
| Counter-Snap Screw | High | Hardwood floor squeaks |
Moisture and the seasonal movement of joists
Wood is a hygroscopic material that changes its physical dimensions based on the relative humidity of the environment. In the swampy humidity of the coast, subfloors can swell, pushing against each other and creating pressure ridges. In dry climates, the wood shrinks, pulling away from the fasteners. This is why I always carry a moisture meter. If the subfloor has a moisture content above twelve percent, you are asking for trouble. Before you attempt any permanent fix, you must ensure the environment is stabilized. If you fix a squeak in the middle of a humid summer, the wood might shrink in the winter and the squeak could return. I often tell homeowners to wait until the midpoint of their local climate cycle before doing a major subfloor stabilization. This ensures the wood is at its average dimension. If you are dealing with a concrete slab, the moisture issues are even more intense because ground moisture can migrate through the slab and rot the bottom of your subfloor sleepers, leading to massive structural failure and a smell like a damp basement.
The one eighth inch that ruins everything
Floor leveling is not an optional aesthetic choice but a structural requirement for any modern flooring material. Most manufacturers of laminate or LVP require the floor to be flat within one eighth of an inch over a ten-foot radius. If your subfloor has a dip, the flooring will flex into that dip every time you step on it. This constant flexing is the leading cause of broken click-lock joints. While most people want the thickest underlayment to hide these dips, too much cushion actually causes the locking mechanisms to snap under pressure because the floor has too much vertical travel. You have to use self-leveling compounds or floor patches to fill those voids before the finish floor goes down. If the floor is already down, your options are limited to injecting high-density resins into the void through a small pilot hole. This resin hardens and creates a solid pier that supports the floor, stopping the movement and the noise. It is an expensive and technical process, but it beats a full floor replacement.
“Subfloor fasteners must be spaced according to the span of the joists to prevent vertical movement.” – NWFA Installation Guidelines
- Identify the joist locations using a high-quality stud finder.
- Check the moisture content of the wood to ensure it is below 12 percent.
- Use a breakaway screw kit for repairs through carpet.
- Clear a small path in the carpet fibers to prevent snagging.
- Drive the screw until the depth-control tripod stops the drill.
- Snap off the head of the screw using the provided tool.
- Vacuum the area to remove any metal shards or wood dust.
Deflection limits and the structural integrity of the home
Structural deflection refers to the amount a floor system bends under a specific load. For tile or stone showers, the TCNA requires a deflection limit of L over 360, which means the floor should not bend more than the length of the span divided by 360. If your joists are too thin or spaced too far apart, no amount of screws will fix the squeak because the entire floor is acting like a trampoline. In these cases, the fix involves sistering the joists from below. This means bolting a new piece of lumber alongside the existing one to stiffen the system. You also need to look at the blocking between the joists. Solid blocking or X-bridging prevents the joists from twisting. If a joist twists, it pulls away from the subfloor, and you get a rhythmic squeak that sounds like a pulse. This is common in older homes where the original lumber has dried out and warped. By installing solid blocking every eight feet, you can lock the floor system into a single rigid unit, which usually silences ninety percent of the noise without you ever touching the finished floor upstairs.
Final thoughts on subfloor stability
Fixing a squeak is about respecting the engineering of the home. You cannot cheat the physics of wood and metal. Whether you are dealing with a carpet install or a high-end laminate, the subfloor is the foundation of your comfort. Use the right fasteners, understand your local humidity, and never trust a subfloor that looks like a rolling hill. If you take the time to address the friction points and the deflection issues, you will have a silent floor that lasts for decades. Stop looking at the color of the wood and start looking at the strength of the joist. That is how a pro does it. “