How to Check Your Shower Slope with a Single Glass of Water
The gravity of the situation in your bathroom
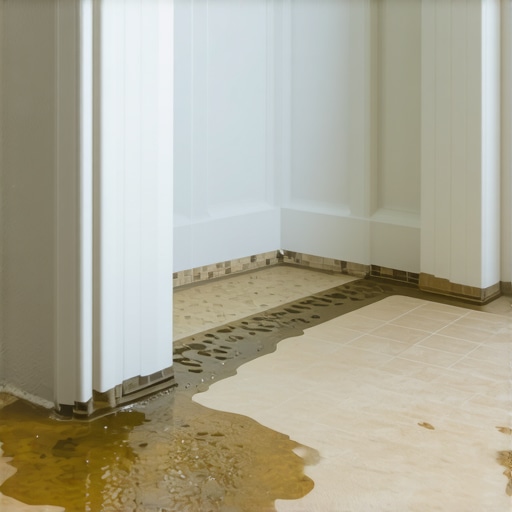
A shower slope must maintain a minimum pitch of one quarter inch per foot to ensure that water migrates toward the drain via gravitational force rather than remaining stagnant. If water pools, it breeds mold and compromises the integrity of the grout, the thin-set, and eventually the subfloor. This is not a suggestion but a requirement of the Tile Council of North America. Most guys skip the leveling compound. They think the underlayment will hide the dip. It won’t. I spent three days grinding concrete on a job last month just so the floor wouldn’t click like a castanet. This same mechanical laziness is what ruins a bathroom. You can spend ten thousand dollars on Italian marble, but if the mud bed underneath is flat, you have a very expensive puddle. You can verify the health of your installation with a simple glass of water, provided you understand the physics of surface tension and the chemistry of the waterproofing layers beneath your feet.
The physics of the invisible slope
The shower slope, or the pre-slope, is the structural foundation of a wet room that directs water toward the weep holes of the drain assembly. It is often hidden beneath the tile and the waterproofing membrane, making it difficult to inspect without specific diagnostic tools. When we talk about the shower pan, we are discussing the interaction between the pre-slope and the waterproofing membrane. A common mistake is thinking the tile provides the slope. It does not. The tile follows the mud bed. If that mud bed is composed of a four to one ratio of sharp sand to Portland cement, it must be packed with enough density to prevent voids. Voids are where water pools and bacteria thrives. We measure this in pounds per square inch of compaction. If the installer was sloppy, the surface might look flat to the eye, but the water will tell a different story. Water does not lie. It follows the path of least resistance. In a shower, that path should be a straight shot to the drain.
“A floor is only as good as the subfloor beneath it; deflection is the enemy of every joint.” – Master Flooring Axiom
The glass of water method for DIY inspection
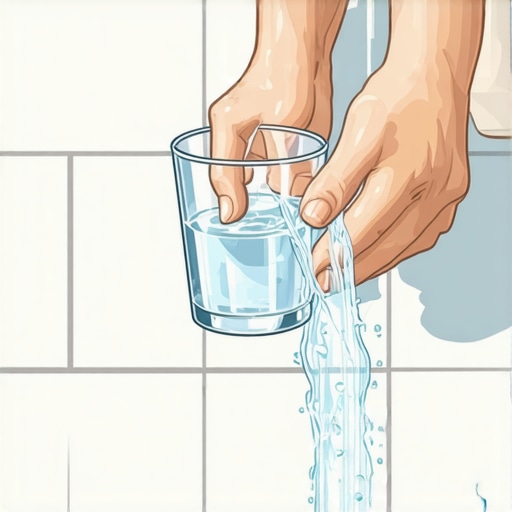
Testing a shower slope with a glass of water involves pouring a controlled amount of liquid on the perimeter and observing the velocity and direction of the flow toward the drain. This test identifies low spots or birdbaths where the installer failed to maintain the required pitch. Take a standard sixteen ounce glass. Fill it to the brim. Place it on the far corner of the shower floor, furthest from the drain. Slowly pour. Observe the meniscus. The water should move with a purposeful, singular direction toward the drain assembly. If it breaks into separate beads or stalls mid-way, your slope is a failure of geometry. You need to repeat this process in all four corners. A properly sloped floor will leave no standing water after two minutes. If you see a puddle larger than a quarter, you have a birdbath. This is usually caused by an uneven application of thin-set or a dip in the subfloor that was not addressed during the floor leveling stage. Unlike a carpet install where padding can mask a minor subfloor imperfection, tile is unforgiving.
Why your subfloor is lying to you
Subfloors often hide structural deficiencies like joist deflection or plywood delamination that prevent a perfectly level or sloped surface from remaining stable over time. Even a microscopic shift in the subfloor can cause the tile to crack or the shower pan to leak. In my twenty five years of crawling through damp basements, I have seen it all. I once walked into a house where a walnut floor was cupping because the installer didn’t check the crawlspace humidity, but shower failures are worse. They are silent killers. When you are dealing with showers, floor leveling is the most overlooked step. You cannot fix a bad subfloor with more tile glue. You need to address the structural slab or the wooden joist system. If the subfloor has more than one eighth of an inch of variation over ten feet, your shower pan will eventually fail. The glass of water test reveals these structural lies by showing you where the floor has settled. If the water runs away from the drain, your house is moving or your installer was blind. Both are expensive problems.
| Measurement Type | Minimum Requirement | Maximum Requirement | Consequence of Failure |
|---|---|---|---|
| Shower Pan Pitch | 1/4 inch per foot | 1/2 inch per foot | Stagnant water or slipping hazard |
| Subfloor Variation | 0 inches | 1/8 inch over 10 feet | Cracked tile and grout lines |
| Waterproofing Overlap | 2 inches | 4 inches | Moisture intrusion into wall studs |
| Thin-set Thickness | 3/32 inch | 1/4 inch | Debonding and hollow sounds |
Common failures in pan construction
The most frequent cause of shower drainage failure is the lack of a pre-slope beneath the waterproofing liner, which leads to water sitting in the mud bed indefinitely. This creates a sandwich of rot that will eventually smell like a swamp and ruin your bathroom. Many installers put the liner flat on the subfloor and then build the slope on top of it. This is a violation of plumbing code. The water that seeps through the grout needs to hit a sloped liner and travel to the weep holes. If the liner is flat, the water stays there. This is why some showers always smell musty no matter how much you scrub the tile. When you perform the glass of water test, you are only testing the top surface. If the top surface is flat, you can bet the bottom liner is flat too. In a carpet install, moisture is an annoyance. In a shower, moisture is a structural threat. You must ensure the integrity of the mud bed by checking the compaction. If the mud bed is crumbly, it was mixed too dry. If it is cracked, it was mixed too wet. There is a precise chemistry to Portland cement that cannot be ignored.
“The integrity of the waterproof envelope is dependent on the mechanical bond of the mortar to the substrate.” – TCNA Handbook Standards
Technical benchmarks for drainage efficiency
Efficiency in shower drainage is measured by the time it takes for surface moisture to evaporate and the speed at which liquid water exits the floor area. A high performance shower floor should be dry to the touch within a few hours of use. If you find yourself needing to squeegee the floor every time you step out, the installer failed you. The glass of water test is the first step, but you also need to look at the transition points. Check the curb. Check the corners. Water loves to hide in the corners. If the installer didn’t use a corner tool to create a crisp angle, water will linger there. This is especially true with laminate or other mock materials that people mistakenly try to use in damp environments. Stick to porcelain or stone, and make sure the grout is epoxy based if you want real longevity. Epoxy grout is non-porous and helps the water slide toward the drain faster than traditional cementitious grout. It is harder to work with, but it is the only way to build a floor that lasts fifty years.
- Ensure the subfloor is rigid with no deflection.
- Apply a self-leveling underlayment if the floor is uneven.
- Install a pre-slope before the waterproofing membrane.
- Use a moisture meter to check the surrounding wall studs.
- Verify the weep holes in the drain are not clogged with mortar.
- Perform the glass of water test in every corner.
The chemical reality of thin-set and adhesives
Modern adhesives are engineered with polymers that allow for slight movement, but they are not designed to bridge gaps caused by poor floor leveling or incorrect sloping. The bond between the tile and the substrate is a molecular interaction that requires full coverage. When you pour that glass of water, you are also checking for hollow spots. If the water hits a certain area and the sound changes to a higher pitch, you likely have a void in the thin-set. This is common when installers use the spot bonding method, which is a shortcut that leads to disaster. You need a notched trowel and you need to collapse the ridges to get ninety five percent coverage in a wet area. Anything less is a failure. The chemistry of the thin-set depends on the evaporation of water at a controlled rate. If the subfloor is too dry, it will suck the moisture out of the thin-set too fast, and the bond will be brittle. If the subfloor is damp, the thin-set will never reach its full compressive strength. I always use a primer on the subfloor to ensure the chemical bond is perfect. It is the difference between a floor that stays put and one that pops up in three years. Flooring is not just about looking good. It is about the mechanical and chemical unity of the materials. If you ignore the science, the water will find the weakness. Every single time. It is a tragedy, one that costs thousands of dollars to fix after the mold takes hold behind the baseboards.