Why Your Self-Leveling Underlayment Is Covered in Tiny Bubbles
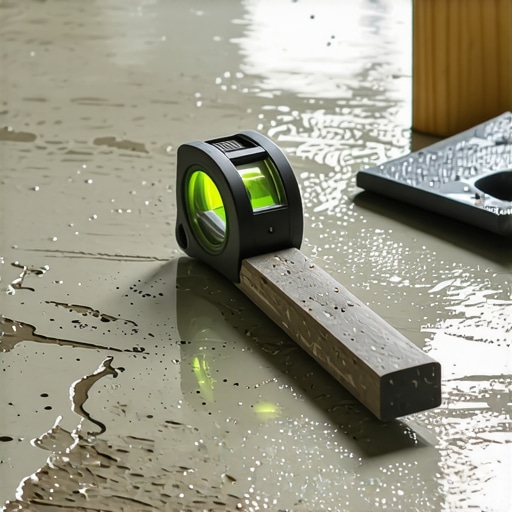
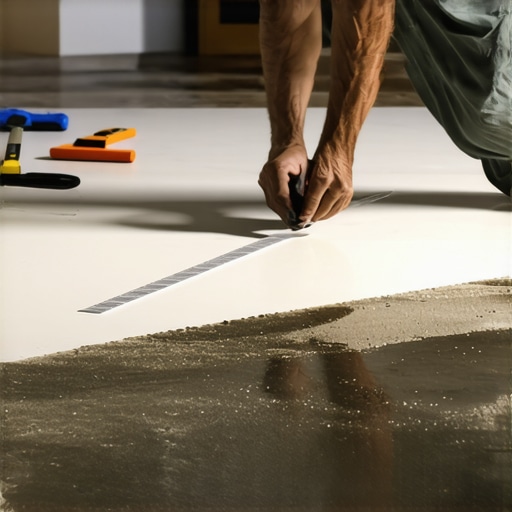
Most guys skip the leveling compound. They think the underlayment will hide the dip. It won’t. I spent three days grinding concrete on a job last month just so the floor wouldn’t click like a castanet. When I finally got to the pour, the guy before me hadn’t primed. The whole floor looked like a block of Swiss cheese. I have spent twenty five years on my knees with a moisture meter and a level. I have seen the same mistake made from the swampy humidity of Houston to the dry desert of Phoenix. If your self-leveling underlayment looks like a moonscape, you are looking at a failure of physics, not a bad batch of product.
The physics of concrete outgassing
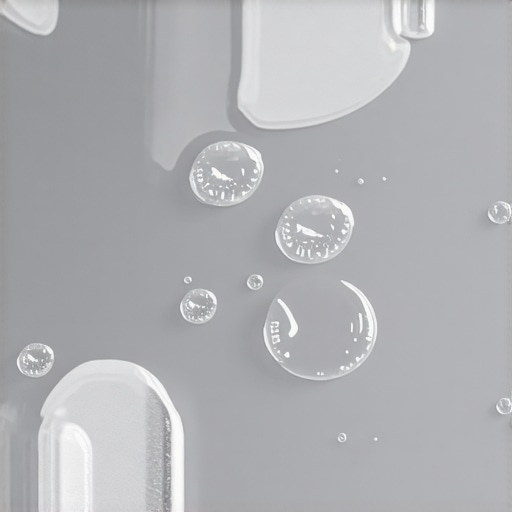
Self leveling underlayment bubbles occur primarily due to outgassing from a porous concrete substrate that has not been properly sealed with a primer. When the wet cementitious material hits the dry concrete, air trapped in the pores is displaced by moisture and rises through the slurry. This creates pinholes and craters as the material sets around the escaping air. The microscopic reality of a concrete slab is that it is essentially a hard sponge. It is filled with thousands of tiny capillaries and voids. When you pour a heavy, wet mass of leveler over it, the hydrostatic pressure and the wetting action force air out of those holes. If the surface tension of your leveler is too high or if the material is already beginning to set, those bubbles stay trapped. This is not just a cosmetic issue. Those tiny bubbles represent structural voids. If you are prepping for a laminate installation or a thin-set tile job in a shower, those voids can lead to localized cracking or a hollow sound when walked upon. You are building a performance surface, and a Swiss cheese subfloor is a recipe for a callback.
The failure of the primer layer
Primer acts as a chemical and physical barrier that plugs the pores of the concrete to prevent air from escaping into the leveling compound. A failed primer application usually stems from improper dilution or applying the material to a dusty surface that prevents a bond. Without this seal, the slab remains an open system that will bleed air for hours. I see guys all the time who think they can just splash some water on the floor or use a cheap, watered-down acrylic. That is a mistake that will cost you three days of grinding. The primer must penetrate the calcium silicate hydrate structure of the concrete. It needs to create a film that is strong enough to resist the weight of the pour. In high-altitude regions like Denver where the air is thin and the concrete is often bone-dry, the slab will suck the moisture out of the primer so fast that it cannot form a film. You often need two coats of primer in those conditions. The first coat seals the deep pores, and the second coat provides the actual bond. If you skip this, the air will find its way through.
“A floor is only as good as the subfloor beneath it; deflection is the enemy of every joint.” – Master Flooring Axiom
Mixing speeds and entrained air
High speed mixing with an improper paddle creates a vortex that draws atmospheric air into the liquid slurry before it is ever poured. Using a high RPM drill leads to entrained air bubbles that are distributed throughout the material rather than just coming from the subfloor. A low RPM drill and a specialized mixing paddle are required for a dense pour. I have seen installers use a standard mud mixer for drywall and wonder why their floor looks like a frothy latte. You want a paddle that is designed to move material horizontally without whipping it. If you see a whirlpool in your mixing bucket, you are ruining the floor. The chemistry of these polymers is sensitive. When you over-mix, you break down the very additives that help the material flow. This increases the viscosity, making it harder for any bubbles to escape once the material is on the floor. You want a smooth, creamy consistency that flows like heavy cream, not a whipped meringue.
The ghost in the expansion gap
Failure to install foam expansion strips around the perimeter allows the leveling compound to bridge against the drywall and plates which traps air at the edges. These gaps are necessary to manage the latent heat of hydration and the natural movement of the building structure. Without them, the material can buckle or develop edge bubbles. Every floor needs to breathe. Even if you are doing a carpet install, the subfloor needs to be isolated from the vertical surfaces. When the leveler hits the wall, it creates a pinch point. If there is air trapped behind the baseboard, it will push into the wet leveler at the edges. This creates a weak perimeter. I always tell my crew that the 1/8 inch you save by skipping the foam will be the 1/8 inch that ruins the entire flat plane of the room. You have to respect the perimeter.
| Material Type | Pore Density | Primer Requirement | Typical Outgas Risk |
|---|---|---|---|
| New Concrete | Moderate | Single Coat Acrylic | Low |
| Old Porous Concrete | High | Two Coat Acrylic or Epoxy | Extreme |
| Gypcrete | Very High | Specialized High-Solids Primer | High |
| Plywood Subfloor | Low | Wood-Specific Latex Primer | Minimal |
Environmental factors and surface tension
Ambient temperature and relative humidity dictate how long the leveling compound remains fluid and able to release trapped air. In hot and dry environments, the surface of the leveler skins over too quickly which traps air bubbles beneath a thin crust. This creates fragile blisters that break under the weight of furniture. If you are working in a room with a heavy draft or direct sunlight hitting the floor, you are in trouble. The sun will bake the surface, causing it to set while the bottom is still wet. This differential drying is a killer. I have walked onto jobs where the installer left the windows open in a coastal house. The breeze dried the top layer so fast that the air coming out of the concrete had nowhere to go but up, creating thousands of tiny domes. You need to close the windows, turn off the HVAC, and create a controlled environment. Once the pour is done, you can slowly reintroduce airflow, but during the first hour, stillness is your best friend.
“The integrity of a cementitious pour is inversely proportional to the speed at which it is allowed to dry.” – Master Flooring Axiom
The spiked roller solution
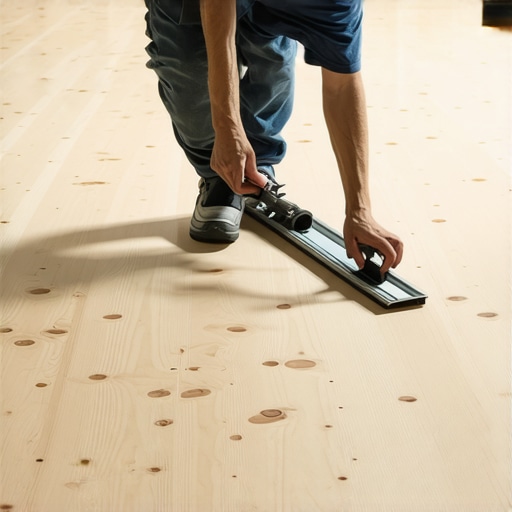
A spiked roller is a specialized tool used to break the surface tension of the wet underlayment and allow entrained air to escape. By rolling the material immediately after it is spread, the installer provides a path of least resistance for bubbles to reach the surface and pop. This is the tool that separates the pros from the hacks. You don’t just pour the material and walk away. You have to work it. The spikes on the roller are designed to go through the entire depth of the pour. This agitation helps the material find its own level while simultaneously popping any bubbles that were created during the mixing process. It also helps to blend the different batches of leveler together so you don’t get cold joints. If you are doing a large area, you need one guy mixing, one guy pouring, and one guy on the spiked roller. It is a dance, and if you miss a step, the floor will show it.
Follow this checklist to ensure your next pour is successful:
- Vacuum the subfloor three times to remove all microscopic dust particles.
- Apply primer with a soft-bristle brush to work it into the concrete pores.
- Wait for the primer to become tacky but not bone-dry before pouring.
- Use a low-RPM drill (under 650 RPM) and a non-vortex paddle.
- Seal all vents and windows to prevent premature surface drying.
- Use a spiked roller across the entire surface within ten minutes of pouring.
- Verify moisture content of the slab with a calcium chloride test.
Remediating a bubbly floor
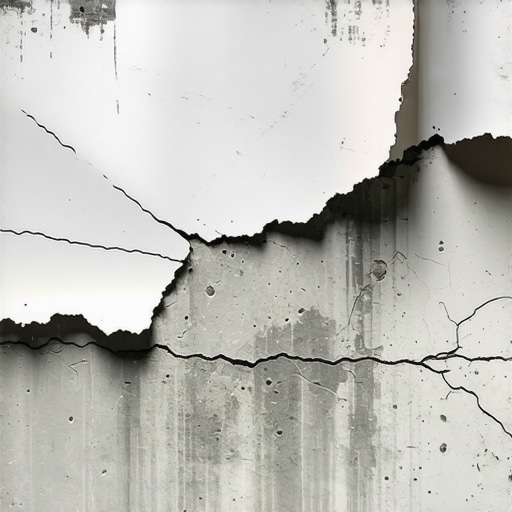
Fixing a floor covered in pinholes requires grinding down the high spots and applying a thin skim coat of high-flow patch. You cannot simply pour more leveler over the bubbles because the new layer will likely outgas into the voids of the old layer. If the bubbles are small and scattered, you might get away with a heavy sander and a coat of floor patch. But if the floor is riddled with deep craters, you have to be aggressive. You have to open up those bubbles so the repair material can fill them completely. I have seen guys try to hide bubbles under a thick carpet pad. That might work for a year, but eventually, those voids will collapse under the weight of a heavy dresser or a piano. If you are prepping for tile, those bubbles are even more dangerous. They create air pockets under the thin-set that lead to cracked grout lines. Do it right the first time so you don’t have to do it twice. The chemistry of these materials is unforgiving. If you treat it like a cosmetic fix, it will fail like one. Treat it like a structural engineering project, and you will have a floor that lasts a century.