Why Your Subfloor Needs to Be Ground Down Before Leveling
The Brutal Truth About Why Your Subfloor Needs Grinding Before Leveling
Most guys skip the leveling compound. They think the underlayment will hide the dip. It won’t. I spent three days grinding concrete on a job last month just so the floor wouldn’t click like a castanet. I once walked into a project where a high-end laminate was being laid over a slab that looked like the rolling hills of Kentucky. The installer thought he could just pour five bags of self-leveler and call it a day. He was wrong. Within two weeks, the clicking started. Within a month, the locking tongues had snapped. You see, a floor is a structural machine. If the chassis is bent, the wheels will eventually fall off. You cannot build a precision surface on a foundation of lies.
The structural lie of a flat floor
Floor leveling requires grinding because concrete slabs often have a layer of laitance or high spots that act as fulcrums for future flooring failure. By removing the weak surface cream and reducing peak elevations, you ensure that self-leveling underlayment achieves a mechanical bond while maintaining a uniform thickness across the entire substrate profile.
When you look at a concrete slab, you see a solid gray mass. I see a chaotic landscape of chemical inconsistencies. When concrete is poured, the heavy aggregates sink to the bottom. The water and the fine particulates, known as laitance, rise to the top. This top layer is weak. It is brittle. It is essentially a dusty skin that has no structural integrity. If you pour a high-performance self-leveling underlayment directly over this skin, the leveler will bond to the dust, not the slab. When the leveler cures and shrinks, it will simply pull that skin right off the floor. Now you have a floating sheet of brittle cement that will crack the moment you walk on it. Grinding is the only way to peel back the mask and find the solid bone of the concrete.
The physics of high spots as fulcrums
Every high spot in a subfloor is a ticking time bomb for a click-lock floor. Imagine a 10-foot plank of luxury vinyl or laminate. If there is a 1/4 inch hump in the middle of the room, that plank is no longer sitting on the floor. It is balanced on a pivot point. Every time you walk on that plank, the ends move up and down. This is called vertical deflection. The locking mechanisms on modern floors are made of thin plastic or pressed wood fiber. They are not designed to be a hinge. They are designed to be a static joint. After a thousand steps, that joint will fatigue. It will snap. Then the gaps appear. Then the moisture gets in. Then the floor is ruined. Grinding down those humps removes the pivot point and allows the floor to lay dead flat.
“A floor is only as good as the subfloor beneath it; deflection is the enemy of every joint.” – Master Flooring Axiom
The chemistry of the mechanical bond
We talk about sticking things together, but in the flooring world, we care about the mechanical profile. Think of it like painting a car. You don’t just spray over the old glossy paint. You scuff it up. You give the new material something to grab onto. Concrete surface profile, or CSP, is a measured scale of roughness. For a standard pour of self-leveler, we usually want a CSP of 2 or 3. This looks like a fine sandpaper texture. When you use a diamond grinder, you are opening up the pores of the concrete. You are creating millions of tiny anchors. When the acrylic primer hits that ground surface, it dives into those pores. It becomes part of the slab. When the leveler follows, it creates a monolithic structure. Without grinding, you are just stacking layers of crackers and hoping they don’t slide.
The hidden danger of old adhesives
If you are working on a remodel, your subfloor is likely covered in ghosts. There might be old carpet glue, black cutback adhesive from the sixties, or thin-set from a previous tile job. You might think you can just pour leveler over it. You can’t. Most modern self-levelers are water-based. Old adhesives are often oil-based or contain waxes. They are chemically incompatible. Even if the leveler seems to stick initially, the chemicals will eventually react. This is called plasticizer migration. The old glue will soften the new leveler from underneath. It turns into a gooey mess that loses all compression strength. Grinding is the only way to ensure the site is clean. You have to get back to the raw mineral state of the substrate.
Equipment and the reality of diamond segments
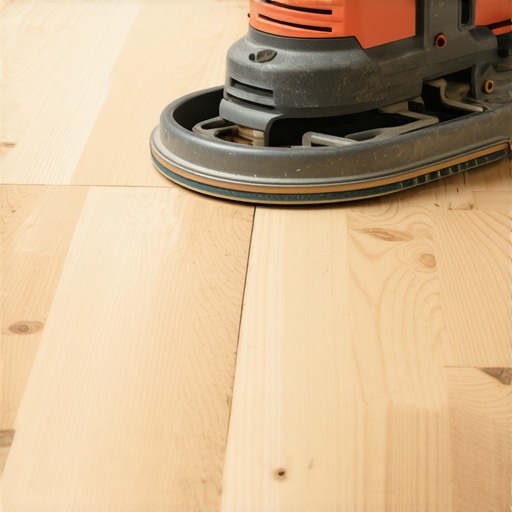
You cannot do this with a handheld belt sander. You need a planetary grinder. These machines use three or more heads that spin in opposite directions. They are heavy. They are powerful. We use diamond-impregnated metal segments. The grit of these segments matters. A 30-grit diamond will chew through high spots but leave deep scratches. A 70-grit diamond will smooth things out for a thinner finish. If you are prepping for a shower install, you need to be even more precise. The slope toward the drain must be perfect. If the subfloor has a hump near the drain, the water will pool against the wall. That leads to mold. That leads to rot. That leads to a $20,000 tear-out. I have seen it happen a dozen times because someone was too lazy to spend two hours with a grinder.
| Subfloor Material | Pre-Grinding Requirement | Tolerance (per 10 ft) | Recommended CSP |
|---|---|---|---|
| New Concrete | Laitance Removal | 3/16 inch | CSP 2-3 |
| Old Concrete | Adhesive Removal | 1/8 inch | CSP 3 |
| Plywood/OSB | Seam Sanding | 3/16 inch | N/A |
| Gypsum/Gypcrete | Surface Hardener Removal | 1/8 inch | CSP 1-2 |
The 1/8 inch that ruins everything
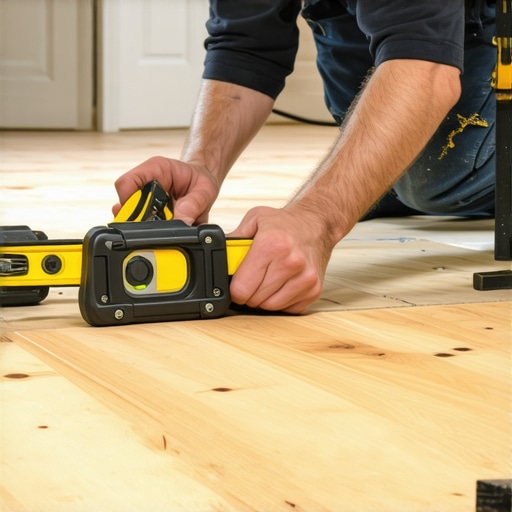
In the flooring industry, we have a golden rule. The floor must be flat within 3/16 of an inch over a 10-foot radius. For some high-end products, that drops to 1/8 of an inch. People think they can eyeball this. They can’t. You need a 10-foot straightedge and a set of feeler gauges. If you find a gap, you don’t just fill it. You check the edges of the gap. Often, a dip is caused by a high spot right next to it. If you grind down the high spot, the dip becomes smaller. You use less leveler. You save money. More importantly, you maintain the structural height of the room. If you just keep adding leveler to fix humps, you’ll eventually find that your doors won’t close and your baseboards look like they belong in a dollhouse.
“Substrate preparation is 90 percent of the job; the remaining 10 percent is just laying the product.” – NWFA Professional Guidelines
The moisture factor in the grinding equation
Concrete is a sponge. It holds moisture. When you grind the surface, you are also allowing the slab to breathe. This is critical if you are doing a moisture test. If the surface is sealed with old paint or laitance, your moisture meter will give you a false low reading. You’ll think the slab is dry. You’ll install your expensive hardwood. Then, as the moisture trapped deep in the slab slowly works its way up, it will hit the bottom of your wood. The wood will swell. It will cup. It will crown. By grinding the floor first, you get an honest look at the moisture vapor emission rate. It is a safety check that saves your reputation and your bank account.
Preparation checklist for subfloor grinding
- Inspect the entire surface for protruding nails or screws that will shatter diamond segments.
- Identify all high spots using a 10-foot aluminum straightedge and mark them with a wax pencil.
- Seal off all HVAC vents and doorways with plastic sheeting to contain the micro-dust.
- Verify that the grinder is connected to a HEPA-certified vacuum system with a minimum of 200 CFM.
- Check the CSP after the first pass to ensure the surface is porous enough for primer absorption.
- Vacuum the floor three times after grinding to remove every microscopic particle of dust.
Why underlayment is not a magic carpet
Homeowners always ask if they can just use a thicker underlayment to hide the bumps. This is a dangerous myth. While a thick foam or cork underlayment might hide the visual look of a hump, it actually increases the mechanical stress on the floor. A thick cushion allows the floor to move more. It increases the trampoline effect. If the floor is moving, the joints are wearing. Too much cushion actually causes the locking mechanisms on LVP to snap under pressure because there is no solid support beneath the joint. You want a thin, high-density underlayment over a perfectly flat, ground-down floor. That is how you get a floor that feels like solid stone underfoot instead of a bouncy castle.
Regional challenges and environmental logic
The climate matters. If you are in the swampy humidity of Houston or New Orleans, your concrete is going to be holding a lot of water. Grinding is even more important there because you must apply a high-quality moisture barrier. Those barriers will not stick to unground concrete. In the dry heat of Phoenix, the concrete can become incredibly hard and brittle, making grinding a slow and tedious process. Regardless of the location, the physics remain the same. The bond is everything. If you are installing in an area with radiant heat, the subfloor must be perfectly flat to ensure even heat distribution. Any air pockets caused by humps will create hot spots and cold spots, which can warp engineered wood over time.
The ghost in the expansion gap
When you don’t grind and level properly, your expansion gaps become useless. A floor is supposed to move as a single unit. If it is pinned down by a high spot in the middle of the room, it can’t expand toward the walls. Instead, it will buckle upward in the areas where it has the least resistance. It will look like a tent in the middle of your living room. I have seen people blame the manufacturer for a defective product when the reality was they were just too cheap to rent a grinder for a afternoon. It is the most common failure in the industry. It is also the most preventable.
Don’t be the person who spends $5,000 on material and zero on prep. The prep is the floor. Everything else is just a wear layer. If the subfloor is ground, clean, and level, even a cheap floor will last a decade. If the subfloor is a mess, the most expensive oak in the world won’t last a year. Do the work. Rent the grinder. Get on your knees and check the level. It is the difference between a master installation and a total loss.