The Secret to Leveling a Concrete Floor That Slopes to a Floor Drain
The Secret to Leveling a Concrete Floor That Slopes to a Floor Drain
Most guys skip the leveling compound. They think the underlayment will hide the dip. It won’t. I spent three days grinding concrete on a job last month just so the floor wouldn’t click like a castanet. I once walked into a basement where the homeowner had tried to install laminate directly over a floor that sloped four inches toward a central drain. Every single joint in that floor had snapped. The room smelled like damp dust and failure. You cannot cheat physics when it comes to floor flatness. When a slab is poured with a pitch for drainage, it is intentionally non-planar. Your flooring, whether it is high-end laminate or simple carpet, expects a flat plane. My hands are still rough from the diamond grinder on that last job, but that is the price of a floor that actually lasts. If you want a floor that does not bounce, you have to embrace the mess of mechanical preparation. This is not about aesthetics. This is about structural engineering at the ground level. We are talking about the difference between a surface that performs and a surface that fails within six months.
The physics of a dying floor
Concrete floor leveling involves managing subfloor flatness, drainage pitch, and structural deflection. To successfully install laminate or carpet, the concrete slab must meet the 1/8 inch over 10 feet tolerance. Addressing a floor drain requires cementitious underlayment and mechanical grinding to ensure a stable substrate.
A floor is not just a place to walk. It is a complex system of layers. When a concrete slab is pitched toward a drain, it creates a bowl effect. If you lay a rigid plank across a bowl, it creates a bridge. Every time you step on that bridge, the locking mechanism of your laminate flexes. Eventually, that plastic or wood-composite tongue will shear off. This is why you hear that annoying clicking sound in cheap installs. The air gap underneath the plank acts as a resonator. To fix this, you must understand the difference between level and flat. A floor can be sloped and still be flat enough for flooring. But a drain slope is rarely a single consistent plane. It is a multifaceted dip that requires surgical precision to fill. You are not just pouring liquid; you are sculpting a new foundation. The chemistry of your patch matters. Use a polymer-modified compound. It grips the old concrete at a molecular level. Without that bond, the new layer will delaminate. It will crack. It will turn back into dust under your feet. I have seen it happen a hundred times. The homeowner tries to save fifty bucks on primer and ends up losing five thousand on a ruined floor.
“A floor is only as good as the subfloor beneath it; deflection is the enemy of every joint.” – Master Flooring Axiom
Why your subfloor is lying to you
Subfloor assessment requires a straightedge, moisture meter, and laser level to identify high spots and low spots. Most concrete slabs contain latent moisture and surface contaminants that prevent leveling compounds from bonding. Identifying hydrostatic pressure is vital before beginning any carpet install or laminate flooring project.
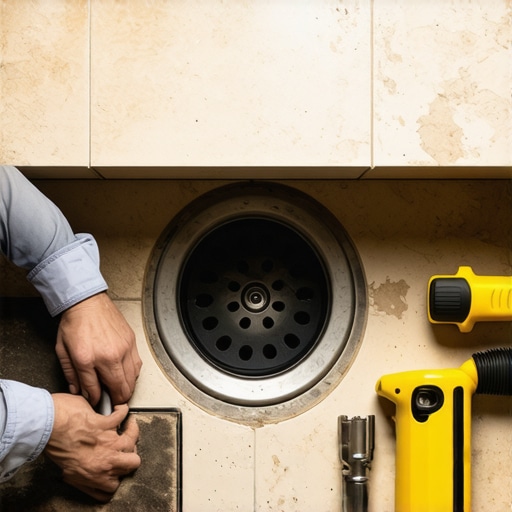
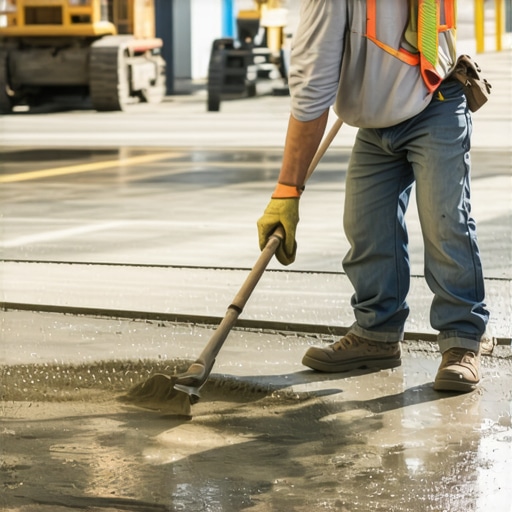
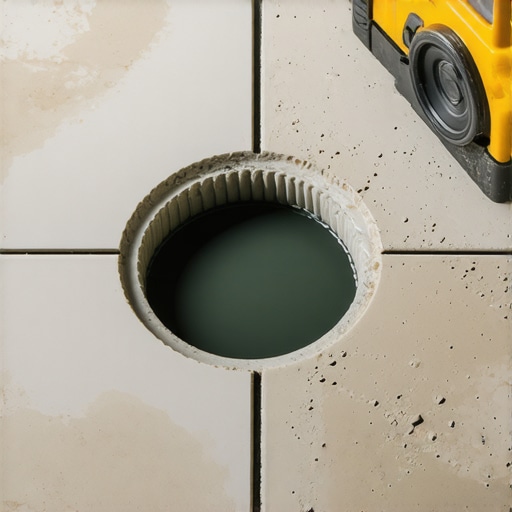
You look at a concrete floor and it looks solid. It is not. Concrete is a hard sponge. It is full of microscopic pores that hold water. If you pour a leveling compound over a slab that is too wet, the moisture will push the leveler right off. We call this a bond failure. You need to use a calcium chloride test or a pinless moisture meter. If the slab is pushing more than three pounds of moisture per thousand square feet, you have a problem. You also have to deal with the floor drain itself. You cannot just bury it. If the drain is active, you need to build a dam. I use foam weatherstripping or a specialized plastic ring. This keeps the self-leveling underlayment from flowing into the pipes. If you clog that drain with cement, you are looking at a three-thousand-dollar plumbing bill. The secret is the transition. You have to feather the compound from the high point of the room down to the edge of the drain assembly. This requires a steady hand and a heavy-gauge trowel. I prefer a pool trowel because the rounded edges prevent gouging. You are looking for a smooth taper that the flooring can follow without bridging.
[IMAGE_HERE]
The tools that actually matter for flat concrete
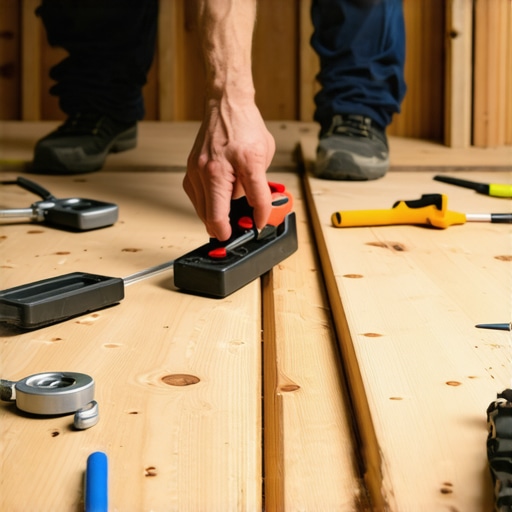
Floor prep tools such as diamond cup wheels, HEPA vacuums, and spiked rollers are necessary for surface profile creation. Achieving a CSP 3 rating ensures that primers and self-leveling underlayments achieve maximum adhesion. Using a 10-foot straightedge is the only way to verify subfloor flatness for laminate install.
| Material Type | Best Use Case | Cure Time | Compression Strength |
|---|---|---|---|
| Self-Leveling Underlayment | Large deep dips and whole rooms | 24 hours | 5,000 PSI |
| Feather Finish Patch | Small ridges and minor transitions | 30 minutes | 3,500 PSI |
| Epoxy Moisture Barrier | High humidity slabs and basements | 12 hours | N/A |
| Polymer Modified Thin-set | Tile installations over slopes | 24 hours | 2,500 PSI |
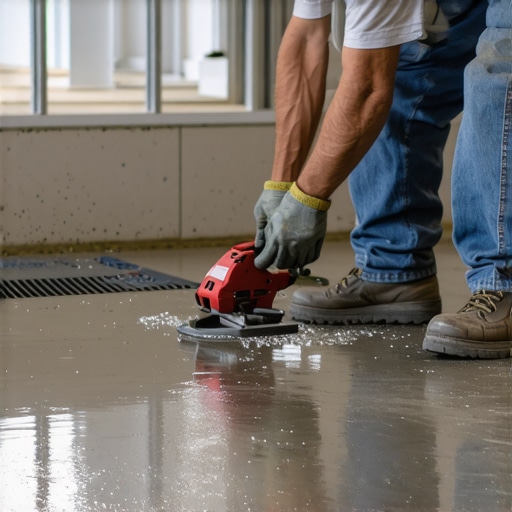
Do not buy the cheap stuff at the big box store. Go to a flooring supply house. Get the high-flow underlayment that is rated for at least 4,000 PSI. You want something with high flowability. When you pour it, it should look like thick pancake batter. If it is too thick, it won’t level. If it is too thin, the aggregate will settle to the bottom and the top will be weak and chalky. It is a delicate balance. I always use a mixing barrel and a high-torque drill. You need to mix two bags at a time to keep a wet edge. If you stop for five minutes to talk on the phone, your floor is ruined. The edge will dry, and you will have a hump that you have to grind down later. Grinding is the worst part of the job. The dust gets everywhere. It smells like burnt stone and electricity. Even with a shroud and a vacuum, you will find white powder in your ears three days later. But if you don’t grind the high spots, the low spots don’t matter. You have to take off the peaks before you fill the valleys.
The 1/8 inch that ruins everything
Flooring tolerances demand that a subfloor be within 3/16 inch over 10 feet for most click-lock laminate. Exceeding this deflection limit causes joint fatigue and locking mechanism failure. Proper floor leveling near showers and drains prevents lippage and ensures waterproof integrity in carpet install zones.
I have seen guys try to use extra underlayment foam to fill a dip. That is a amateur move. Foam is compressible. When you walk on it, the foam squishes. The plank moves. The joint breaks. It is that simple. You need a solid substrate. If you are doing a carpet install, you have a bit more wiggle room. Carpet is forgiving. It hides the sins of the subfloor. But even with carpet, a sharp dip toward a drain will be felt underfoot. It feels like the floor is falling away from you. It is disorienting. In showers or wet areas, the slope is intentional for water management. When you transition from that sloped wet area to a flat bedroom floor, the threshold is where the battle is won. You need a clean, flat landing. If the concrete is humped at the doorway, you have to grind it. Use a 7-inch diamond cup wheel. Keep the vacuum running. Move in a circular motion. Do not dig a hole. You are looking for a flat transition. Once the high spot is gone, you prime. Never skip the primer. The primer is the glue that keeps the whole system together. It stops the dry concrete from sucking the water out of the leveler too fast.
- Check the slab for cracks and fill them with epoxy.
- Mechanical grinding to remove paint, oil, and sealer.
- Vacuum the floor three times to remove all dust.
- Apply the manufacturer-recommended primer with a soft-nap roller.
- Set your height pins using a laser level to mark the fill depth.
- Mix the leveling compound with the exact amount of water.
- Pour from the furthest corner and work toward the exit.
- Use a spiked roller to release trapped air bubbles.
The ghost in the expansion gap
Expansion gaps are mandatory for floating floors like laminate to account for humidity changes and thermal expansion. Failing to leave 1/4 inch at the perimeter causes floor buckling and peaking. In basements with floor drains, managing ambient humidity is as important as floor leveling itself.
A floor needs to breathe. Even laminate, which is mostly plastic and resin, expands and contracts. If you run the flooring tight against the walls, it has nowhere to go. It will push against the baseboards and pop up in the middle of the room. This is called buckling. When you are dealing with a drain area, people often forget the expansion gap around the drain pipe. They think they need to seal it tight. You don’t. You need to leave a gap and cover it with a proper flange or trim. This allows the floor to move as the house settles and the seasons change. In the winter, the air is dry and the floor shrinks. In the summer, the humidity rises and the floor grows. If you have leveled the floor correctly, this movement is silent. If you have humps and dips, the movement causes rubbing. Rubbing causes squeaking. A squeaky floor is the sign of a lazy installer. I take pride in a silent floor. It shows that the prep was done right. The prep is eighty percent of the work. The actual laying of the floor is just the victory lap. If you spend your time on your knees with a level now, you won’t be back here in two years tearing it all out.
“Substrate preparation is not an option; it is a requirement for any successful resilient floor covering.” – TCNA Handbook Standards
The reality of moisture and concrete
Moisture vapor emission can destroy adhesives and laminate cores if not addressed with a vapor barrier. Using 6-mil poly film or an epoxy sealer is standard for concrete floor leveling projects in high-moisture areas. This protects the finished floor from delamination and mold growth.
Concrete looks dry on top, but it is often holding gallons of water underneath. This is especially true near floor drains where the soil might be saturated. If you don’t use a vapor barrier, that moisture will rise up. It will hit the bottom of your laminate and cause the edges to swell. This is called peaking. Once the edges swell, they never go back down. You are stuck with a floor that looks like a series of small mountains. To prevent this, I always use a high-quality underlayment with an integrated vapor barrier. But the leveler itself must be dry first. Most self-levelers are ready for tile in 4 hours, but they need 24 to 48 hours for laminate. Don’t rush it. Use a moisture meter to check the leveler before you cover it. If it is still dark in color, it is still wet. Wait. Patience is the mark of a pro. The smell of wet cement is a warning. Let it cure. Let the chemical reaction finish. You are building something that should last thirty years. Another day of waiting won’t kill you, but a ruined floor will definitely kill your budget. Trust the process. Trust the tools. Most importantly, trust the straightedge. It never lies to you. If there is a gap under that metal bar, the floor is not ready. Grind it or fill it until that gap is gone. That is the only secret you really need to know.